


Watch video click here: https://www.instagram.com/p/DRSK6hwkeJb/
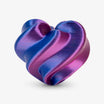
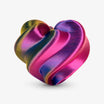
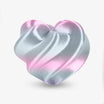
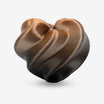
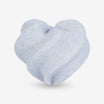
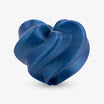
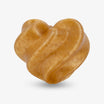
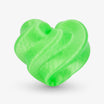
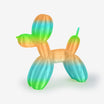
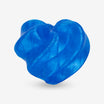
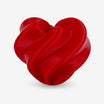
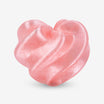
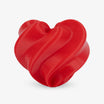
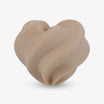
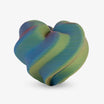
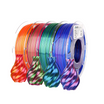
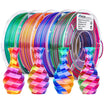
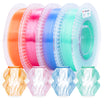
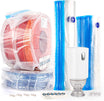
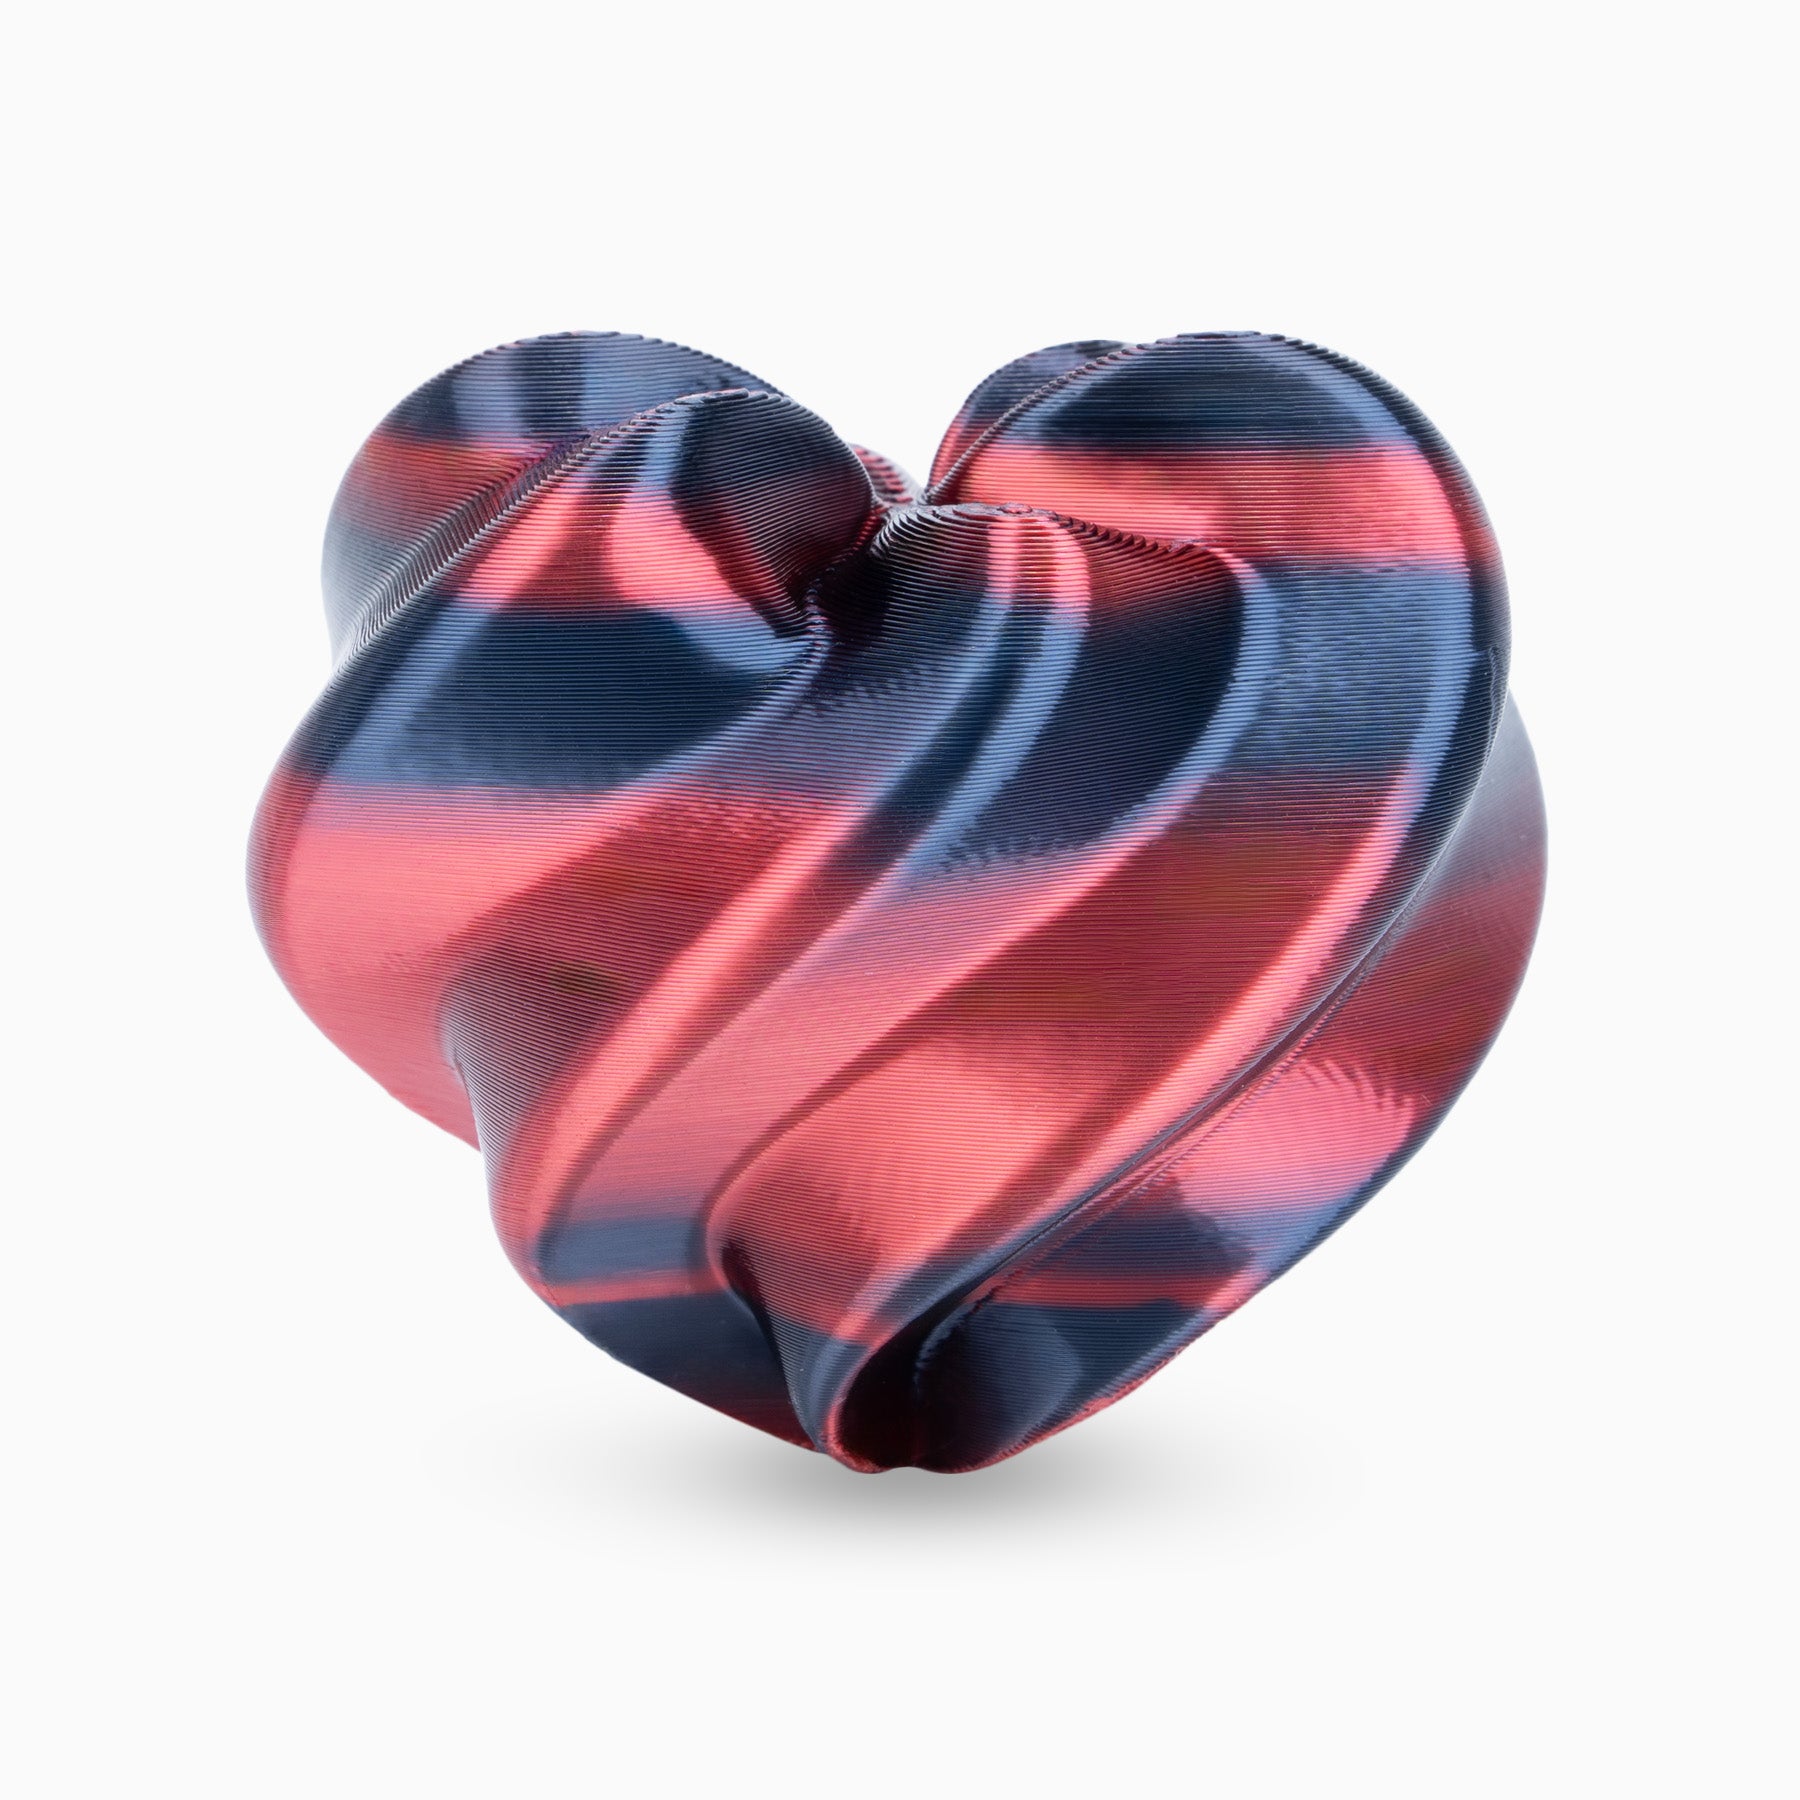
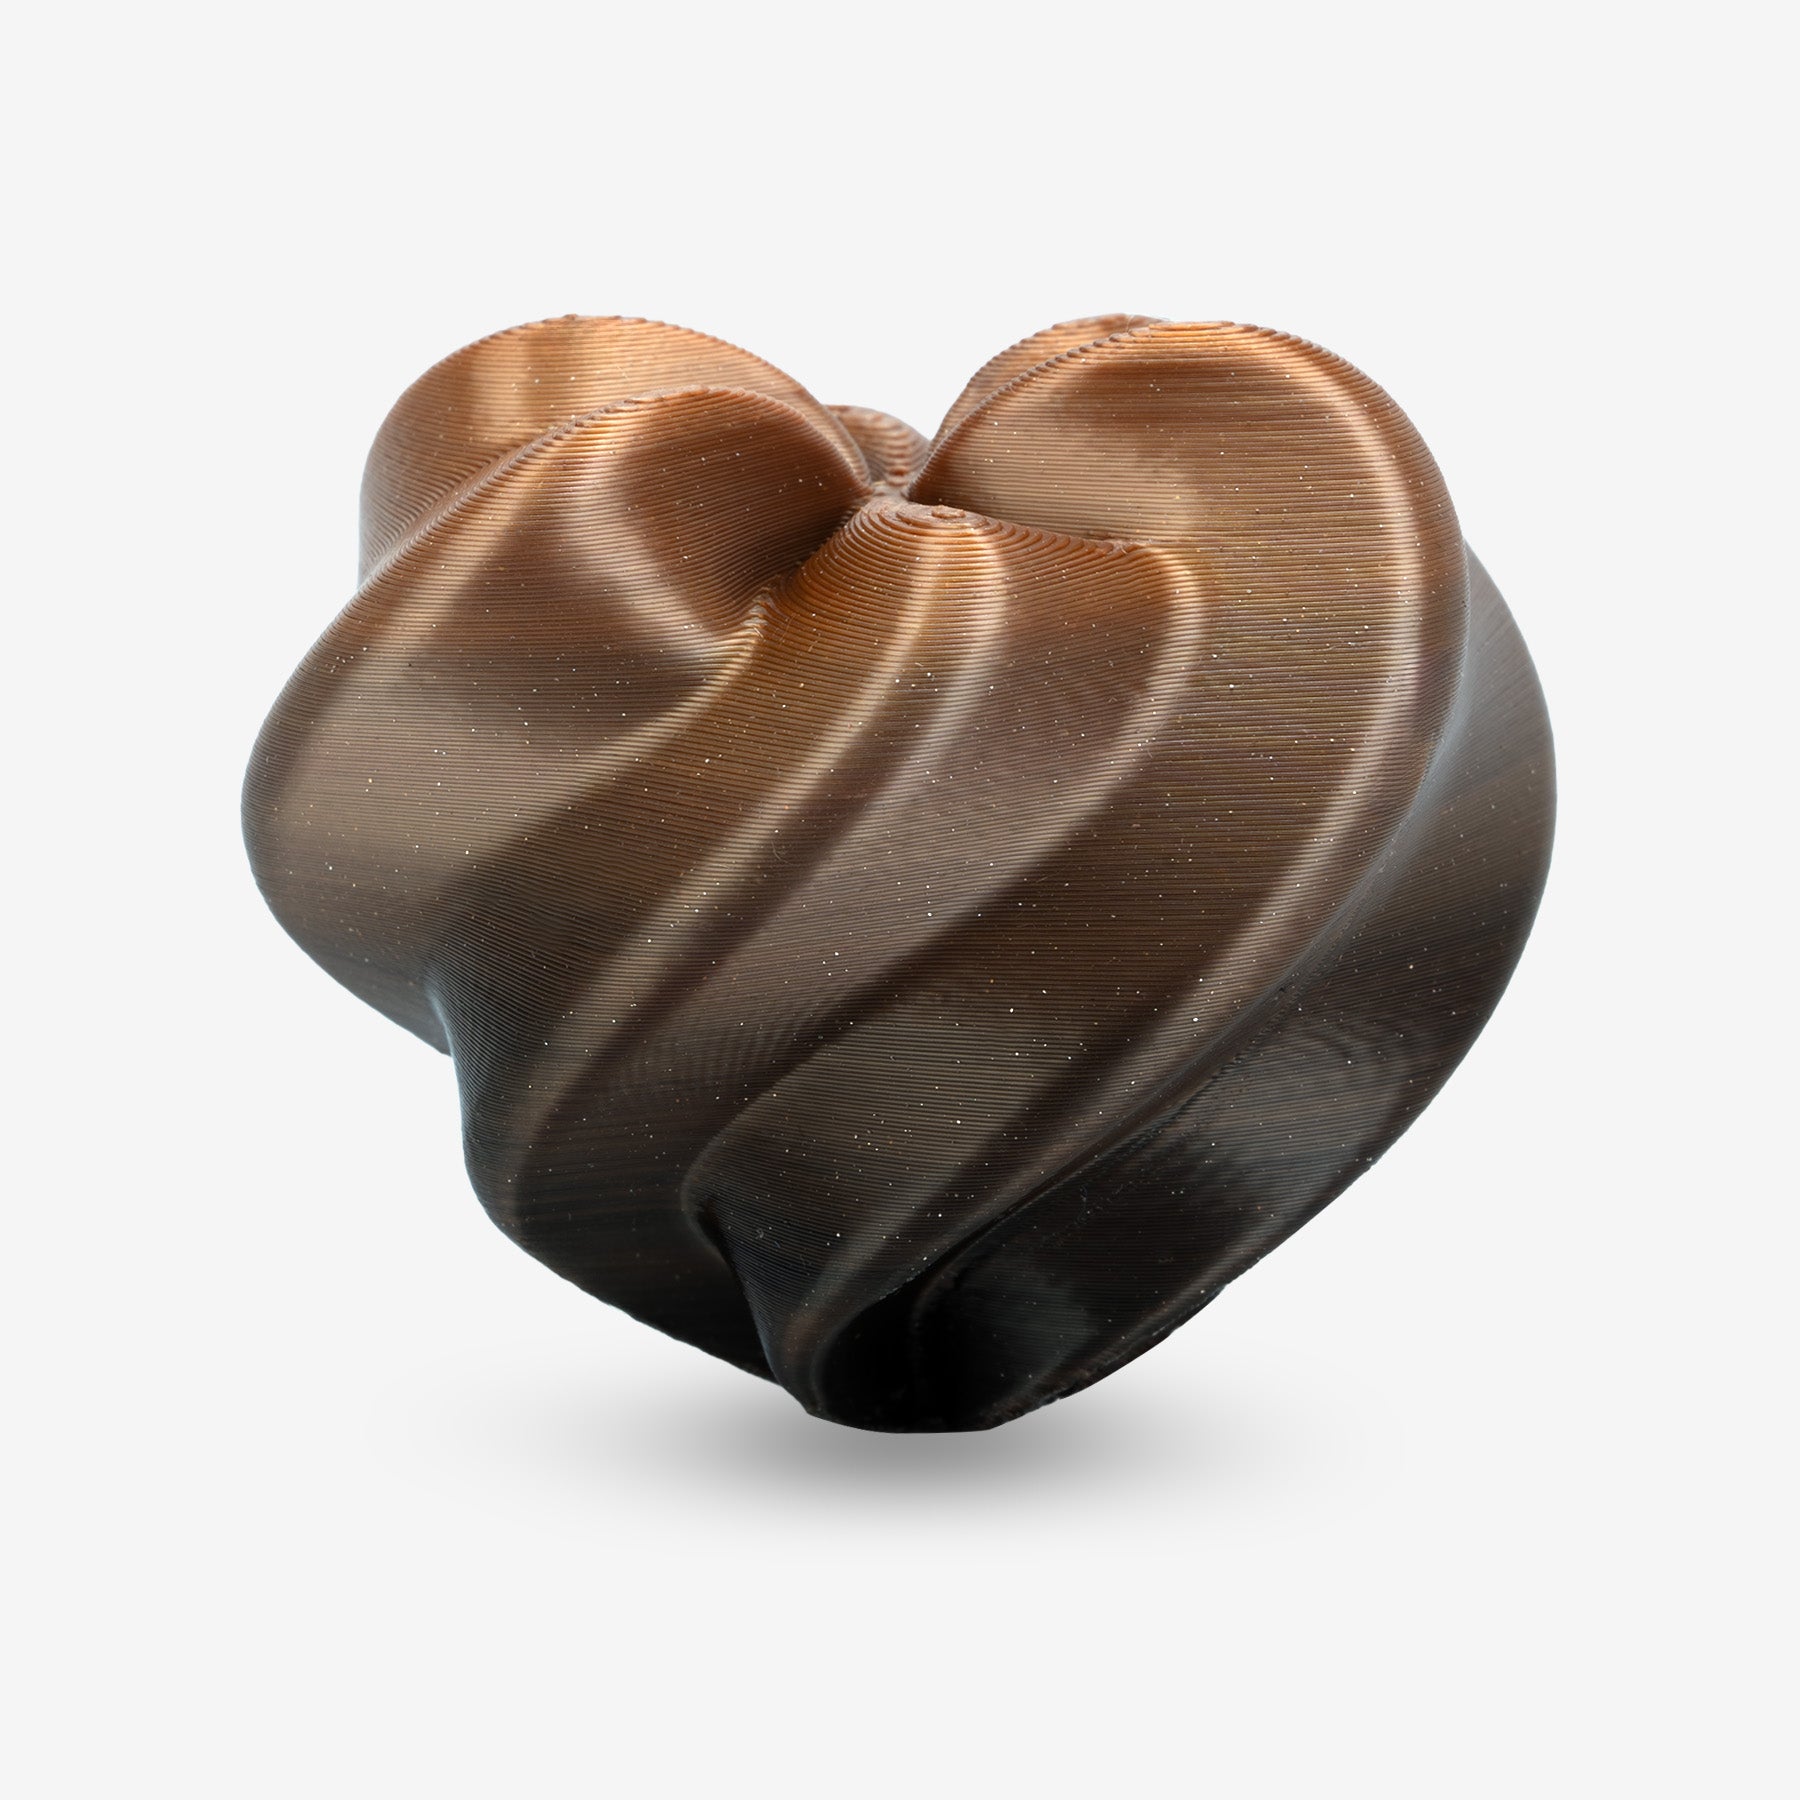
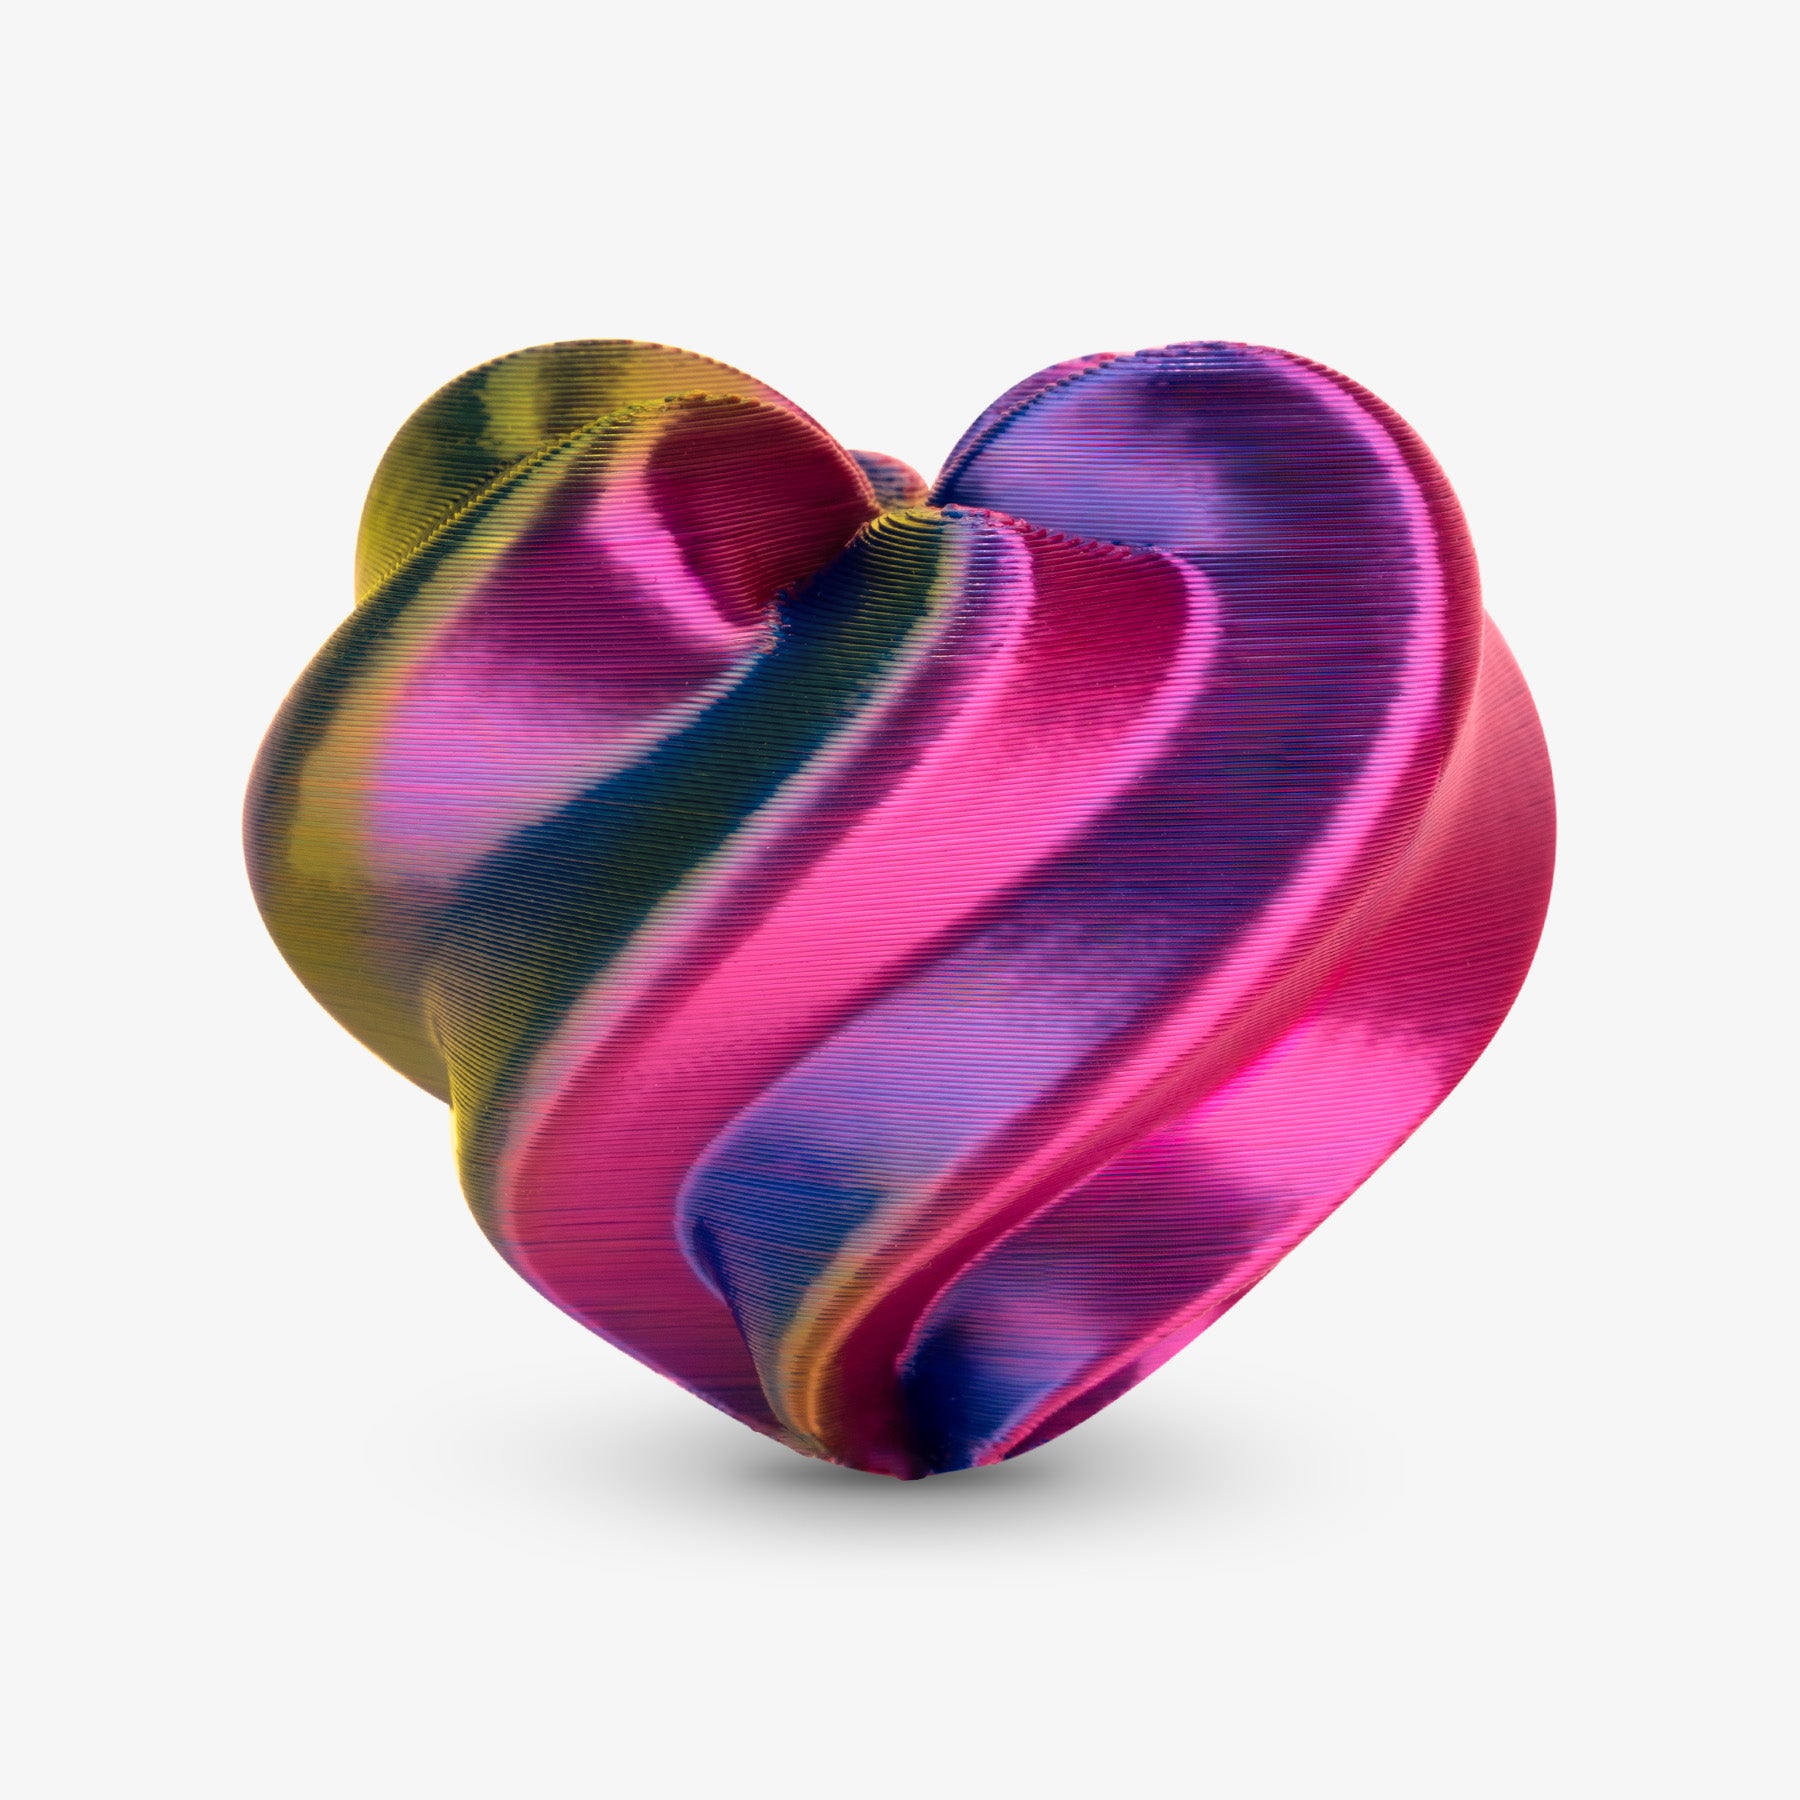
Many 3D printing enthusiasts choose Amolen PLA Silk Dual for its stunning dichroic effect and high-gloss finish. However, achieving that perfect, sharp color separation isn't always as simple as hitting "Print." Have you ever noticed your colors looking muddy or bleeding into each other?
The secret to a flawless dual-color print lies in understanding how the filament behaves inside the nozzle. Here is your guide to mastering Silk Dual-Color PLA.
Step 1: The Hidden Logic of Color Orientation
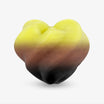
Before you start your project, the #1 thing you must understand is that dual-color filament isn't random. The two colors are co-extruded in a fixed orientation—either side-by-side or top-to-bottom.
-
Check the Cross-Section: Cut a small piece of filament and look at the end. You will see exactly how the colors are split.
-
Print a Tiny Test Block: We highly recommend printing a small calibration cube first. This reveals exactly which color orientation corresponds to the X and Y axes of your specific printer setup.
Pro Tip: Success starts with knowing your material's "color map" before the first layer even hits the bed.

Step 2: Strategic Slicing – Aligning the Vision
Once you know the filament's color orientation, it’s time to head to the slicer. Dual-color success happens in the software, not just the hardware.
1. Rotate the Model
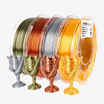
Align your model's orientation in the slicer to match the filament’s color split. If you want the left side of your model to be Gold and the right side to be Black, you must rotate the model so its "seam" aligns with the filament’s internal color boundary.
2. Beware of Wall Speed Mismatch
Check your preview! If your Inner Walls and Outer Walls print at significantly different speeds, the extrusion pressure changes instantly. This pressure swing pushes leftover material from the inner layer into the outer layer, causing the dreaded "Color Bleed."

Step 3: The Fixes for Sharp Color Separation
To get those crisp, professional results, consistency is your best friend. Follow these two technical rules:
1. Keep Stacking Conditions Consistent
-
Match Wall Speeds: Set your inner and outer wall speeds to be as close as possible (ideally within a 20% difference).
-
Uniform Layer Height: Avoid variable layer heights.
-
Why? Consistent pressure inside the nozzle ensures the boundary between the two colors remains a straight, sharp line throughout the print.
2. Calibrate for Stability
If your speed fluctuates too much, your extrusion becomes unstable:
-
Fast movement = Potential under-extrusion.
-
Slow movement = Potential over-extrusion. When the flow isn't steady, the colors "leak" into each other. Regularly calibrate your E-steps and Nozzle Temperature to ensure the flow is smooth and predictable.

The Result: Perfect Dual-Color Mastery
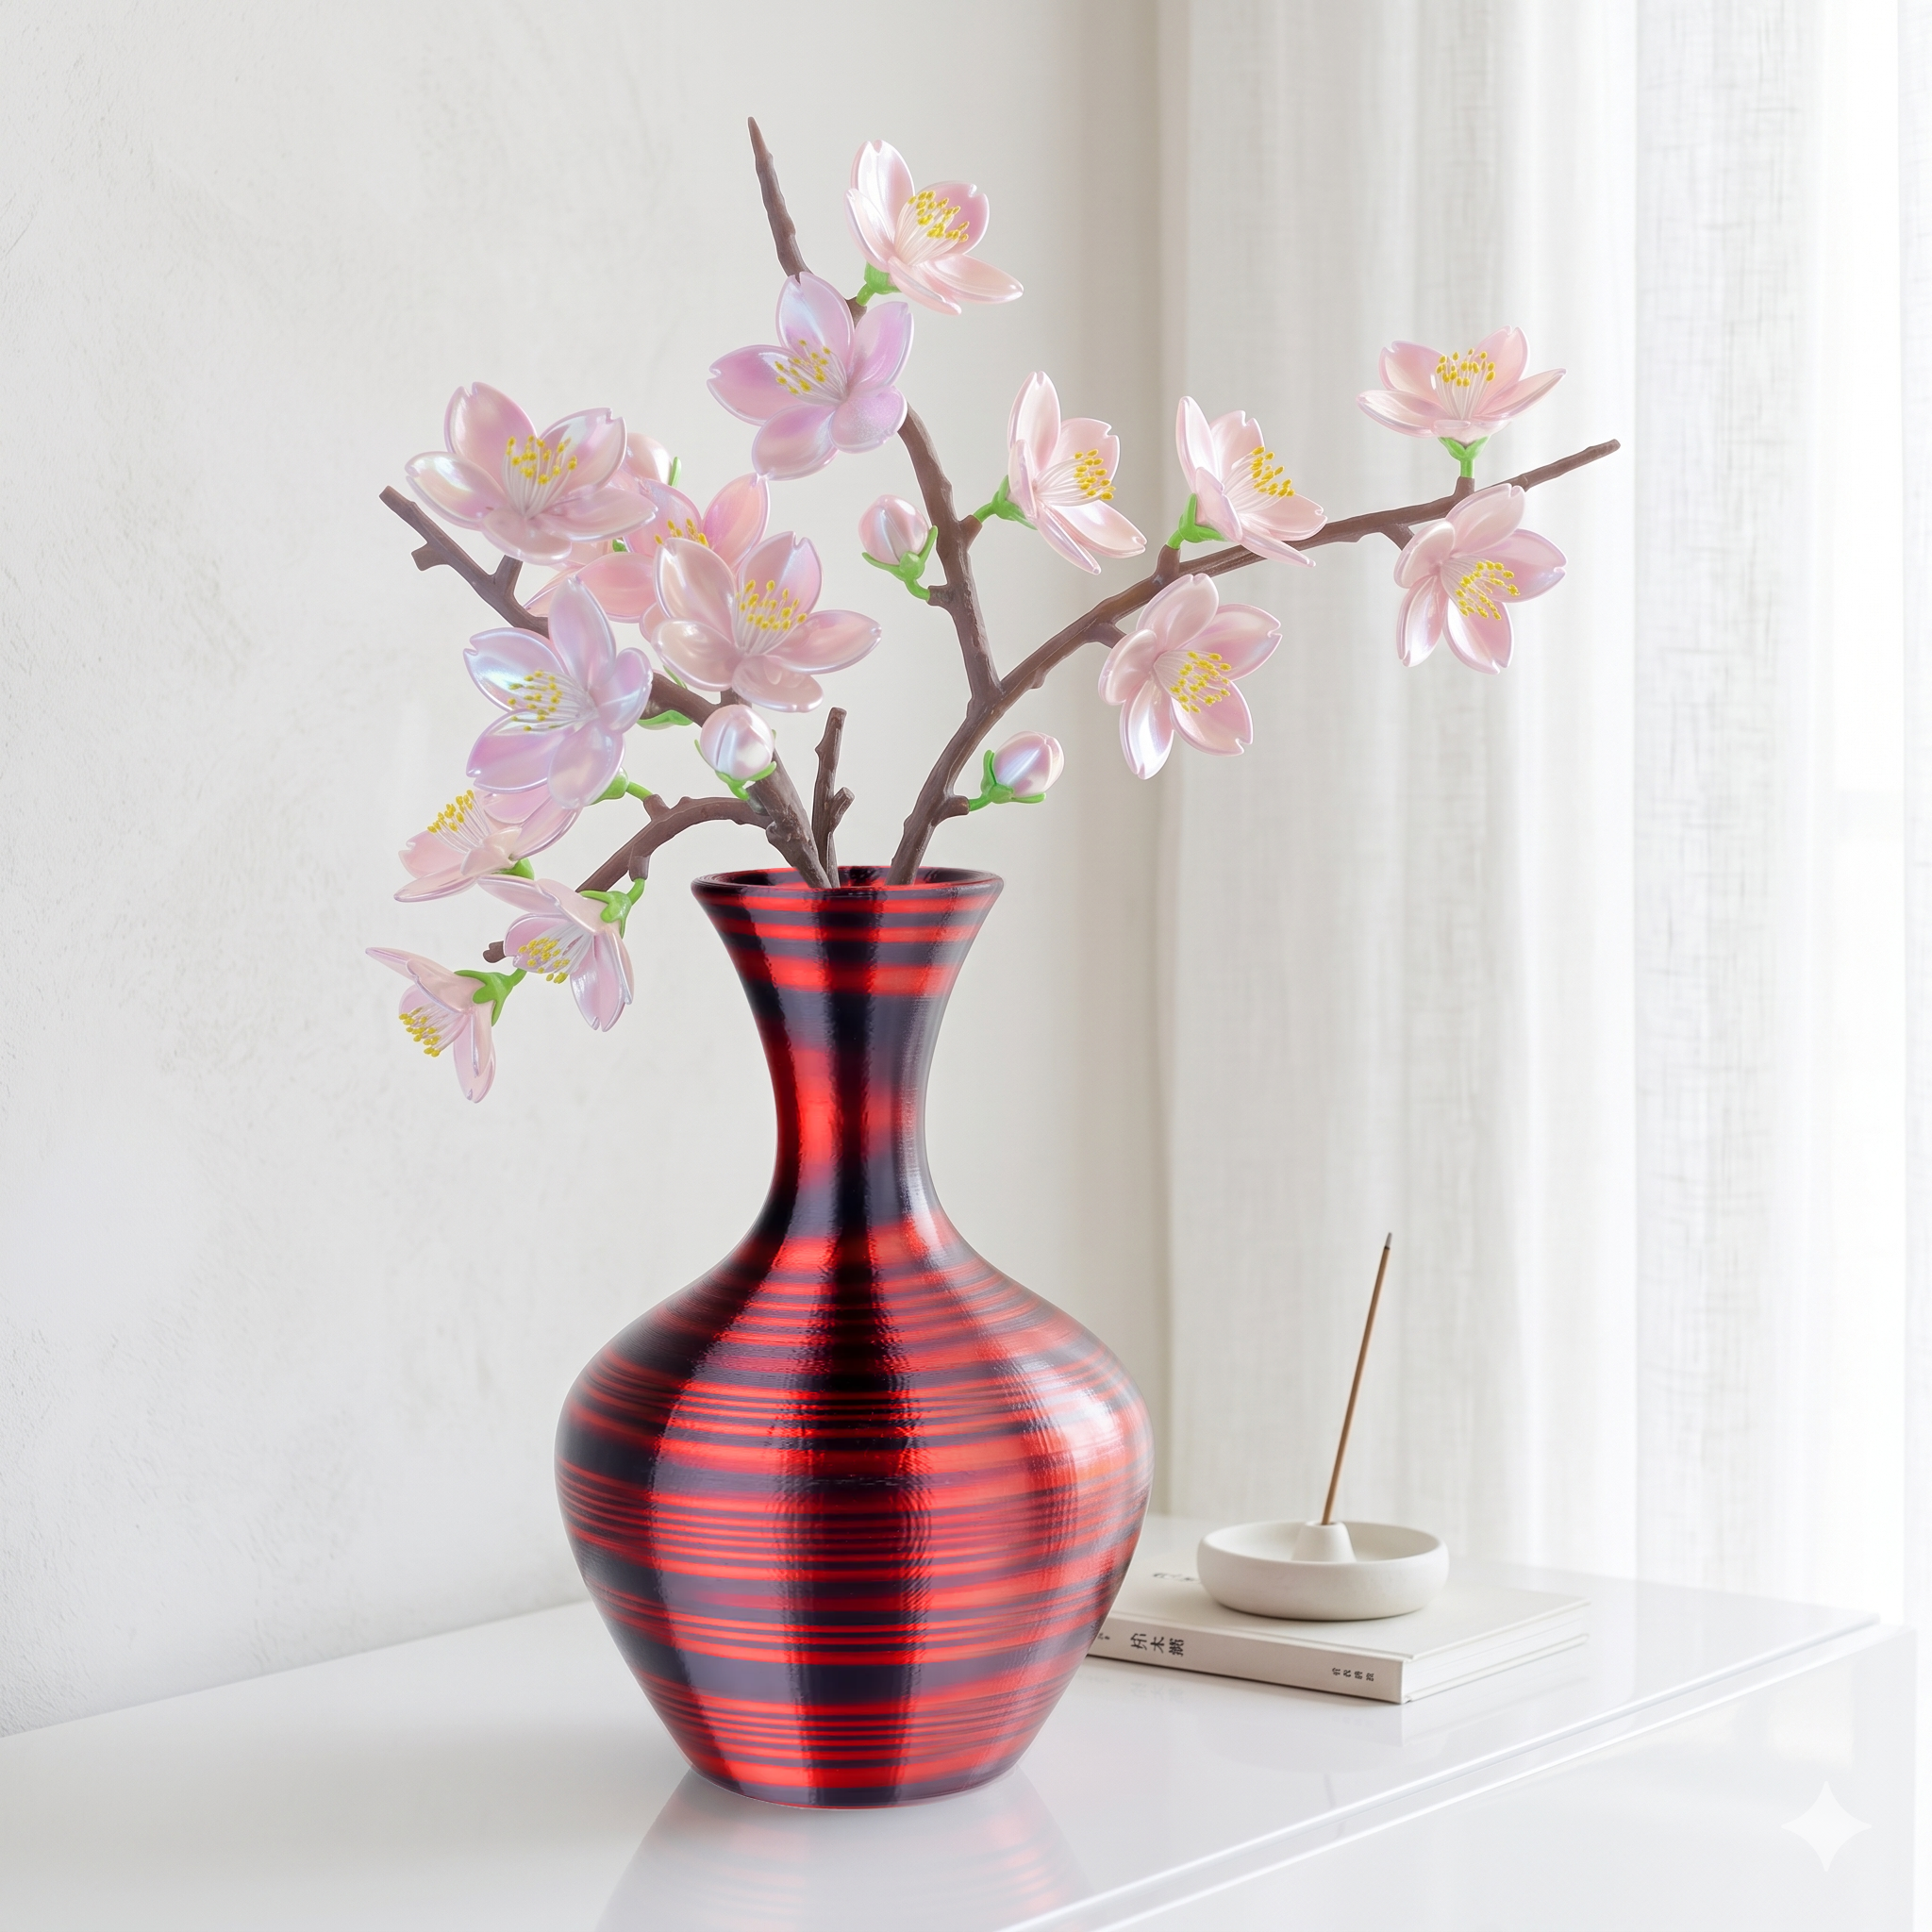
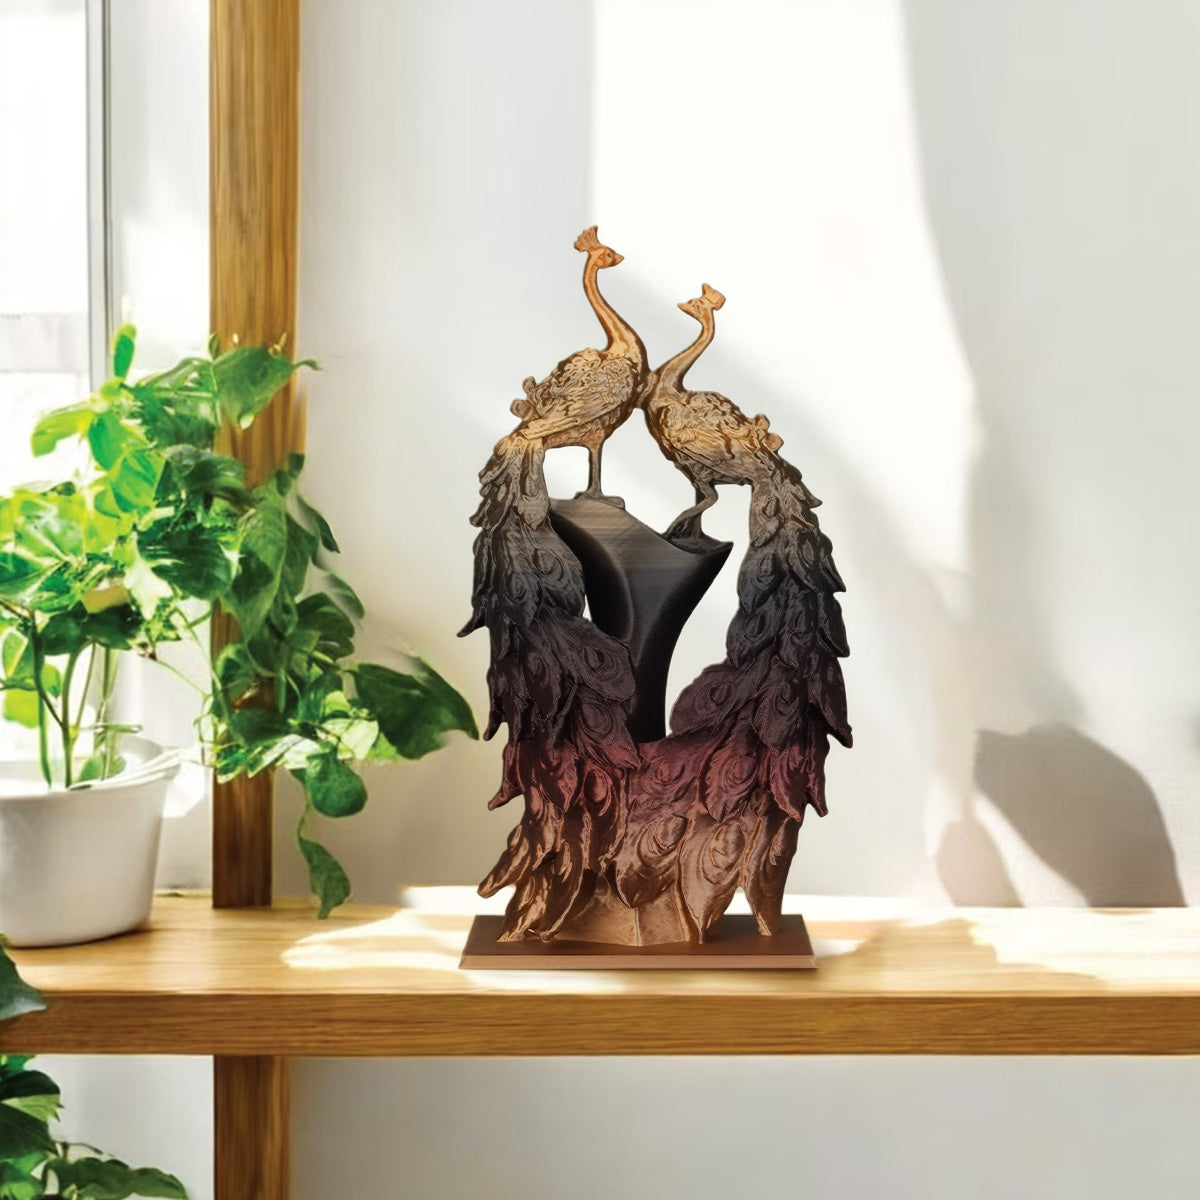
By following these steps, you can finally achieve the clean, sharp dual-color prints you imagined. No more mixing, no more surprises—just perfect color separation and that iconic Amolen silk shine.
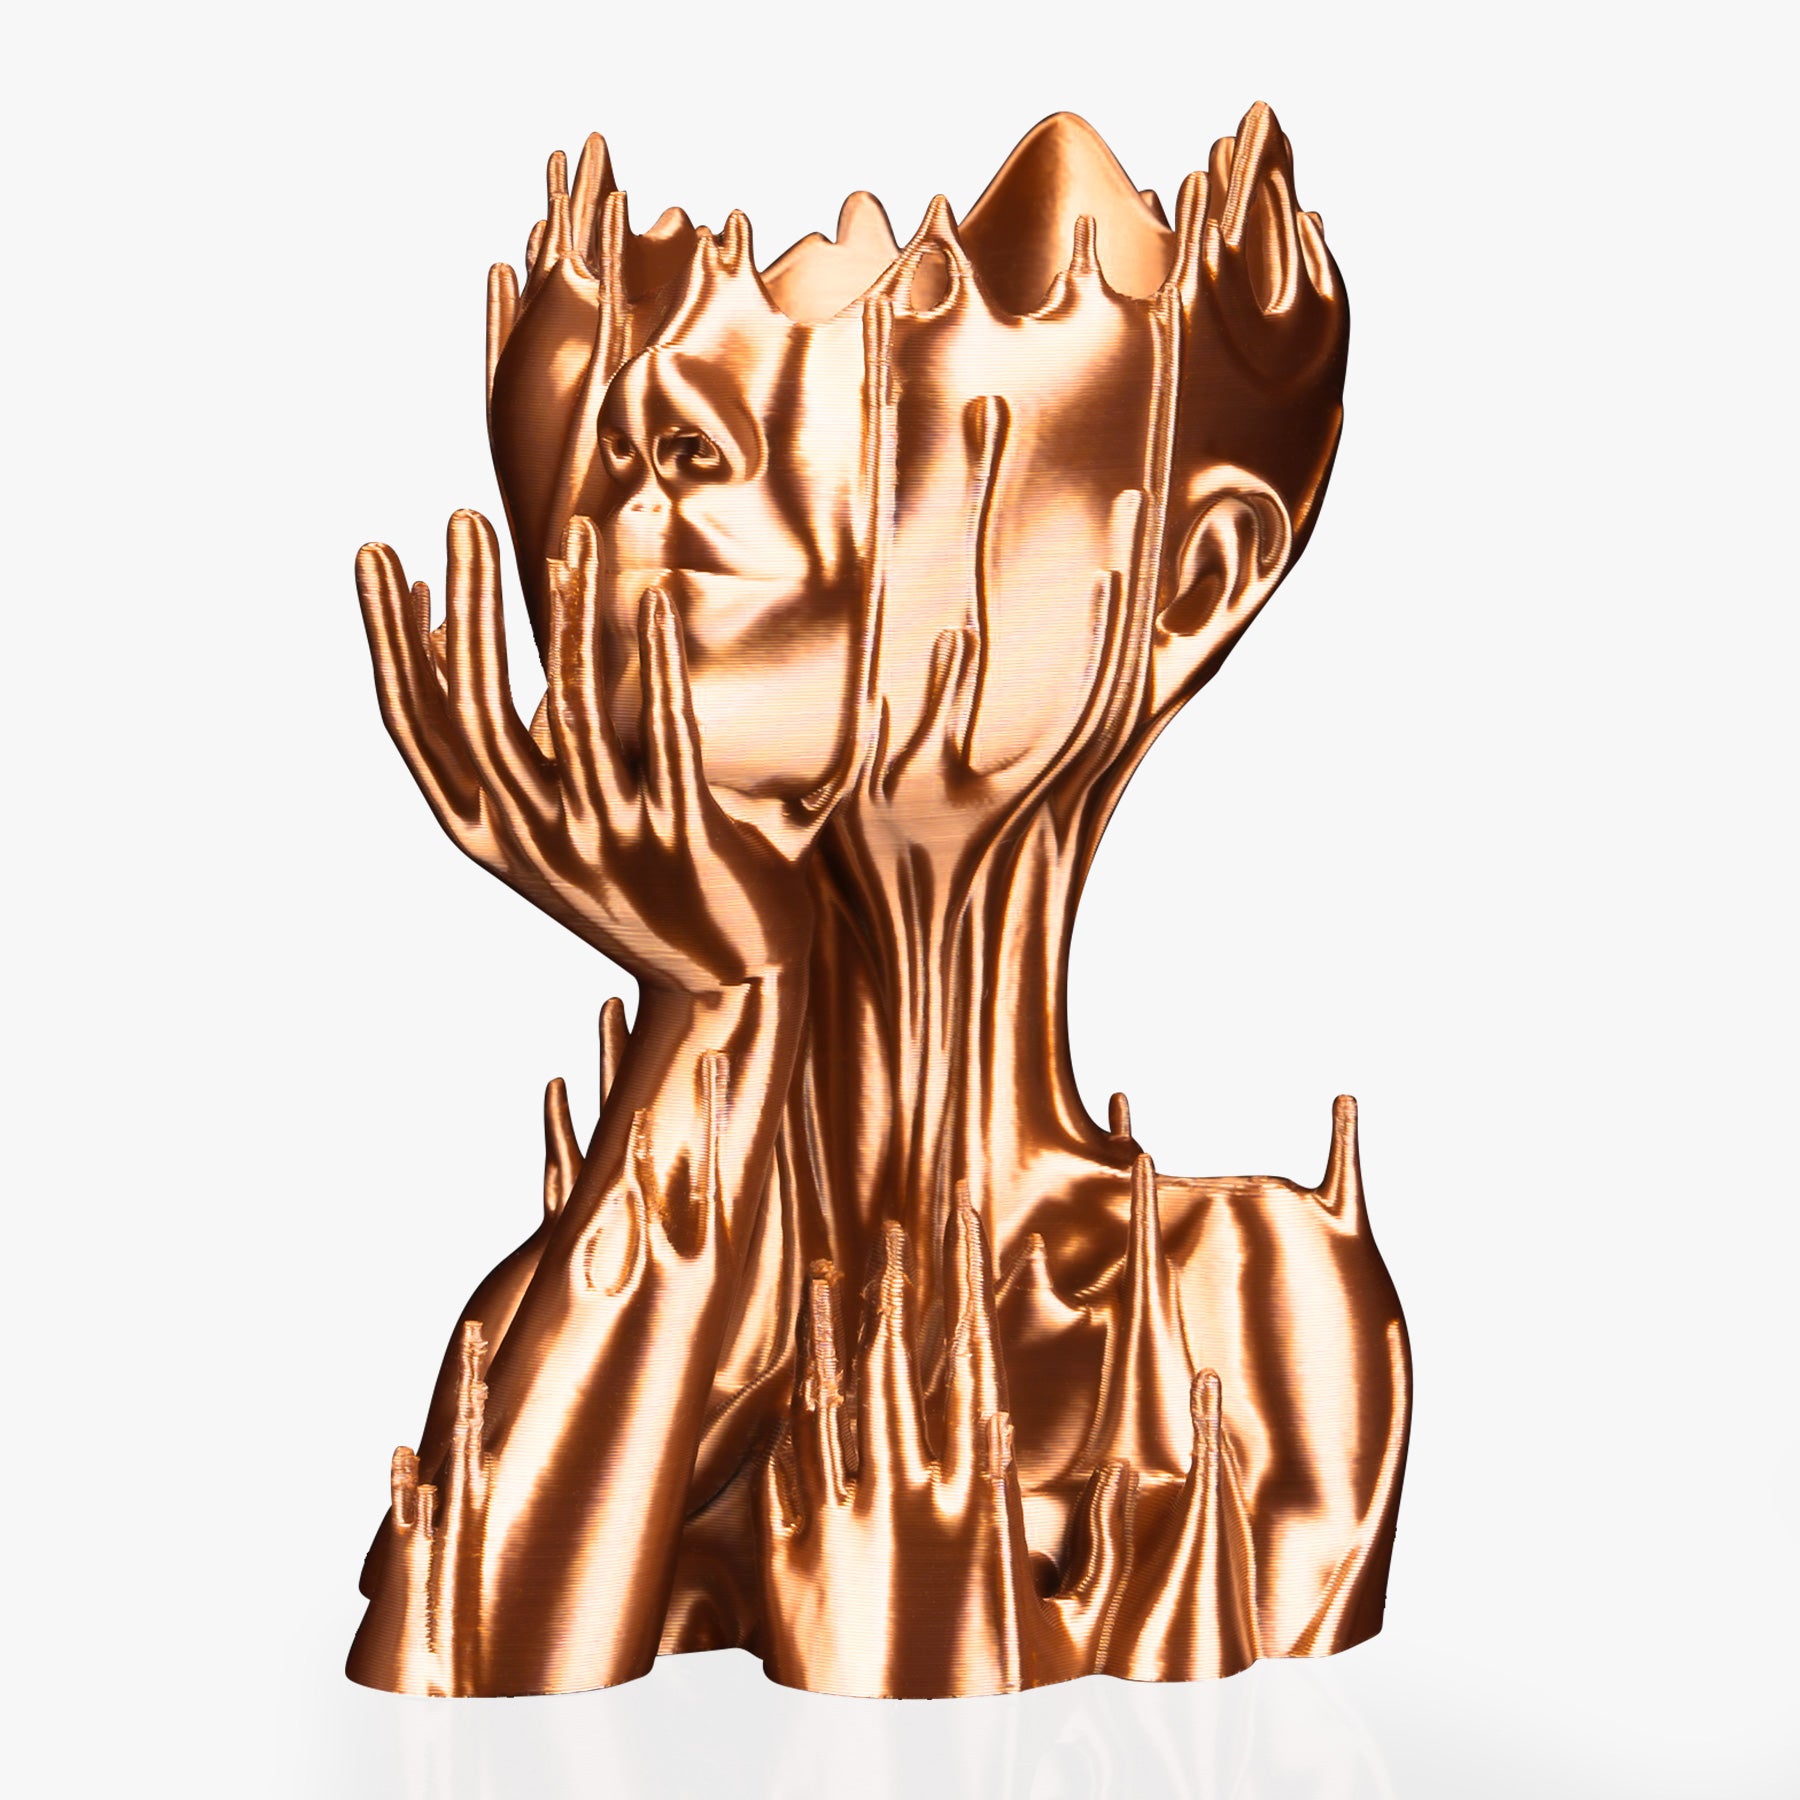
Whether you are printing a complex dragon or a minimalist vase, mastering the orientation and pressure will take your 3D prints to the next level.

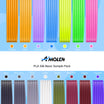
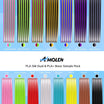
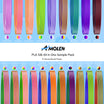
Ready to start your next masterpiece? Explore our full range of PLA Silk Dual filaments here and don't forget to tag #Amolen3D to show off your results!

