


Lifting corners, bases that bow, and parts that come loose mid-print—3D printing warping consumes time and materials. The remedy is no gimmick or fussy adjustment; it's a steady, repeatable process. Do it step by step and you'll transform curled edges into clean, flat bases that stay put.
What 3D Printing Warping Is
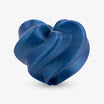
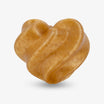
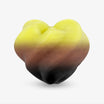
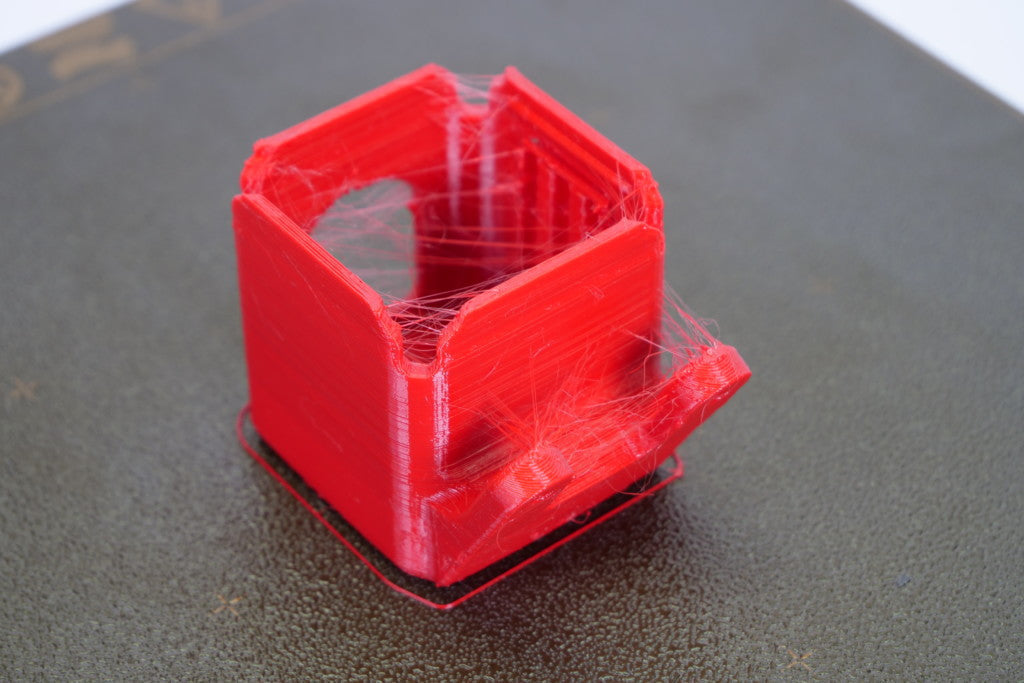
Warping is common in 3D printing. It happens when the edges or corners of a print curl up while the plastic is cooling. It can make the part uneven, ruin the finish, and sometimes cause the print to fail entirely. It is easier to prevent once you understand why it occurs.
What Warping Looks Like
You can spot the edges lifting slightly off the build plate. The bottom face can bow inward while the walls above remain fine. In prints with very long straight sides, two opposing edges often lift more, which can disrupt the toolpath or break adhesion with the bed.
The Simple Science Behind Warping
Plastic contracts as it cools. Lower layers near the heated bed are restricted by adhesion, while newly laid layers above contract at their own cooling rate and pull upwards at the corners. Because the bottom layers cannot contract freely, stress builds at the edges—sharp corners lift first.
How Design Shapes the Problem
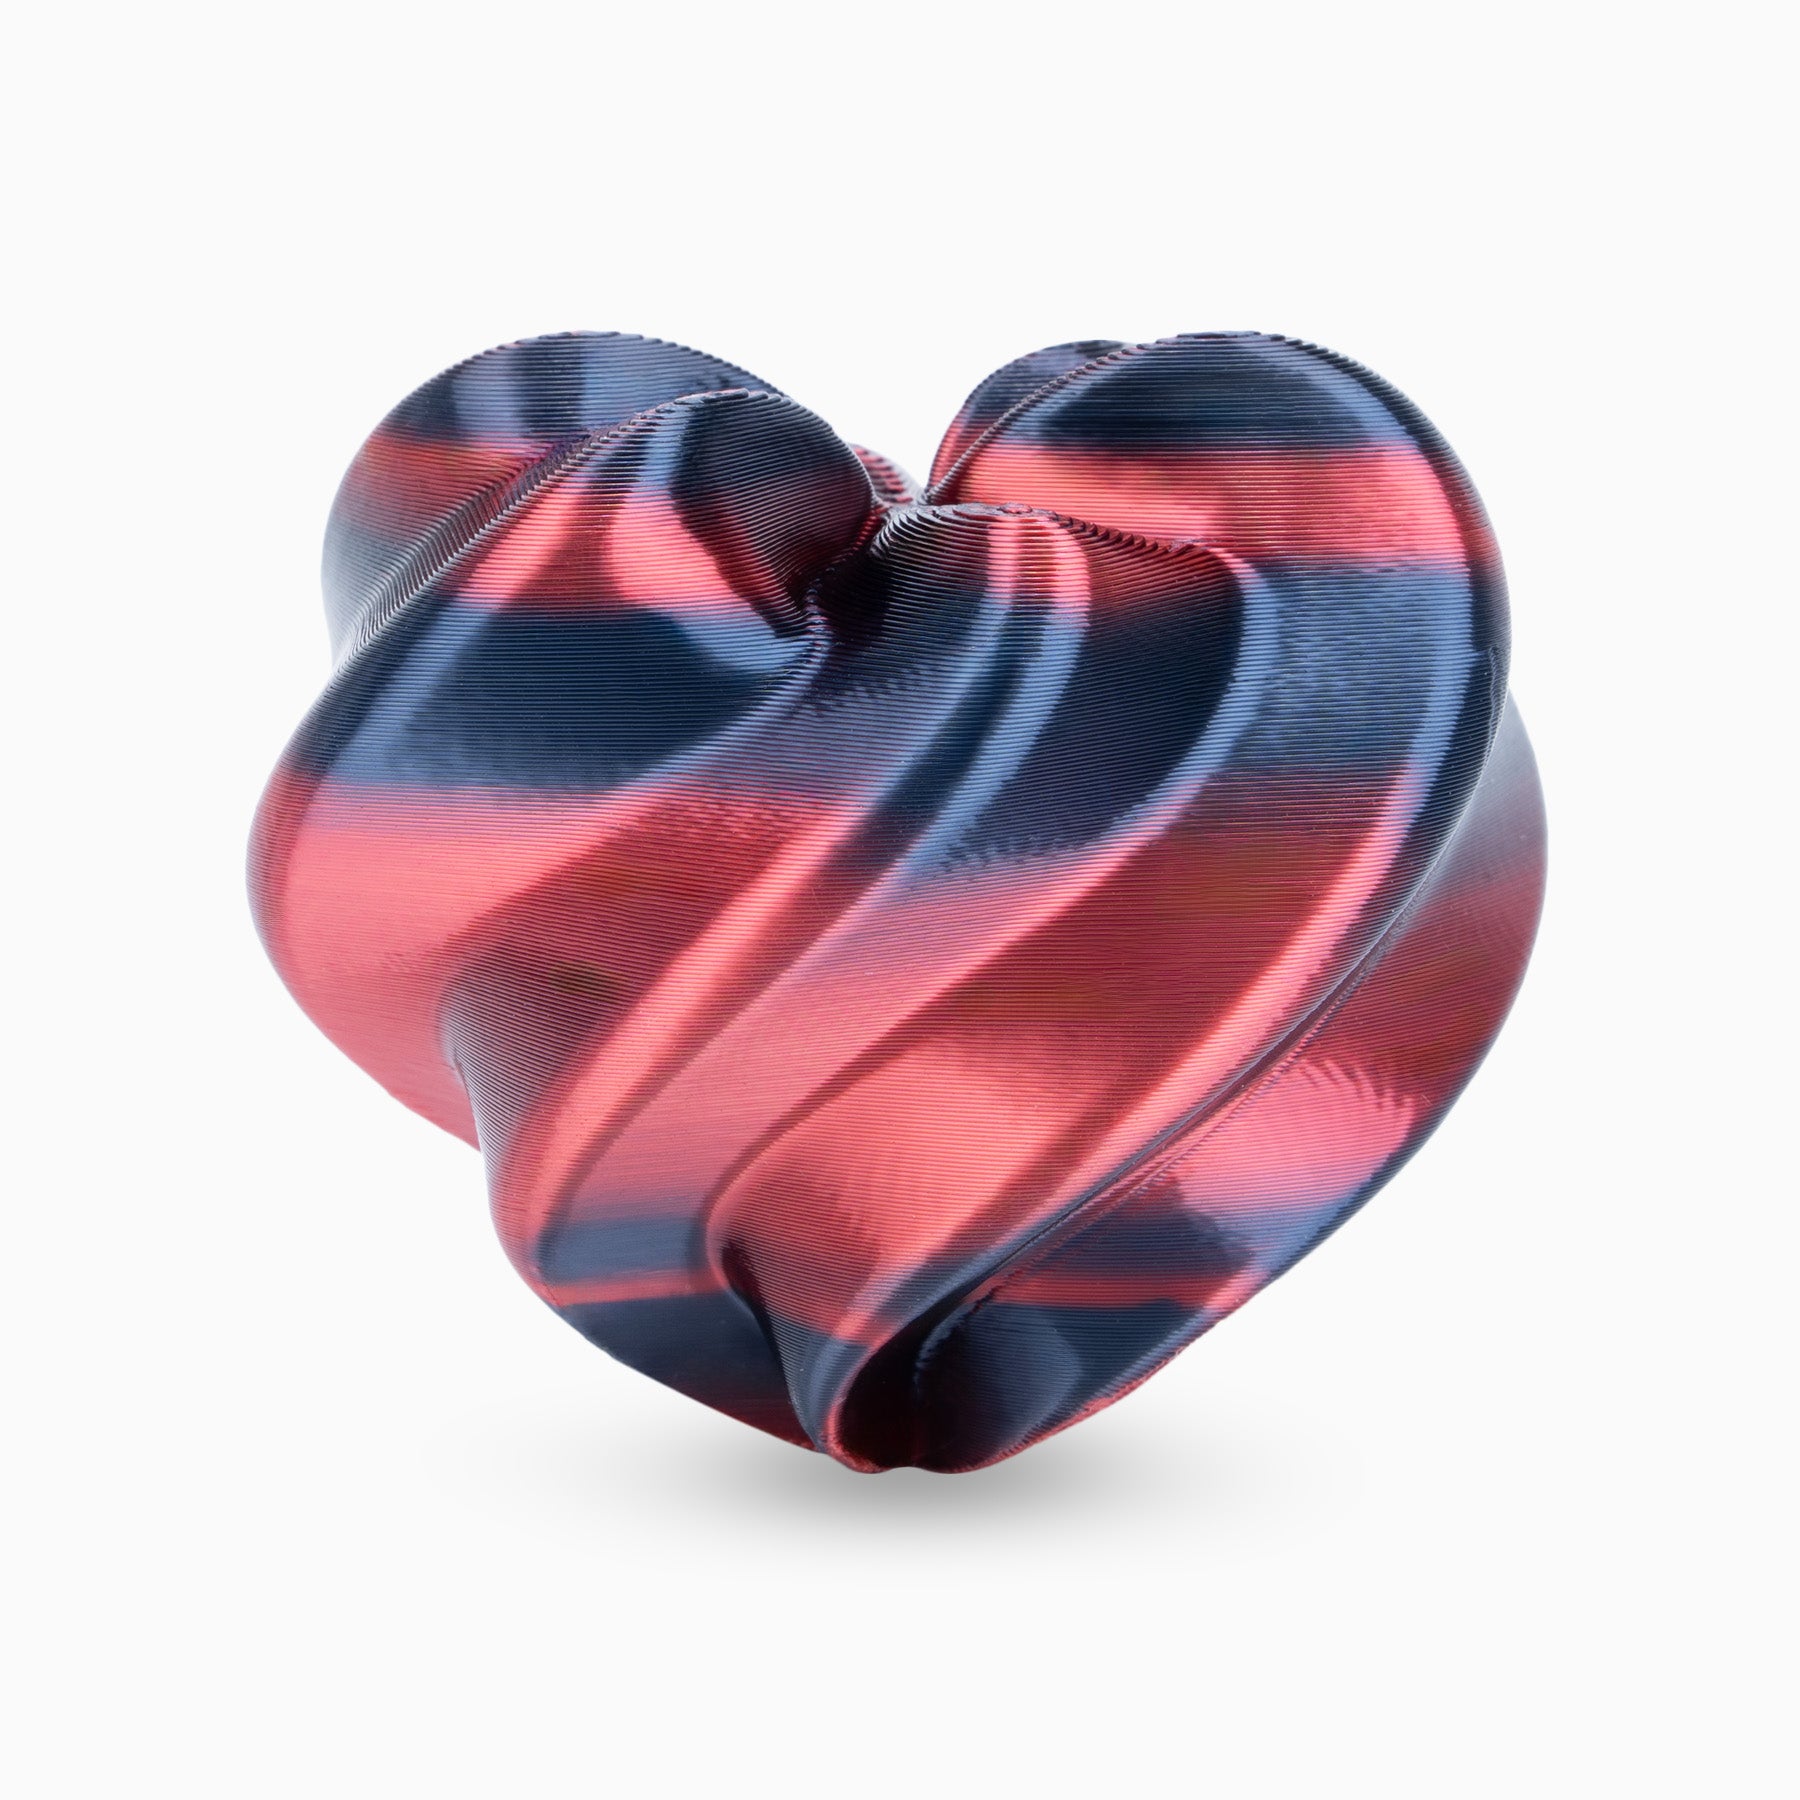
Your model's geometry is important. Long flat sides create stress in one direction, and sharp corners are weak points where peeling begins. Adding small curves or rounded edges helps distribute stress more evenly and prevents first-layer buckling. Warping occurs when plastic contracts unevenly and lifts edges. Gentle curves and stable conditions help produce flat prints with less curling.
Root Causes You Can Spot Fast in 3D Printing Warping
Warping usually shows itself through simple patterns. You don't need to measure exact temperatures—just notice the signs, try a quick fix, and confirm with a small test print.
- Airflow and Drafts: Edges lift early on most filaments; curling worsens when HVAC or a fan switches on.
- Build Surface or Z Offset: Glossy/oily patches where lines refuse to grip, or a crushed, flared "elephant foot" first layer.
- Uneven First-Layer Heat: First layer peels but higher layers look fine; plate edges are cooler than the center.
- Aggressive/Early Part Cooling: Corners curl right when the part-cooling fan starts.
- Model Footprint and Orientation: Long straight edges set up a single stress line; opposite corners lift more on rectangular bases.
- Filament Shrink Characteristics: ABS/ASA/Nylon/PC shrink more and lift, whereas PLA/TPU stay flat.
- Hardware and Leveling: The same side lifts across many jobs; the bed mesh is off, the plate is not flat, or the frame has loosened.
Most warping comes from simple factors: bed preparation, Z height, heat balance, airflow, and fan control. Adjusting these basics fixes most curling without needing to chase exact numbers.
Filament Behavior by Warp Risk in 3D Printing
Different plastics shrink at different rates as they cool. Grouping filaments by "warp risk" helps you plan settings and the environment without memorizing technical charts. Always start with the slicer's default profile, then adjust step by step.
| Filament | Warp Risk | Cooling Habit | Environment Needs | Adhesion Tips |
| PLA | Low | Early cooling helps after first layers | Open frame is fine if air is steady | Clean build plate usually works |
| PETG | Low–Medium | Light fan at first, then increase | Mild, steady air keeps edges calm | On glass, a thin adhesive film improves grip; on PEI/steel sheets, use a thin glue stick layer as a release agent to prevent over-sticking |
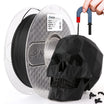
| ABS / ASA | High | Very low or no fan early | Enclosure strongly recommended | Use brim and draft shield |
| Nylon / PA | High | Minimal cooling | Dry filament + enclosure are key | Strong plate and brim essential |
| PC / blends | Very High | Gentle or no fan early | Warm, stable enclosure preferred | Textured or high-grip plate helps |
| TPU | Very Low | Low or no fan; only small airflow for bridges | Forgiving; open frame is fine | Sticks well but use tape or thin adhesive for easy removal |
Low-shrink filaments like PLA and TPU are easy to manage in open air. High-shrink plastics like ABS, Nylon, and PC need warm, stable enclosures and stronger anchoring. Matching your setup to the filament's risk level cuts warping before it starts.
A Five-Step Path to Fix 3D Printing Warping
A simple process beats guesswork. Start from your slicer's material profile, change one variable at a time, and confirm with a small test piece before moving on.
Step 1: Lock In the First Layer
Clean the build plate so oils and dust can't sabotage the grip. Set the Z offset so extruded lines kiss and merge without scraping. Slow the first layer and make it slightly wider to create a solid, bonded base. For big flat parts, add a brim; for sharp corners, place small mouse ears to anchor the trouble spots.
Step 2: Dial In Heat Balance
Work within the filament's recommended temperatures. If the first layer looks dry or corners start to peel, nudge the bed and/or nozzle slightly higher. Let the plate soak until its temperature is even, so the edges aren't cooler than the center.
Step 3: Control Cooling on Purpose
Keep the part cooling off or very low for the first few layers, then ramp it up gradually. If curling coincides with the fan start, delay engagement and increase in steps. On open printers, use a draft shield or light enclosure to block cross-breezes. (Skirts only prime extrusion and don't provide airflow protection.)
Step 4: Choose Adhesion Aids Wisely
Match surface to 3D printing filament: textured plates usually release cleanly after cooling; smooth glass benefits from a very thin, even adhesive film. Apply adhesive sparingly—thick spots create high points that reduce contact elsewhere. Reserve rafts for edge cases because they add time and can mark the underside.
Step 5: Stabilize the Environment
Move the printer away from vents and windows. Even a light enclosure keeps air calm and temperatures steady. After relocating the machine—or when seasons change—recheck bed leveling and the mesh to ensure the plate sits flat. Lock the first layer, bias heat gently, manage cooling in stages, use adhesion aids correctly, and calm the air. Follow these five steps as a routine and flat, reliable bases become the norm—without chasing numbers.
Design and Orientation Choices That Reduce Warping in 3D Prints
Smart geometry beats brute force. Small edits spread stress, make corners less inviting to peel, and keep the base anchored without heroic settings.
- Round the footprint: Add small fillets or chamfers along the base edge; stress disperses and corners stop acting like pry bars.
- Rotate the part: A 30–45° turn breaks up a single long stress line and often fixes "two-corner lift" instantly.
- Split large plates into modules: Assemble afterward with screws, pins, or glue; each piece prints flatter.
- Balance thickness near the base: Instead of adding more solid walls, reduce heavy infill or bottom solid layers in the first few millimeters; pair with chamfers or fillets to spread stress.
- Anchor the weak spots: Mouse ears—tiny discs under sharp corners—provide local grip without changing the functional shape.
Geometry that spreads the load makes warping harder to start. These edits are quick to apply and usually cost less time than fighting settings for hour after hour.
No More Curl, Just Clean Prints
Start simple: clean plate, steady heat, calm air, and smart geometry. Save the settings that work, reuse them, and every new job begins from a proven baseline. With a clear checklist and quick test parts, warping stops being guesswork—it becomes routine success.


