

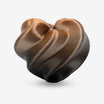
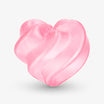
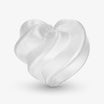
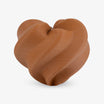
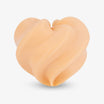
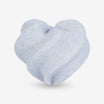
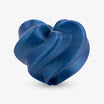
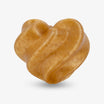
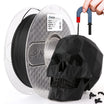
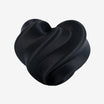
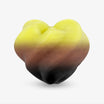

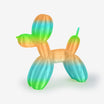
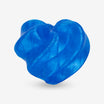

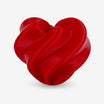
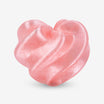
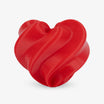



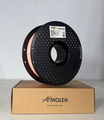

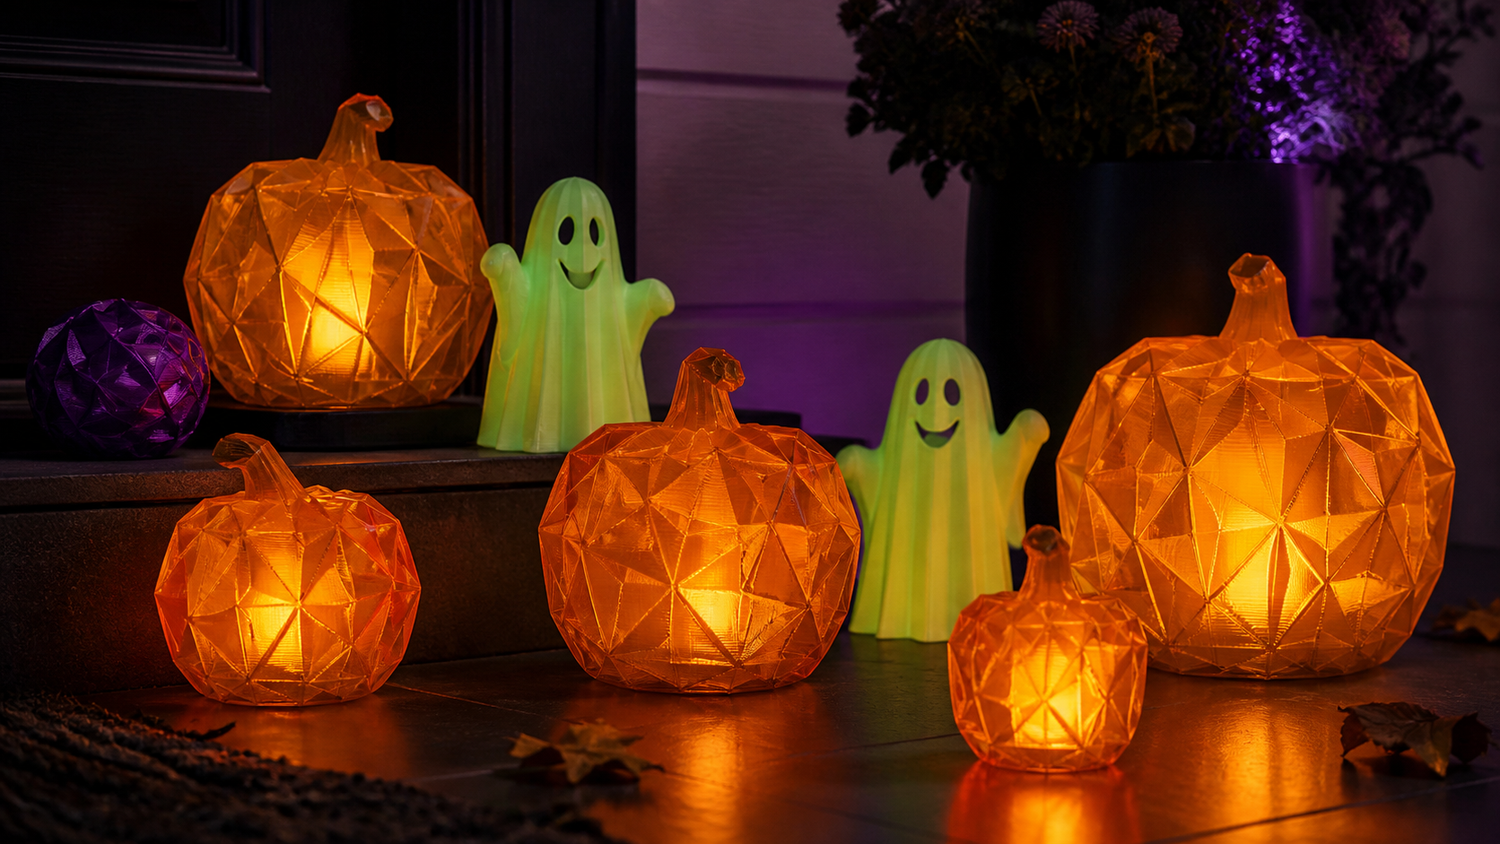
A practical guide to using Crystal Orange, Crystal Green, and Rainbow Nebula Glaze for a coordinated Halloween collection.
One Halloween print can be an experiment. A coordinated collection requires a plan.
When you are making several pumpkin lanterns, potion bottles, party favors, or display pieces, color alone is not enough. Wall thickness changes how light passes through a model. Part size changes how much of a rainbow transition appears. Small differences in orientation can make two objects sliced from the same file look noticeably different.
This guide shows you how to build and batch-print a Halloween collection with three finishes from the Amolen PLA Crystal-Transparent family: Crystal Orange, Crystal Green, and Rainbow Nebula Glaze. The goal is not to make every piece identical. It is to make the collection feel intentional from the first print to the last.
Build the Collection Around Three Visual Roles
Give each filament a job before selecting models. This keeps the palette controlled and makes it easier to decide which pieces deserve light, color transitions, or small surface details.

PLA Crystal Orange: The Warm Light Source
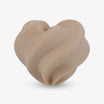
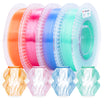
Crystal Orange is the natural anchor for pumpkin lanterns, jack-o'-lantern faces, small window ornaments, and warm translucent accents. It works especially well when the design includes facets, ribs, or cutouts that interrupt the light.
For illuminated decorations, test the entire object with the actual light source before beginning the batch. A thin shell may look bright but reveal a concentrated hotspot. More walls can soften the light, but they also reduce brightness. The best setting depends on the model, layer height, wall count, and LED placement.
Use only a cool-running battery LED puck or LED tea light. Never place a flame, hot bulb, or other high-heat source inside a PLA decoration.
PLA Crystal Green: The Transparent Accent
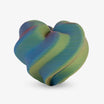
Crystal Green is well suited to potion bottles, ghost ornaments, slime-inspired accessories, translucent signs, and small spectral details. It adds a cooler visual counterpoint to orange without requiring another dark neutral color.
Crystal Green is a transparent color, not a glow-in-the-dark filament. It becomes most expressive when available light passes through it or reflects from its surfaces. Use a thin highlight from a window, lamp, or nearby LED rather than presenting the material as self-illuminating.
Fine geometry can become less visible in a translucent material. Make important facial features, lettering, or raised details deep enough to create a visible change in shadow and thickness.
PLA Rainbow Nebula Glaze: The Color-Transition Feature
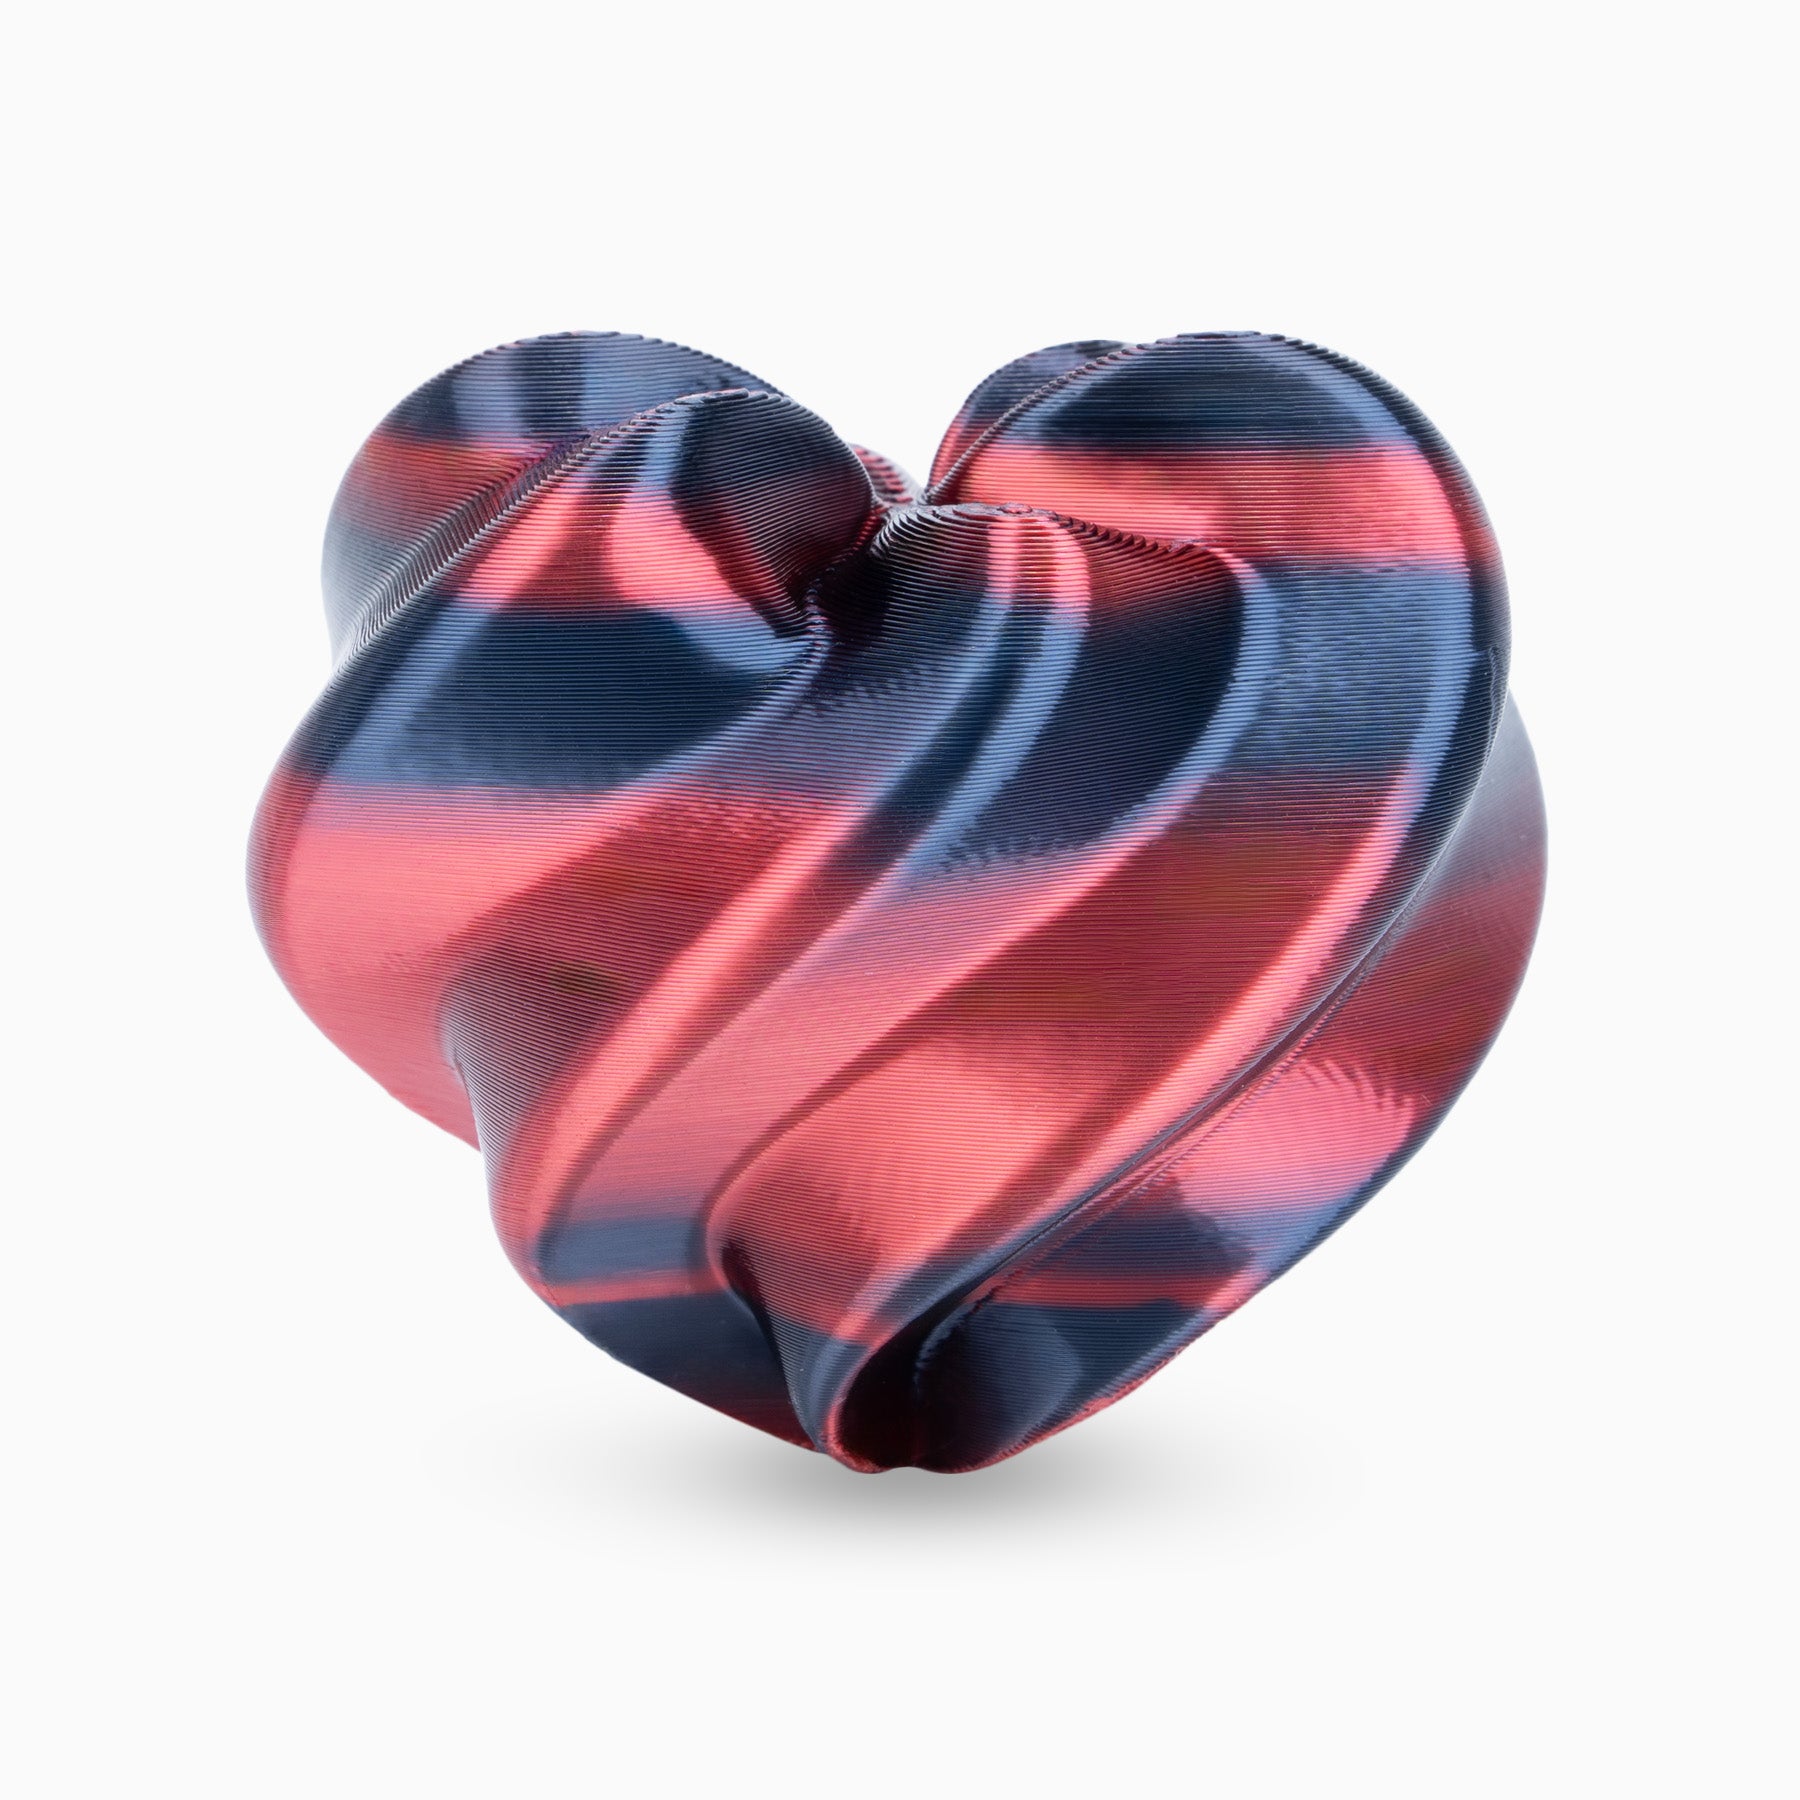
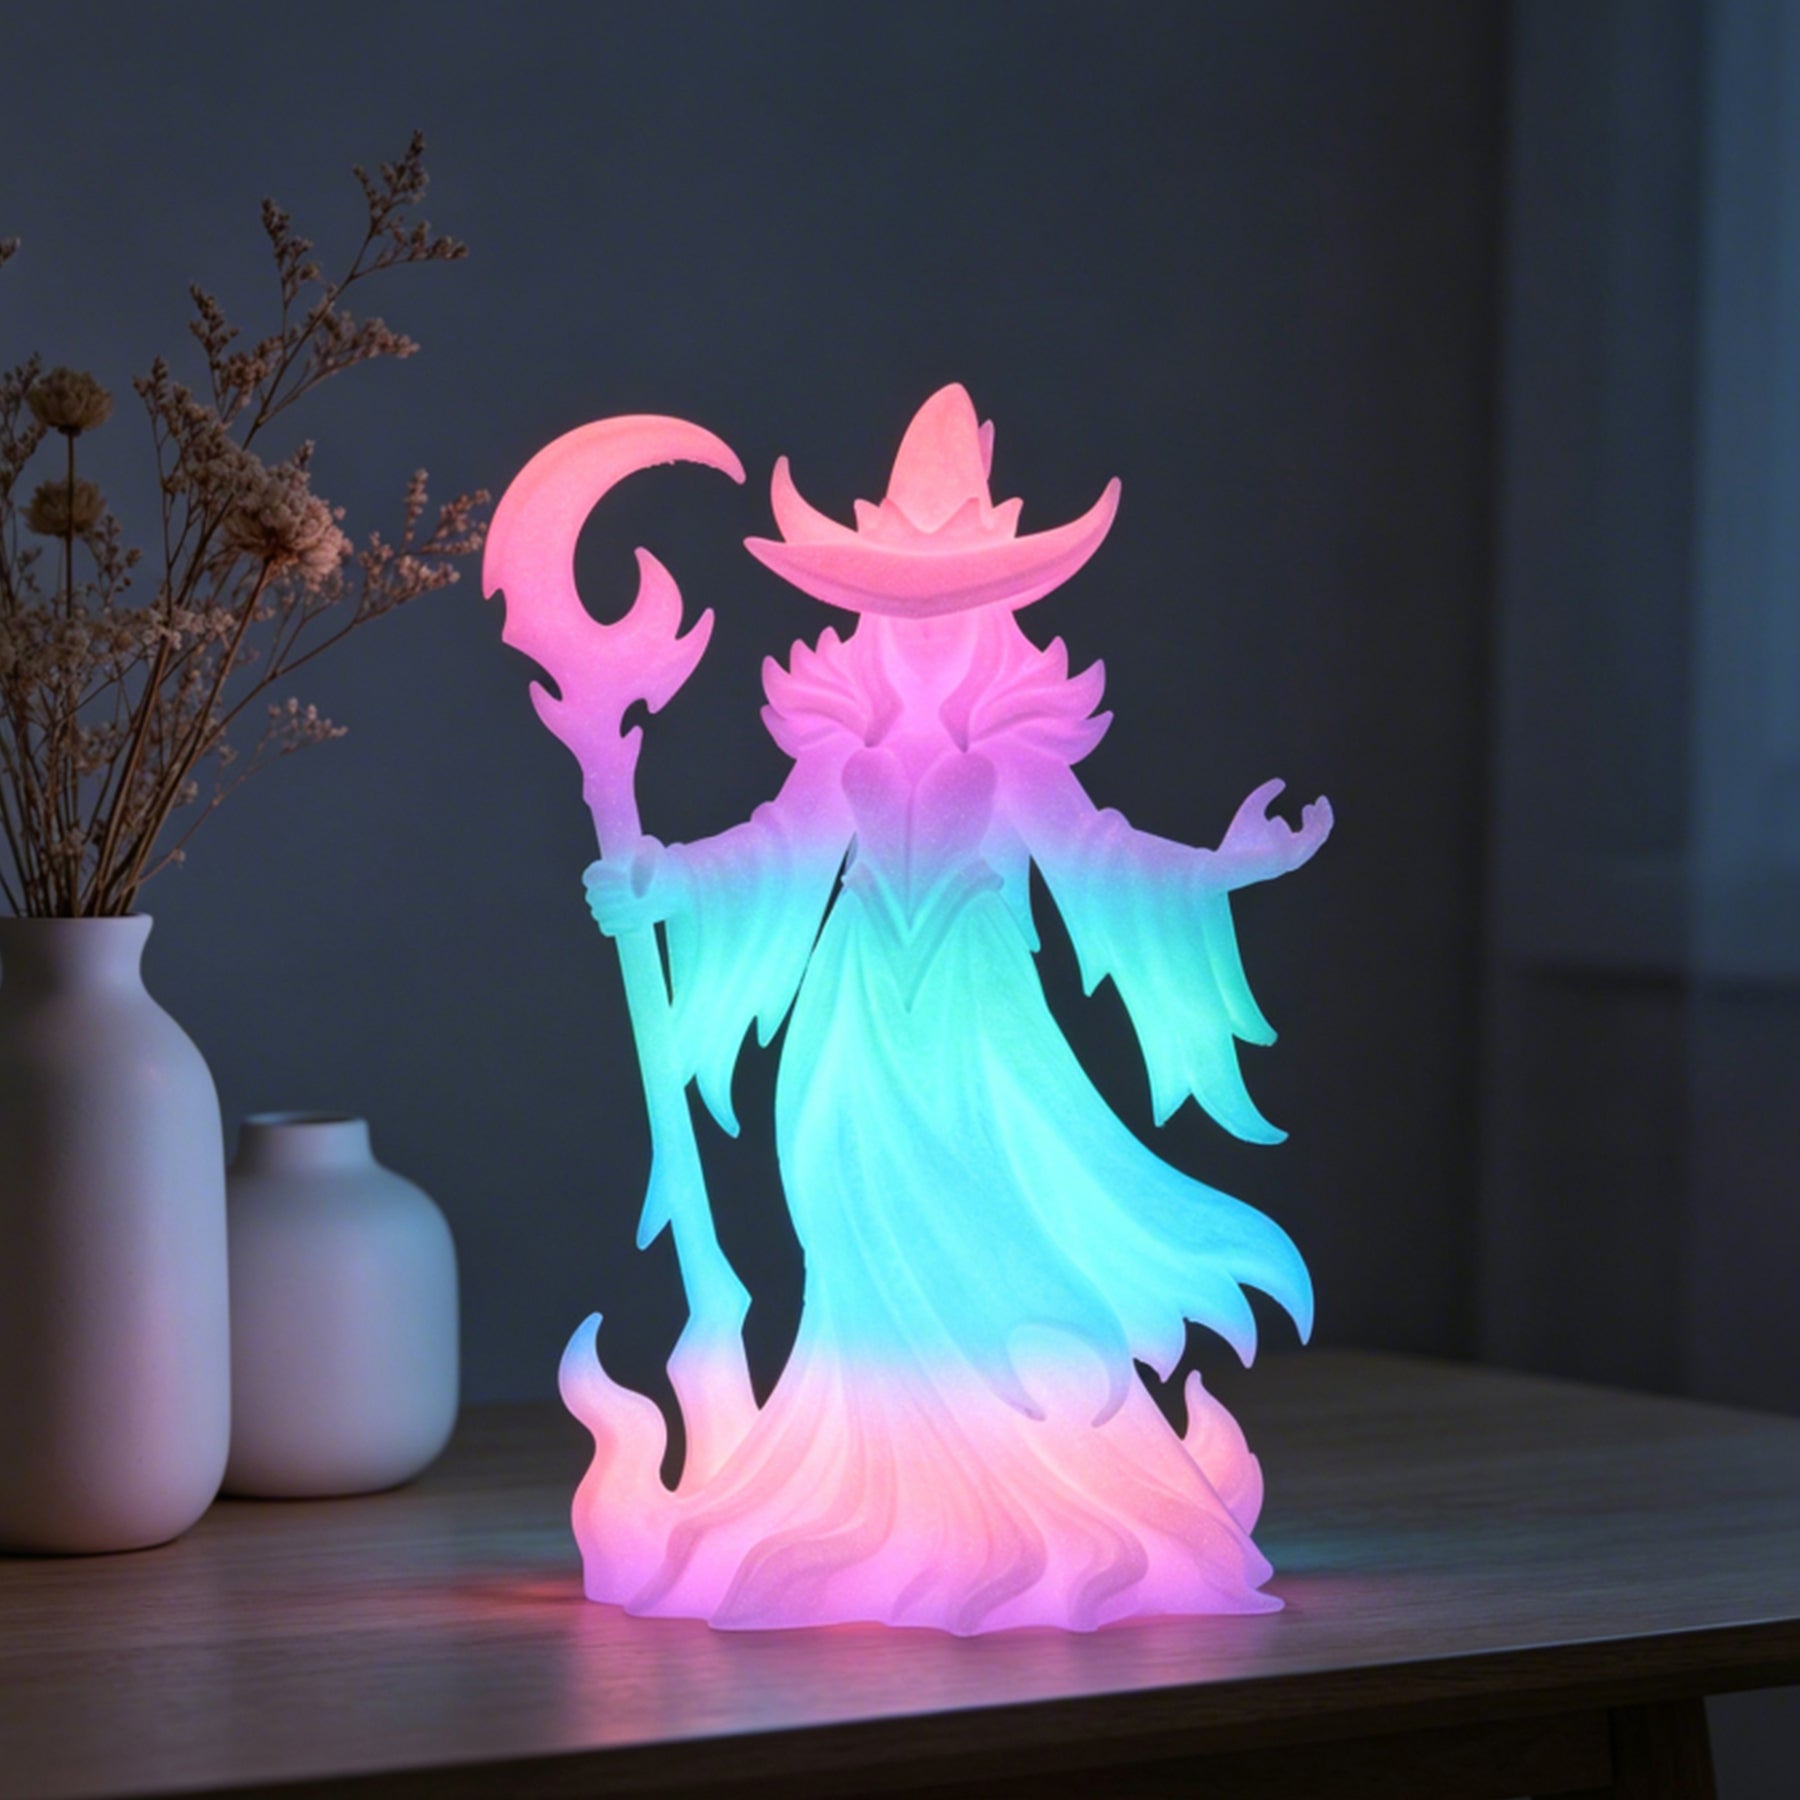
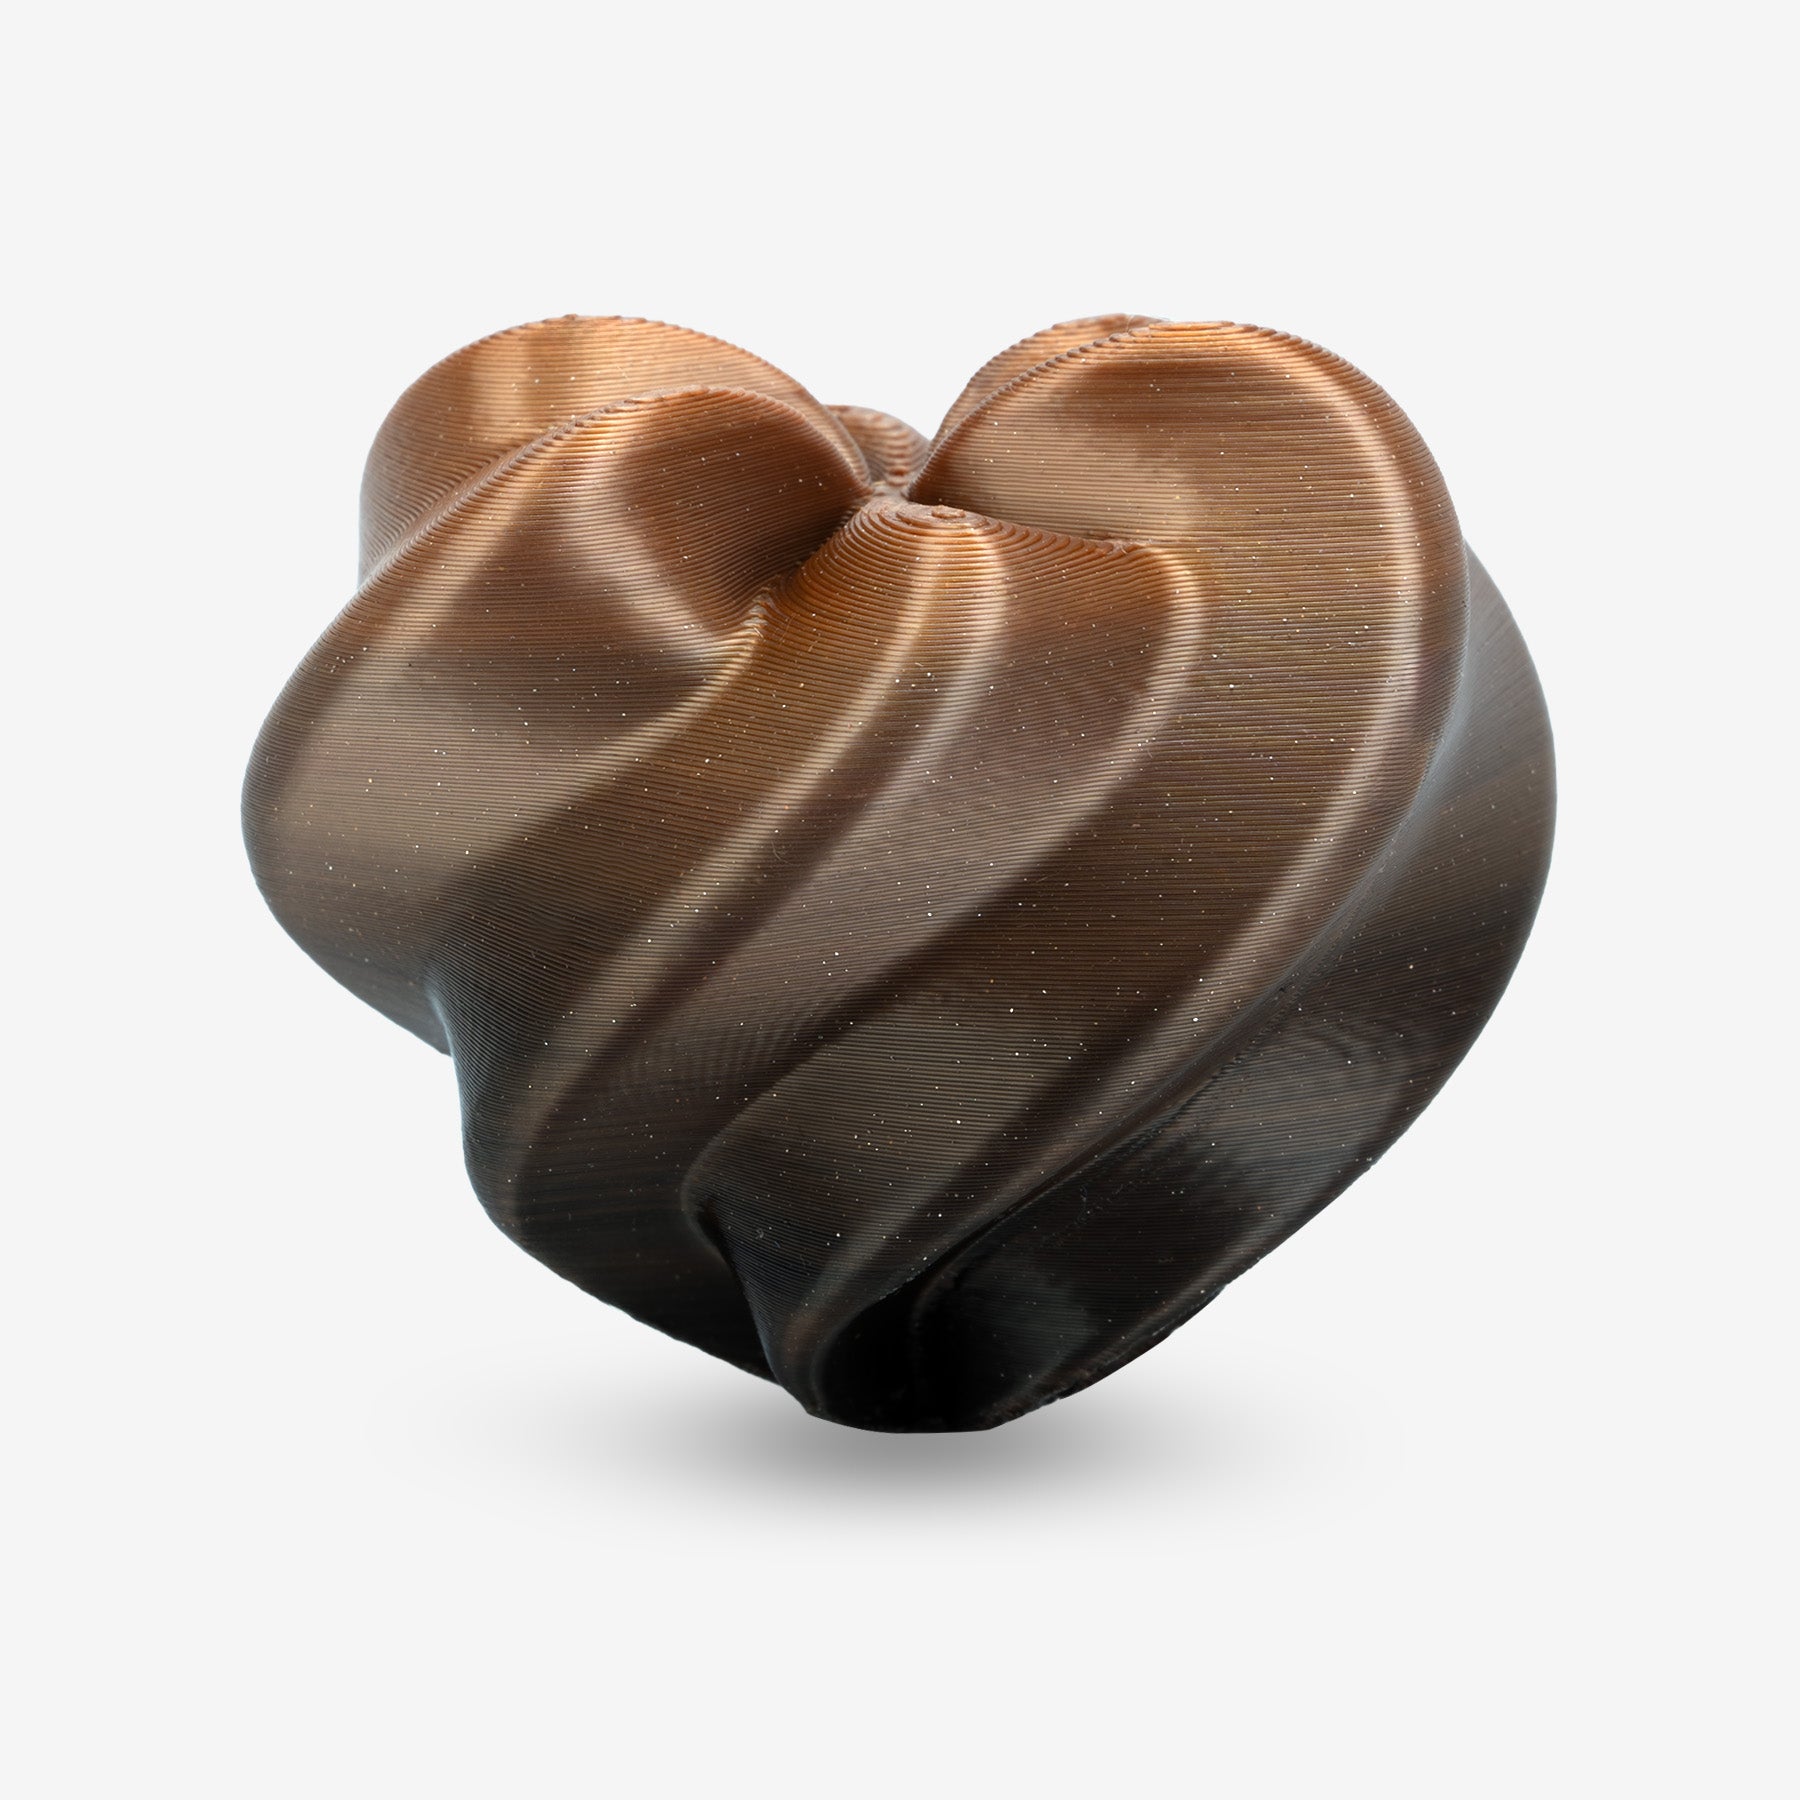
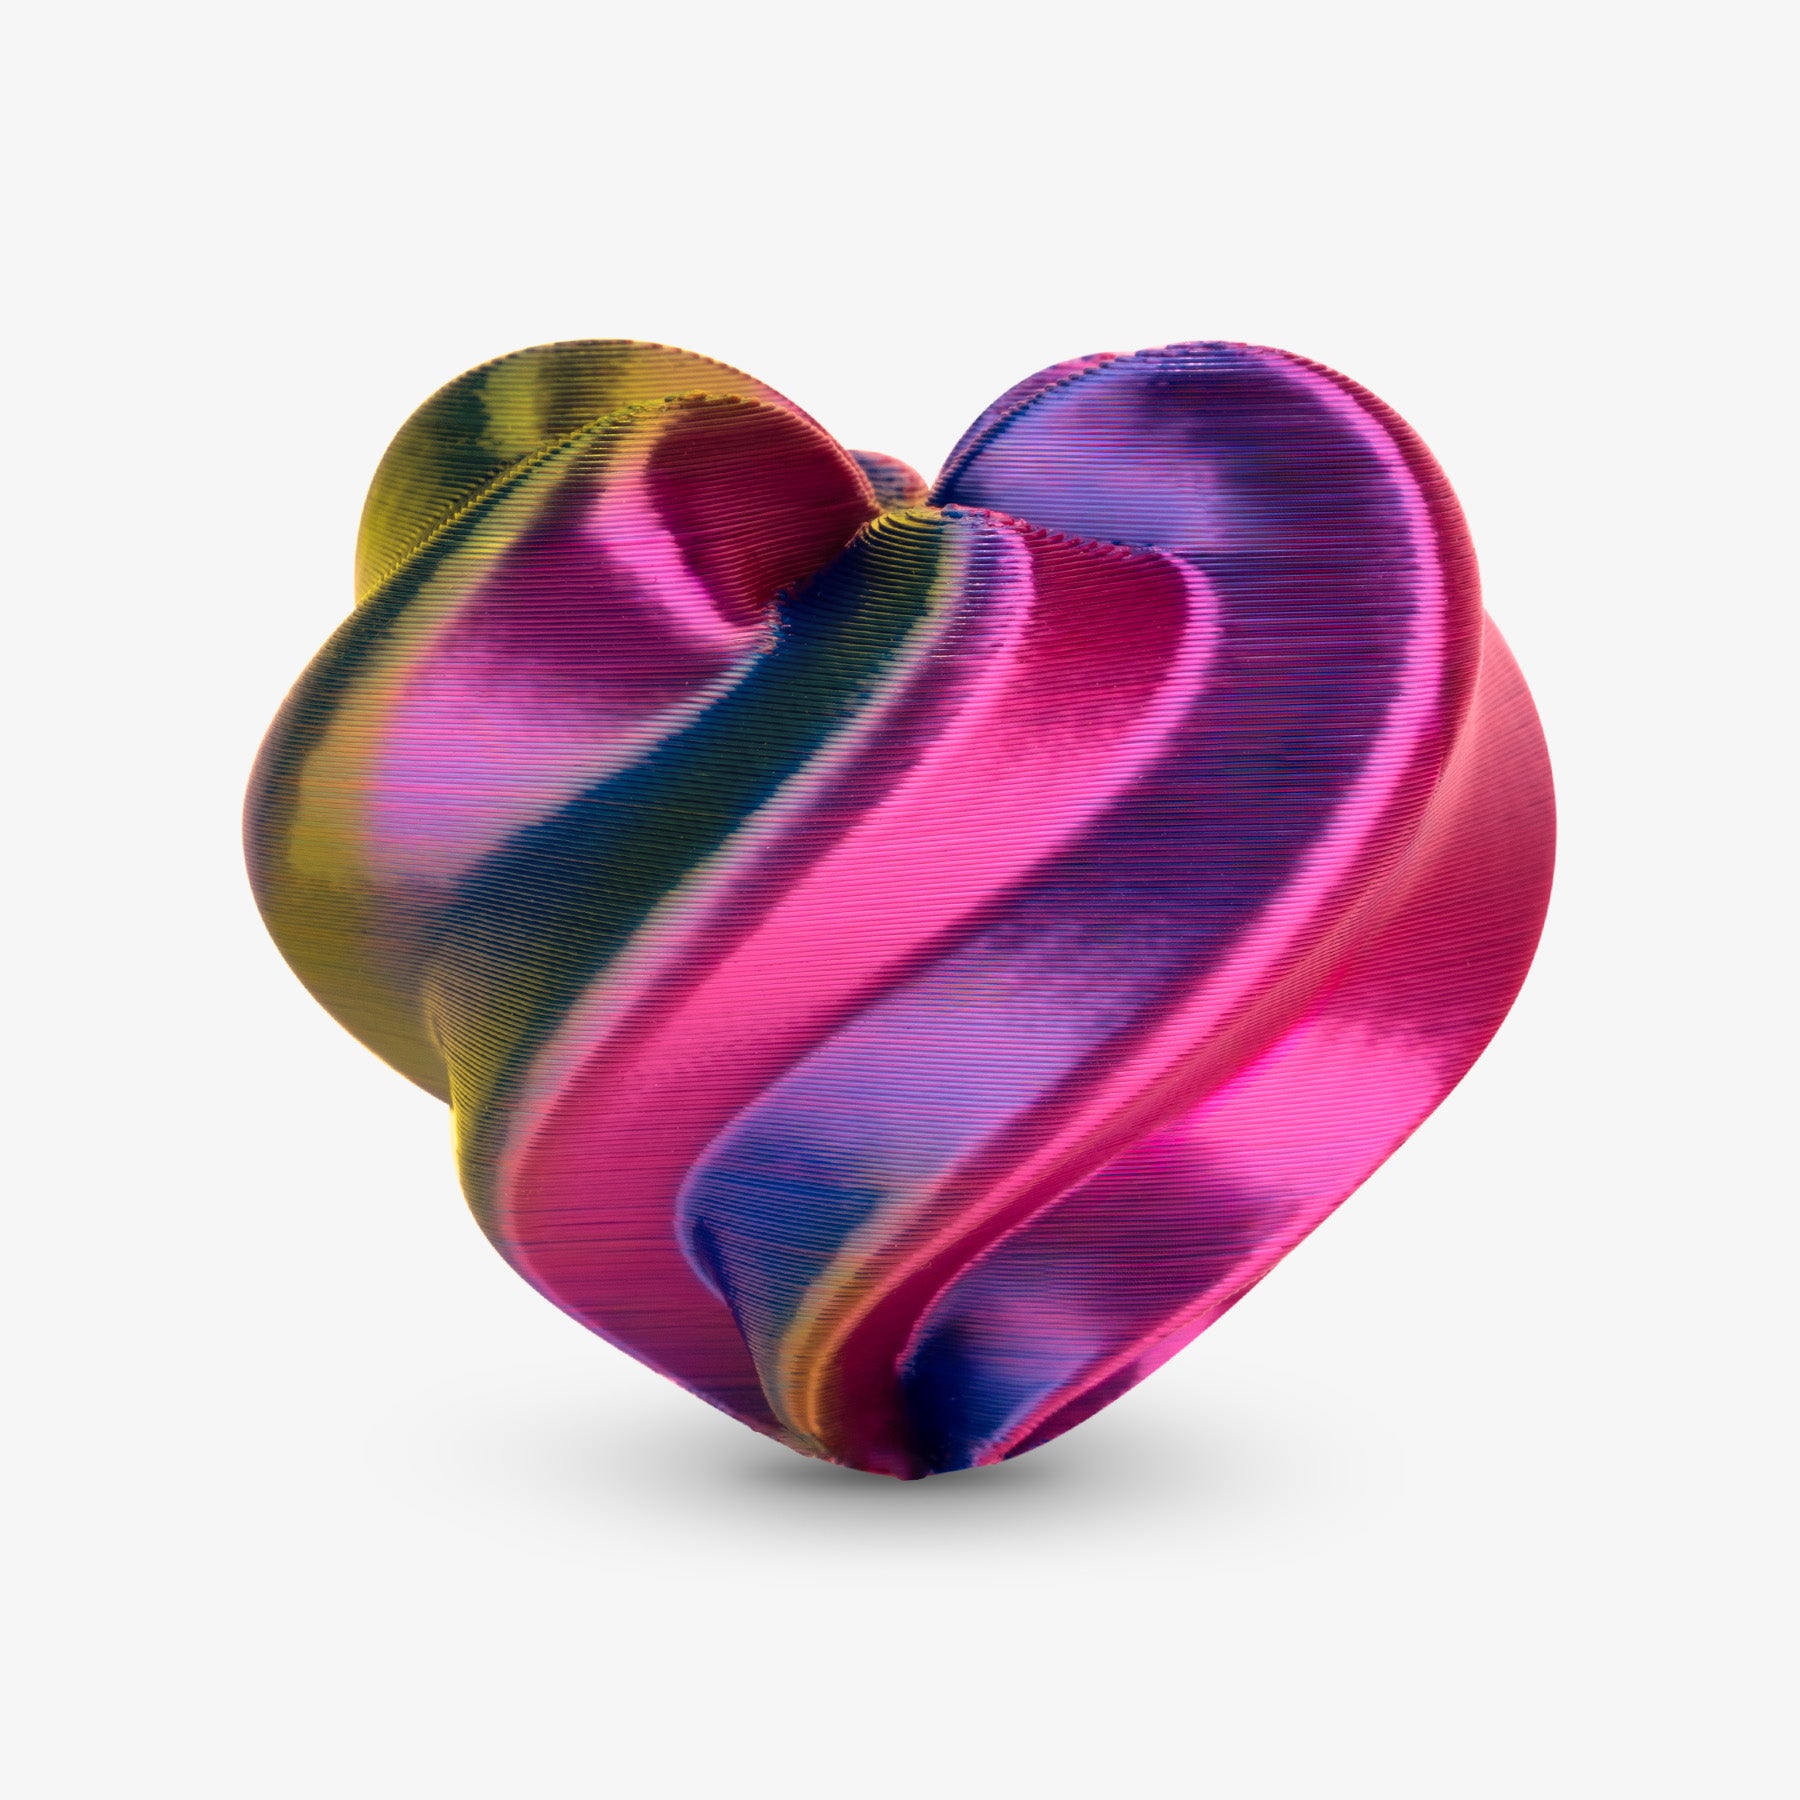
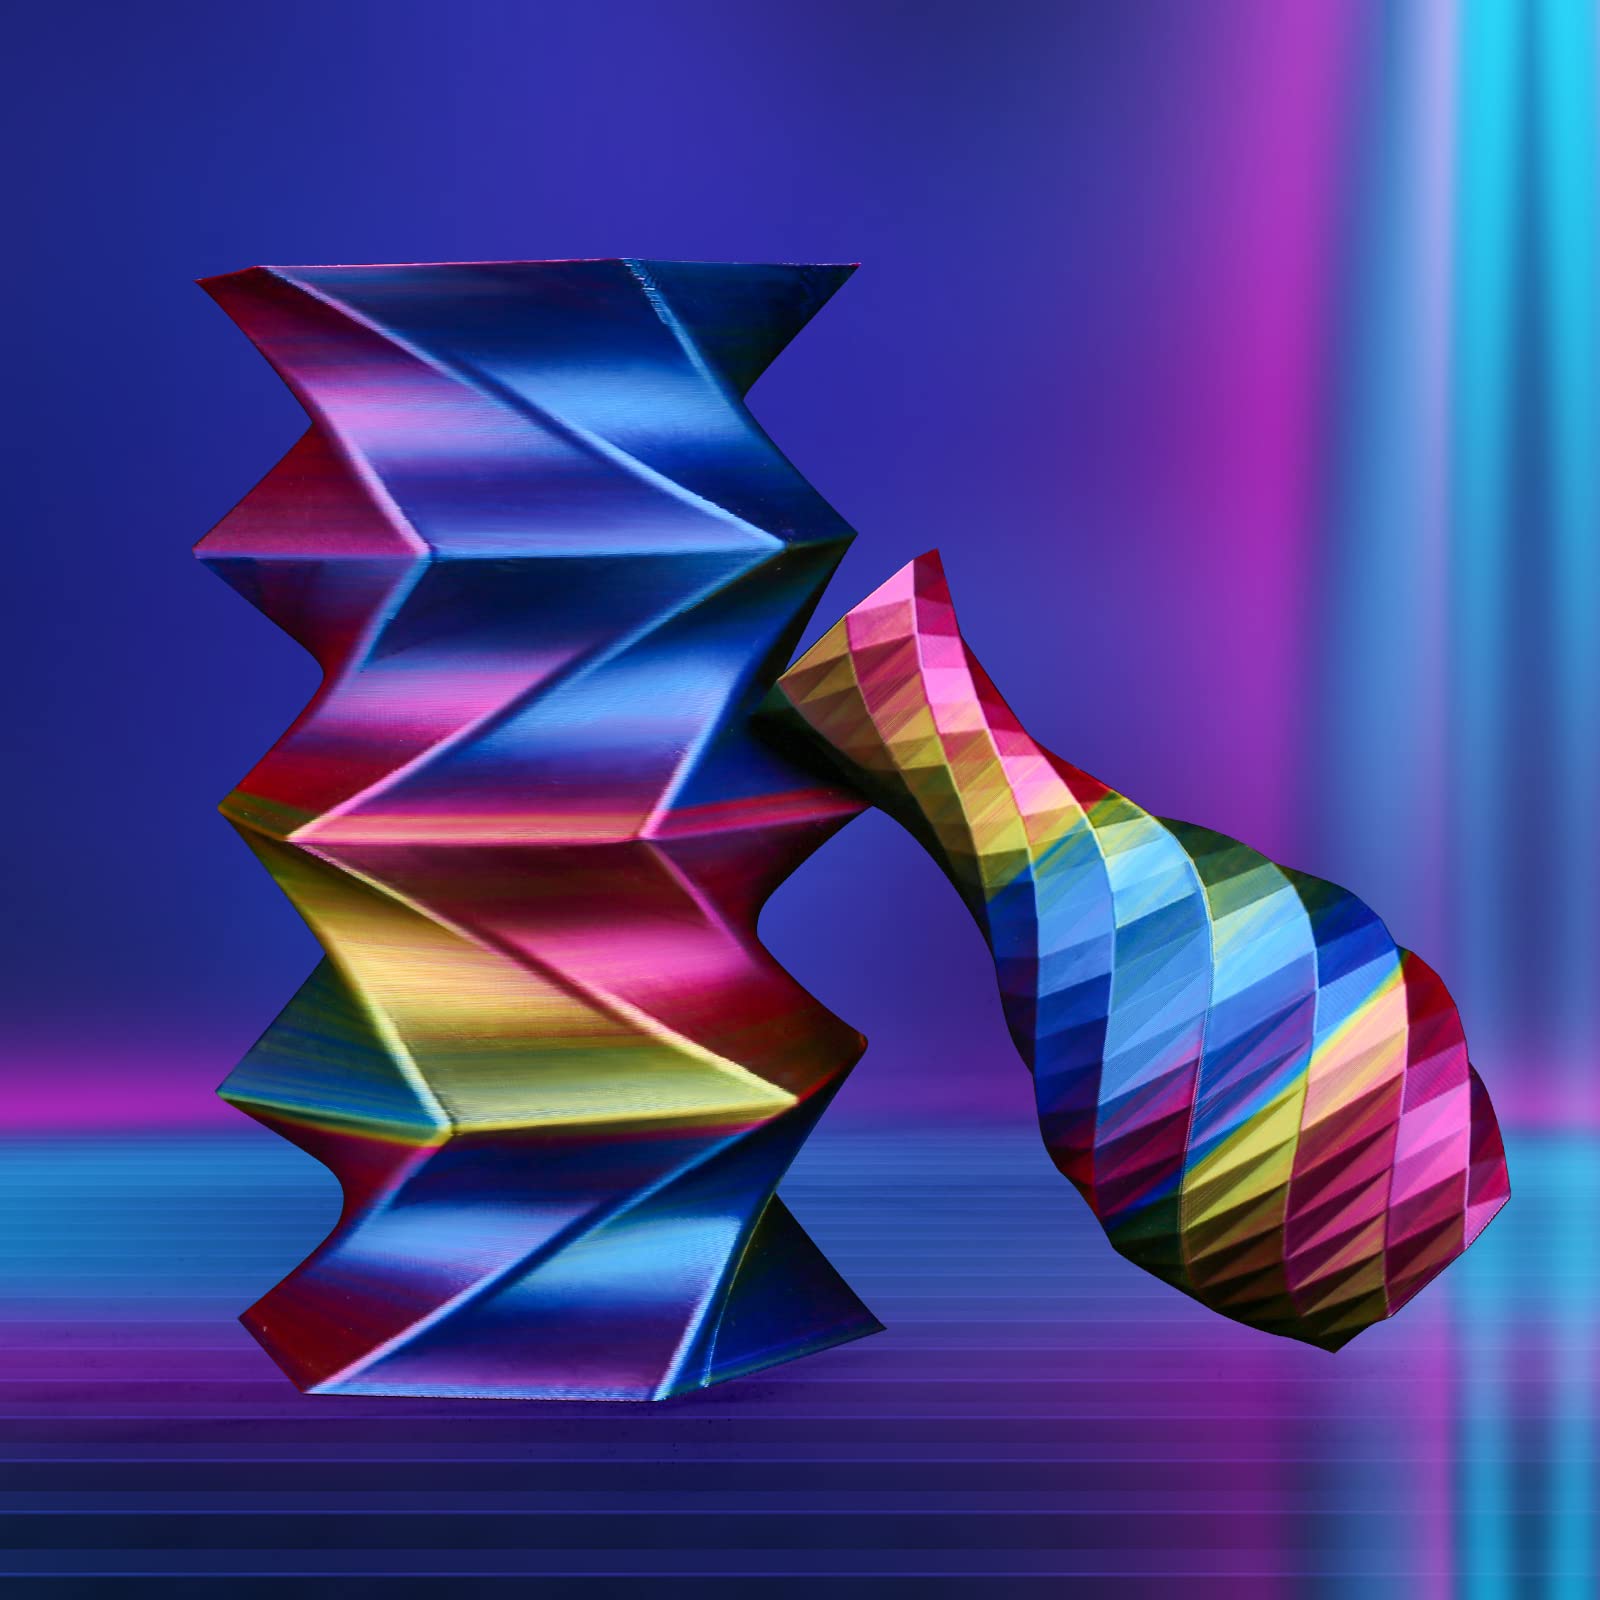
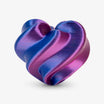
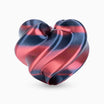
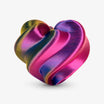
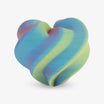
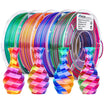
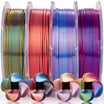
Rainbow Nebula Glaze adds pink, blue, pale neutral, and peach tones to bats, spiders, skulls, medallions, articulated decorations, and statement pieces. Use it selectively. One or two rainbow elements can unify a display; using it for every object can make the color sequence harder to control.
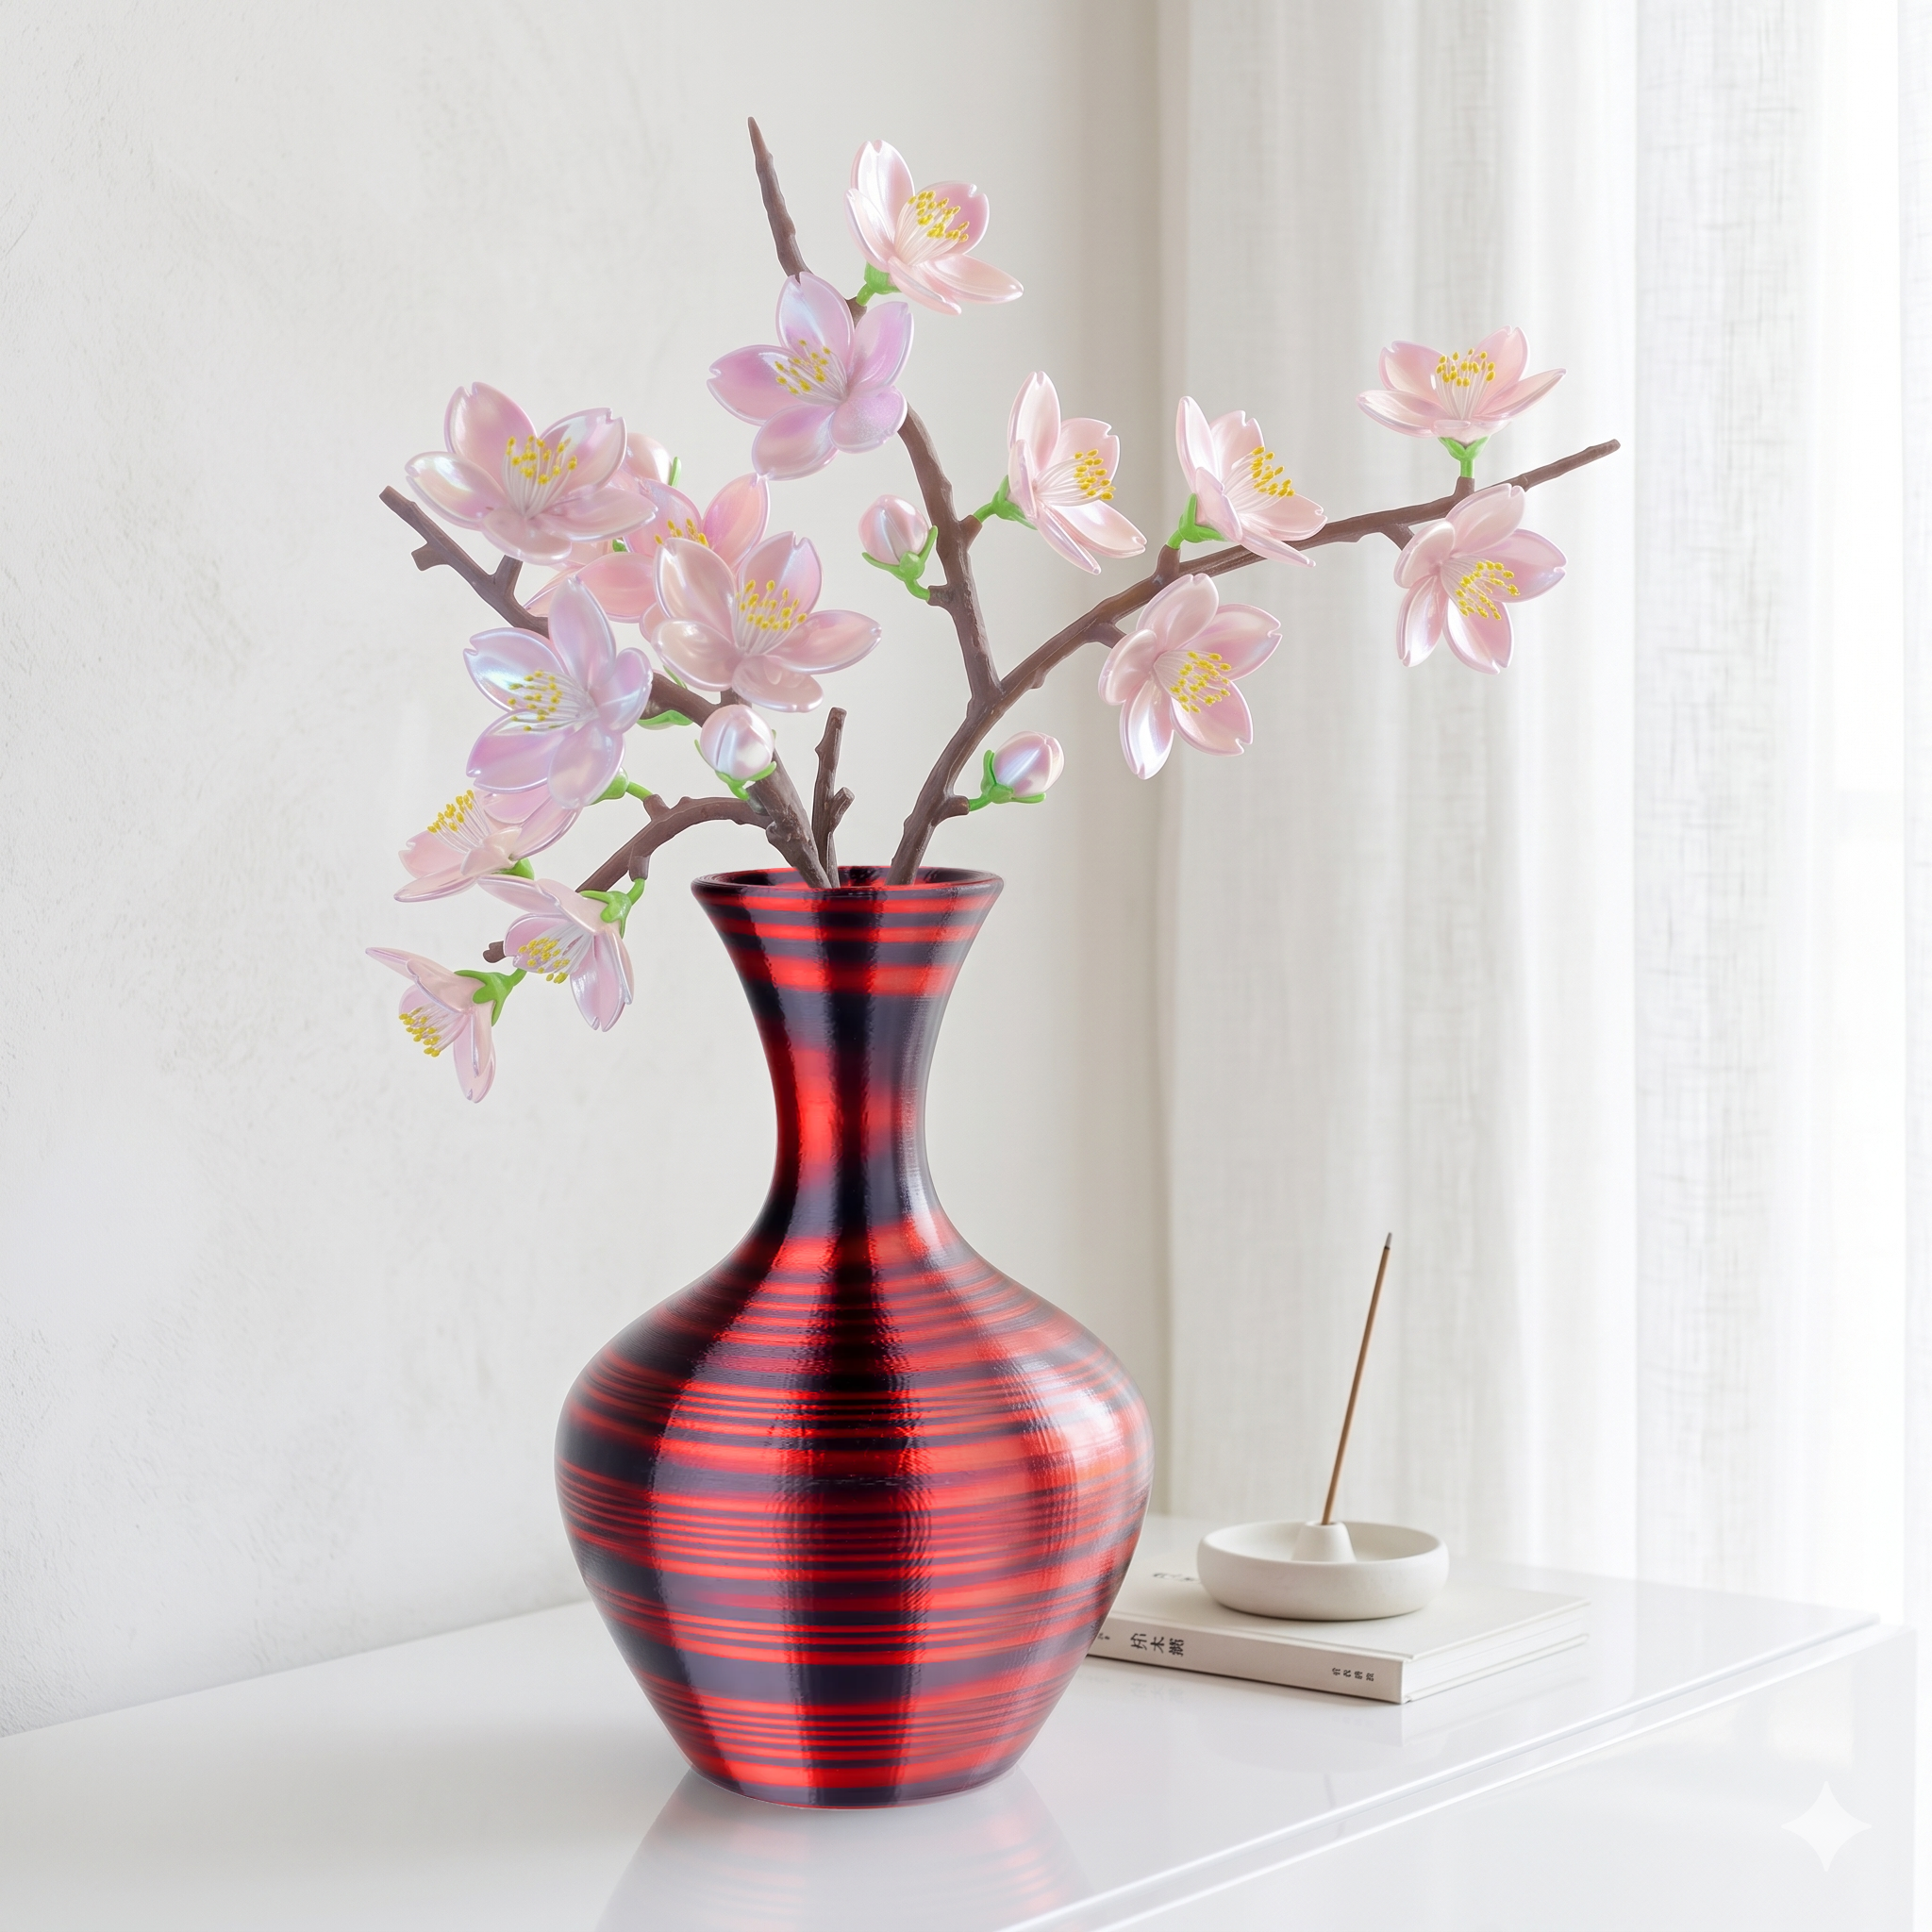
The portion of the filament that reaches a model determines which colors appear in that object. A small bat may show only one or two colors, while a taller ornament can reveal a longer transition. Print one complete sample, note the model weight, and check the remaining spool sequence before scheduling a batch.
If the color order matters, keep the model orientation, size, wall count, and plate arrangement consistent. Those choices help each piece use a similar amount of material, although no two gradient prints are guaranteed to match exactly.
Design for Realistic Transparency
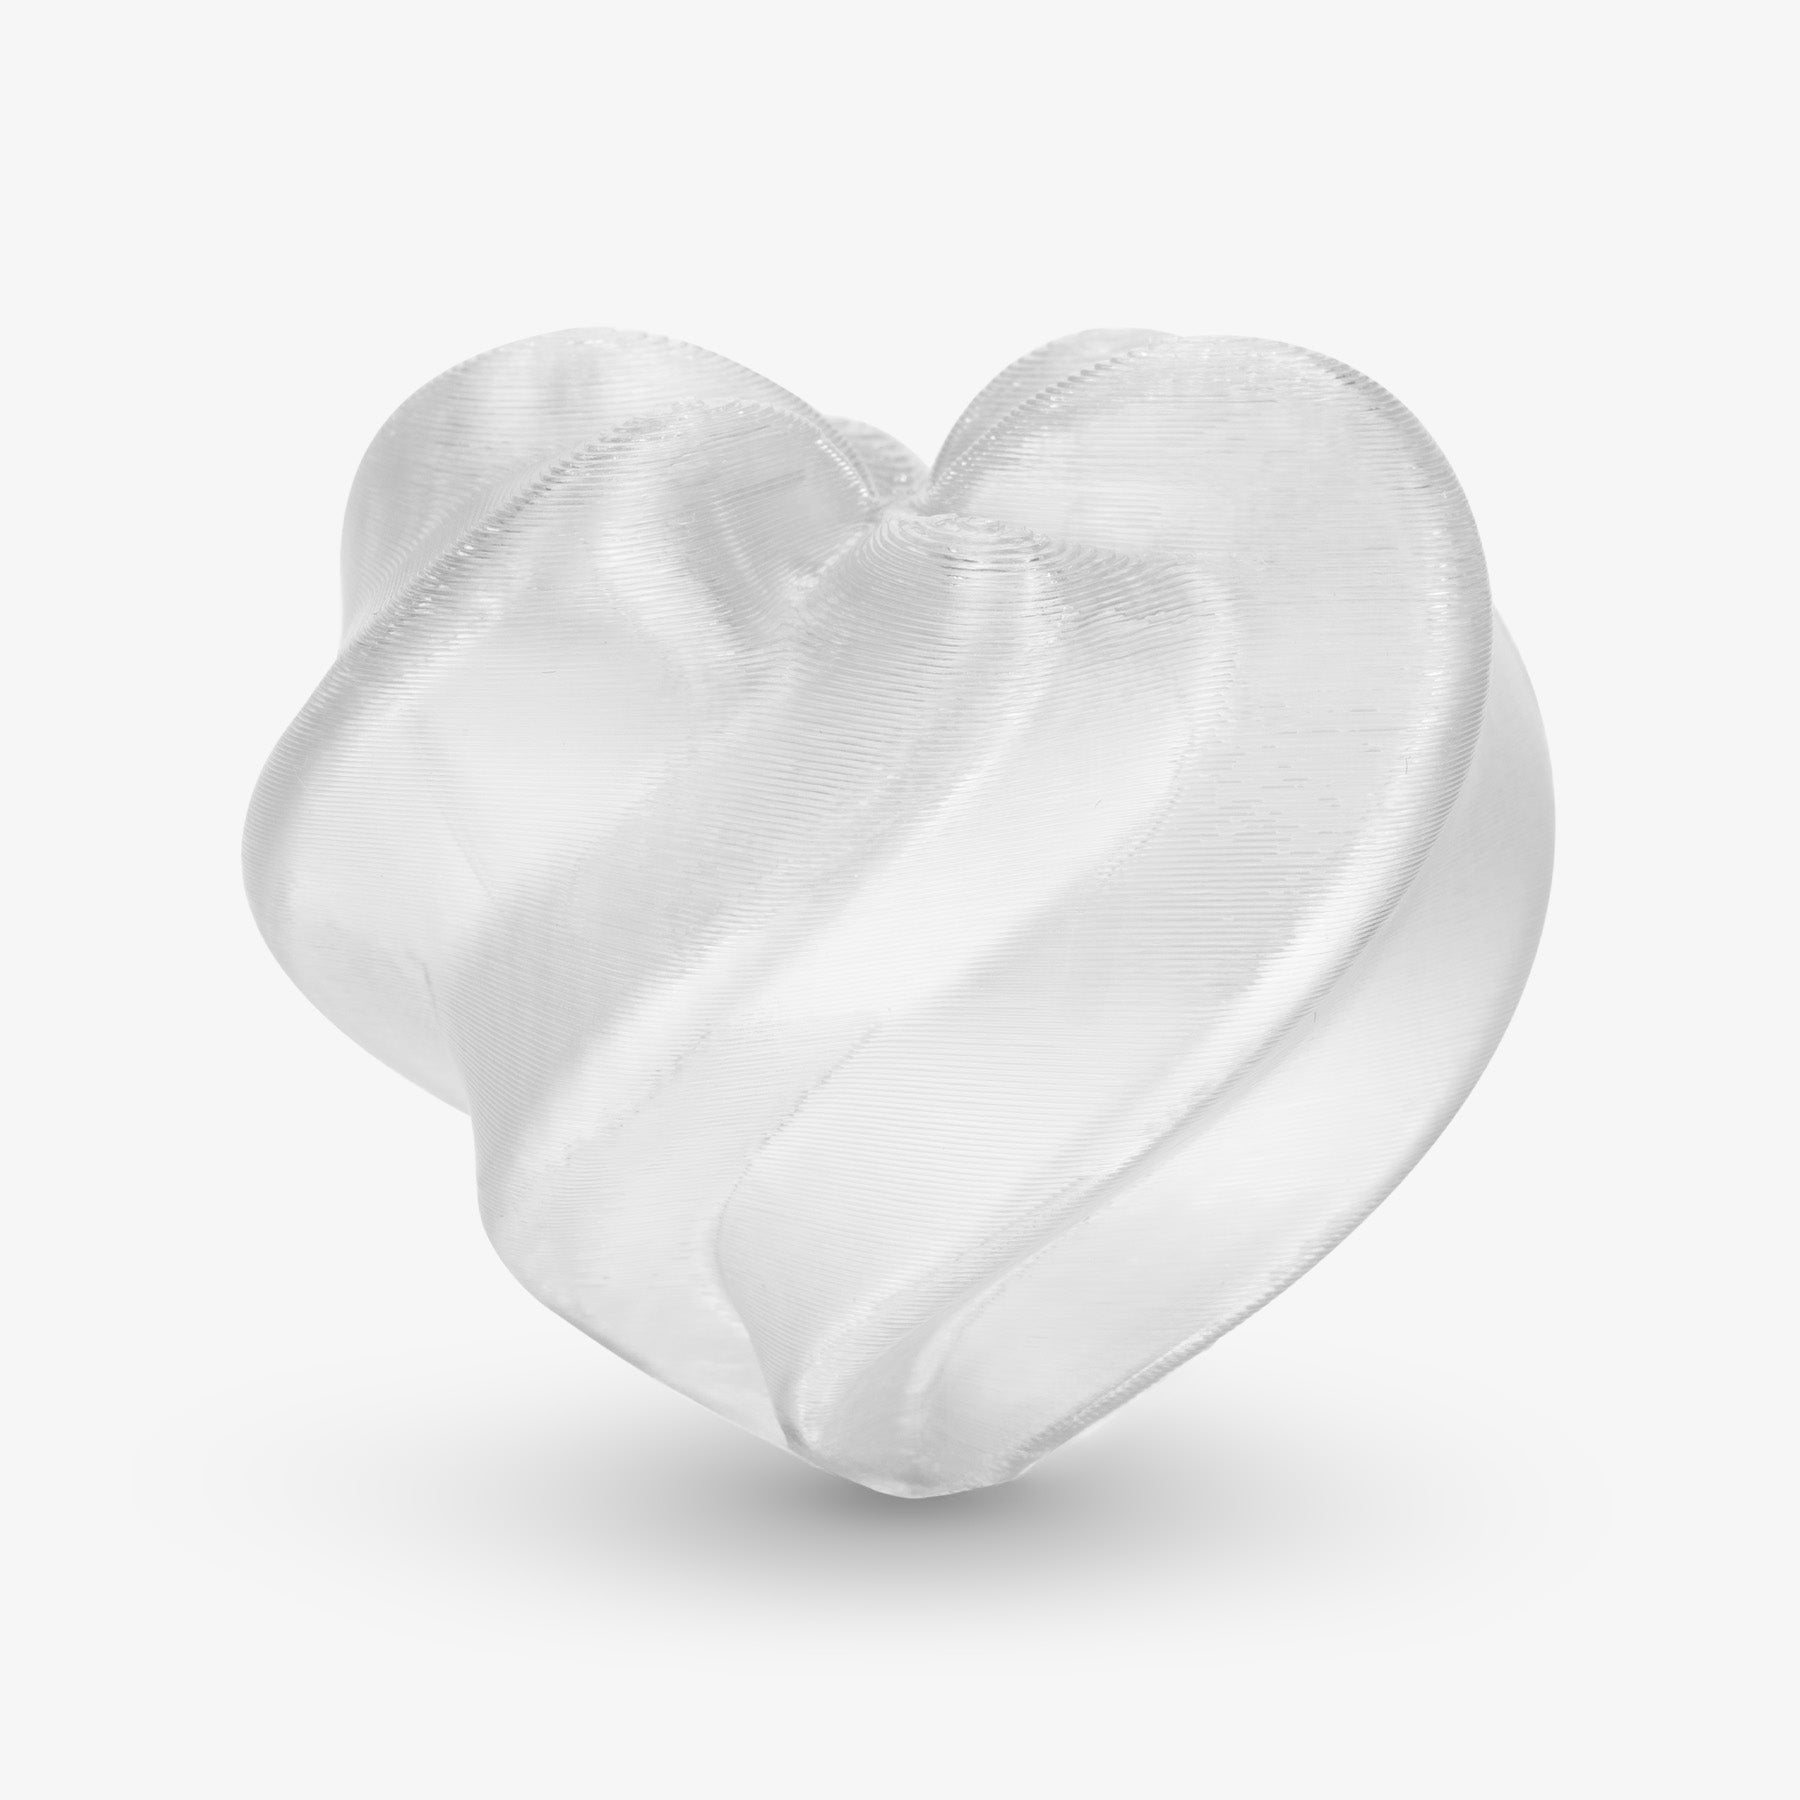
PLA Transparent is still a layered FDM material. The finished surface will not behave like molded glass, and that is part of its character. Layer lines, wall paths, infill, curves, and seams all affect the final appearance.
Before producing a full-size model, create a small test that answers four questions:
- How many walls produce the right balance of strength and light transmission?
- Does the chosen infill create distracting shadows?
- Where will the Z-seam be visible?
- Do the important details remain readable when the material is backlit?
For lantern-style prints, compare at least two wall settings under the same LED. For potion bottles or display objects, inspect the surface in ordinary room light as well as direct side light. A model that looks attractive when illuminated may show more layer texture when the light is turned off.
Start With the Official Material Range
The current Amolen PLA Crystal-Transparent product guidance lists these starting settings:
- Nozzle temperature: 210–230°C
- Bed temperature: 30–65°C
- Drying: 55 ± 5°C for 6–8 hours
- Printing humidity: below 20% RH
- Printing speed: below 220 mm/s
- Retraction: 0.8–1.2 mm at 25–40 mm/s
- Cooling fan: on
These are starting ranges, not a single universal profile. Tune for your machine, nozzle, build surface, layer height, and model. Transparent surfaces make inconsistent extrusion easier to notice, so prioritize an even first layer and stable flow over maximum speed.
Dry all three spools before an important production run, then keep them sealed with desiccant between plates. Popping sounds, a rough or cloudy surface, excess stringing, or uneven extrusion can be signs of moisture, but change one variable at a time when troubleshooting.
Inspect the Details Before You Multiply the Model
A complete sample should be examined more closely than a normal test print. Use side lighting or a phone's macro mode to inspect the areas that will be repeated across the batch.
1. Layer Consistency
Look for evenly spaced horizontal lines without sudden bands, gaps, or changes in gloss. Transparent materials reveal inconsistencies that an opaque color may hide.
2. Z-Seam and Start-Stop Marks
Move the seam to the back, a corner, or a natural ridge whenever possible. On a round potion bottle or pumpkin, a random seam can create small marks around the entire surface.
3. Corners and Faceted Surfaces
Check whether sharp facets remain clean without ringing or rounded edges. If a decorative face appears soft, adjust acceleration or speed only after confirming the filament is dry and the flow is consistent.
4. Light Diffusion
Place the real LED inside the sample and view it from the distance used in the final display. Check for bright hotspots, visible infill, and shadows created by internal supports.
5. Rainbow Transition Placement
Photograph the approved Rainbow Nebula Glaze sample before starting the batch. That reference helps you decide whether later color variation is acceptable or whether the spool should be advanced before the next plate.
Calculate Filament Before the Batch
Use the slicer's weight estimate and add a planning allowance for calibration pieces, purge, supports, color changes, and occasional failures.
(Number of units × grams per unit × 1.15) ÷ 1,000 = kilograms needed
For example, 30 orange lanterns using 120 grams each require:
30 × 120 g × 1.15 = 4,140 g, or 4.14 kg
Round up to five 1 kg spools. If the event date is fixed or exact color consistency matters, keep an additional unopened spool available.
Calculate each color separately. Rainbow prints deserve extra attention because a calibration model or failed plate also consumes part of the color sequence.
Run a Pilot Batch, Not Just One Sample
One successful model confirms that the file can print. A pilot batch confirms that it can be repeated.
Print two to four copies under normal production conditions. Check the first layer, travel paths between objects, stringing, bed-edge adhesion, cooling, and total plate time. For Rainbow Nebula Glaze, note how the color transition moves from the first object to the last.
Approve the pilot only when every piece meets the same basic standard:
- Stable base and complete walls
- Acceptable seam placement
- Clean fit between lids, bases, or assembled parts
- Consistent translucency within each single-color group
- Intentional color variation within the rainbow group
- Safe clearance around any LED insert
If the pilot fails, identify the cause before filling the build plate. Multiplying an unproven profile only produces the same problem faster.
Turn the Approved Sample Into a Repeatable Workflow
Freeze the Production File
Save the approved slicer project with the printer, nozzle, material, layer height, and version in the filename. Do not rely on the STL alone. The slicer project preserves the orientation, supports, seam strategy, and process settings that produced the approved sample.
Label and Separate the Spools
Record the material, color, opening date, and most recent drying date. Keep each production spool beside its approved sample. This reduces accidental color substitutions and makes it easier to resume work after a shift or overnight pause.
Plan Plates by Risk
A full plate offers better throughput, but it also exposes more time and material to one failure. Use smaller plates for a new model, tall narrow objects, or color transitions that need close control. Increase the quantity only after the pilot behaves reliably.
Use Four Checkpoints
Inspect each plate at the first layer, early walls, mid-print, and completion. You do not need to watch every minute, but a few deliberate checks can catch lifting, a tangle, under-extrusion, or a nearly empty spool before the entire queue is affected.
Record the Result
For every plate, note the file version, material, start and finish time, quantity, pass/fail result, and any adjustment. Photograph one representative piece under the same lighting. That record turns a seasonal experiment into a repeatable production process.

A Simple Three-Color Production Plan
1. Print Crystal Orange first. Approve the lantern shell and LED clearance before producing the largest quantity.
2. Print Crystal Green second. Use smaller potion bottles, ghost accents, or translucent markers to support the orange centerpiece.
3. Print Rainbow Nebula Glaze last. Use the approved object weight to plan where the color transitions are likely to fall.
4. Inspect the full collection together. View every color under the actual room or event lighting before packing.
5. Keep one reference piece from each group. Use them to judge replacement prints and future seasonal runs.
The finished collection should feel coordinated without looking mechanically identical. Orange provides warmth, green adds transparent contrast, and the rainbow transition supplies a limited feature color.
Production Checklist
- Confirm quantity, deadline, model size, and color assignment.
- Dry and label all three filaments.
- Approve one complete sample in each material.
- Photograph the approved Rainbow Nebula Glaze transition.
- Test wall thickness and the real LED with Crystal Orange.
- Confirm that Crystal Green details remain visible in ordinary light.
- Run a two-to-four-piece pilot batch.
- Calculate each color with at least a 15% planning allowance.
- Save and lock the approved slicer projects.
- Inspect and record every completed plate.
- Use only cool-running battery LEDs inside PLA decorations.
Build a Halloween Collection That Looks Intentional
The most reliable Halloween 3D printing workflow starts with three decisions: give every filament a visual role, approve a complete sample, and scale only after a pilot batch succeeds.
Crystal Orange brings warm transmitted light. Crystal Green adds cool transparent detail without pretending to be a glow material. Rainbow Nebula Glaze creates controlled variation for feature pieces. Together, they can turn a group of separate files into one coordinated seasonal collection.
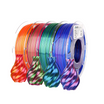
Explore Amolen PLA Crystal-Transparent to find Crystal Orange, Crystal Green, Rainbow Nebula Glaze, and additional colors for your next project:
https://www.amolen.com/products/pla-transparent
Frequently Asked Questions
Is Crystal Green a glow-in-the-dark filament?
No. Crystal Green is a transparent green PLA. It catches and transmits available light but does not charge and glow like a glow-in-the-dark material.
How can I make a transparent PLA lantern look more evenly lit?
Test wall count, infill, model geometry, and LED distance together. More walls may soften a hotspot, while a thin shell may appear brighter. Use the same cool-running battery LED planned for the final display.
Will every Rainbow Nebula Glaze print have the same colors?
Not necessarily. The visible transition depends on the portion of filament used by the model. Consistent orientation, size, and material usage can make a batch more predictable, but natural variation is part of the effect.
How much extra filament should I plan for?
A 15% allowance is a practical starting point for test pieces, purge, supports, and occasional failures. Increase it for an unfamiliar model, support-heavy geometry, or a fixed event deadline.
Can PLA Halloween decorations be used with real candles?
No. Use only cool-running battery LED pucks or LED tea lights. Never place an open flame or high-heat light source inside a PLA object.
Safety note: The projects in this article are decorative examples. Follow your printer and filament manufacturer's instructions. Keep small printed parts and packaging away from children and pets when they could present a choking hazard.