


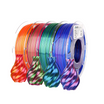
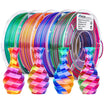


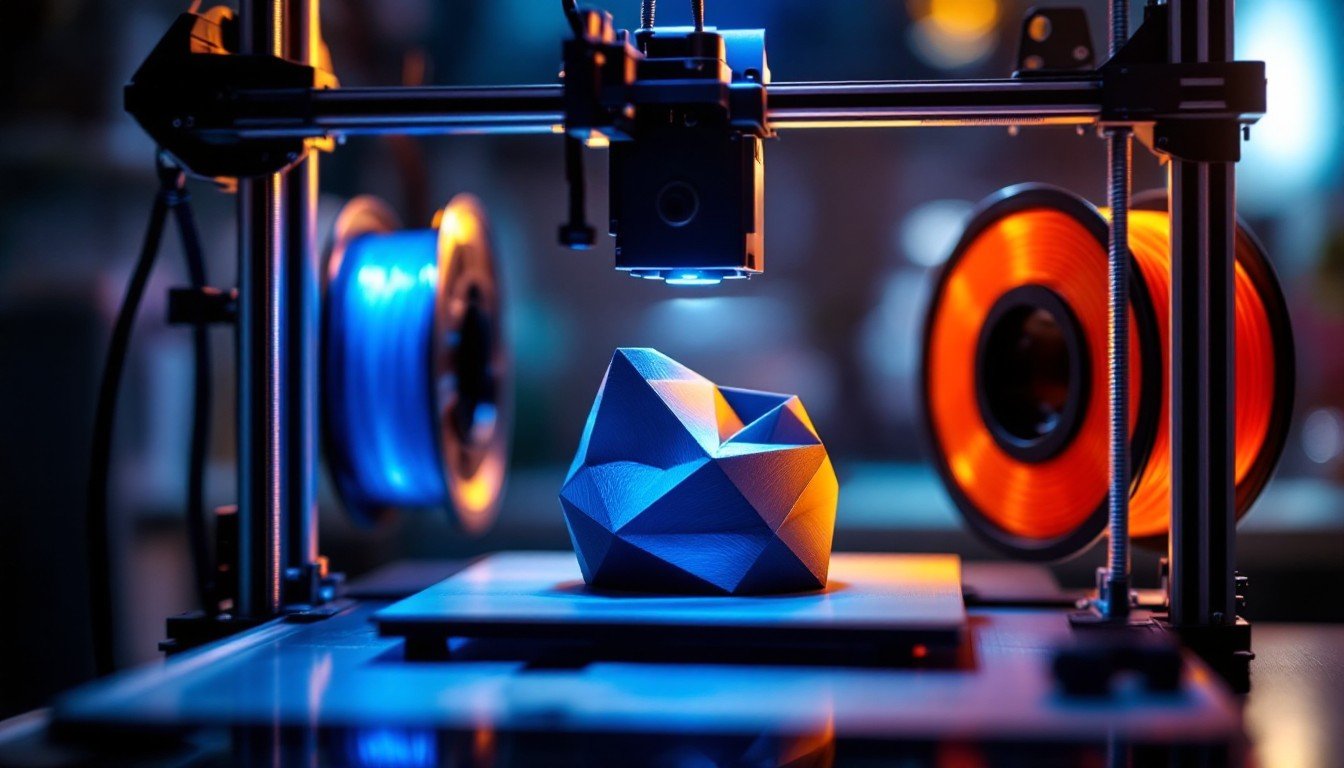
Multi-color filament can transform an ordinary print into something that looks professionally finished. From smooth shade transitions to bold rainbow stripes, these spools introduce creative effects without requiring special hardware. This article will discuss the definition of multi-color filament, its connection to multi-extruder printing, and how model design, slicing setup, and simple techniques all contribute to achieving consistent, eye-catching results.
What Multi-Color Filament Is and How It Differs From Multi-Extruder Printing
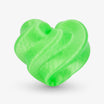
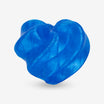
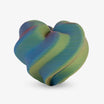
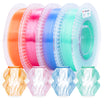
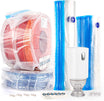
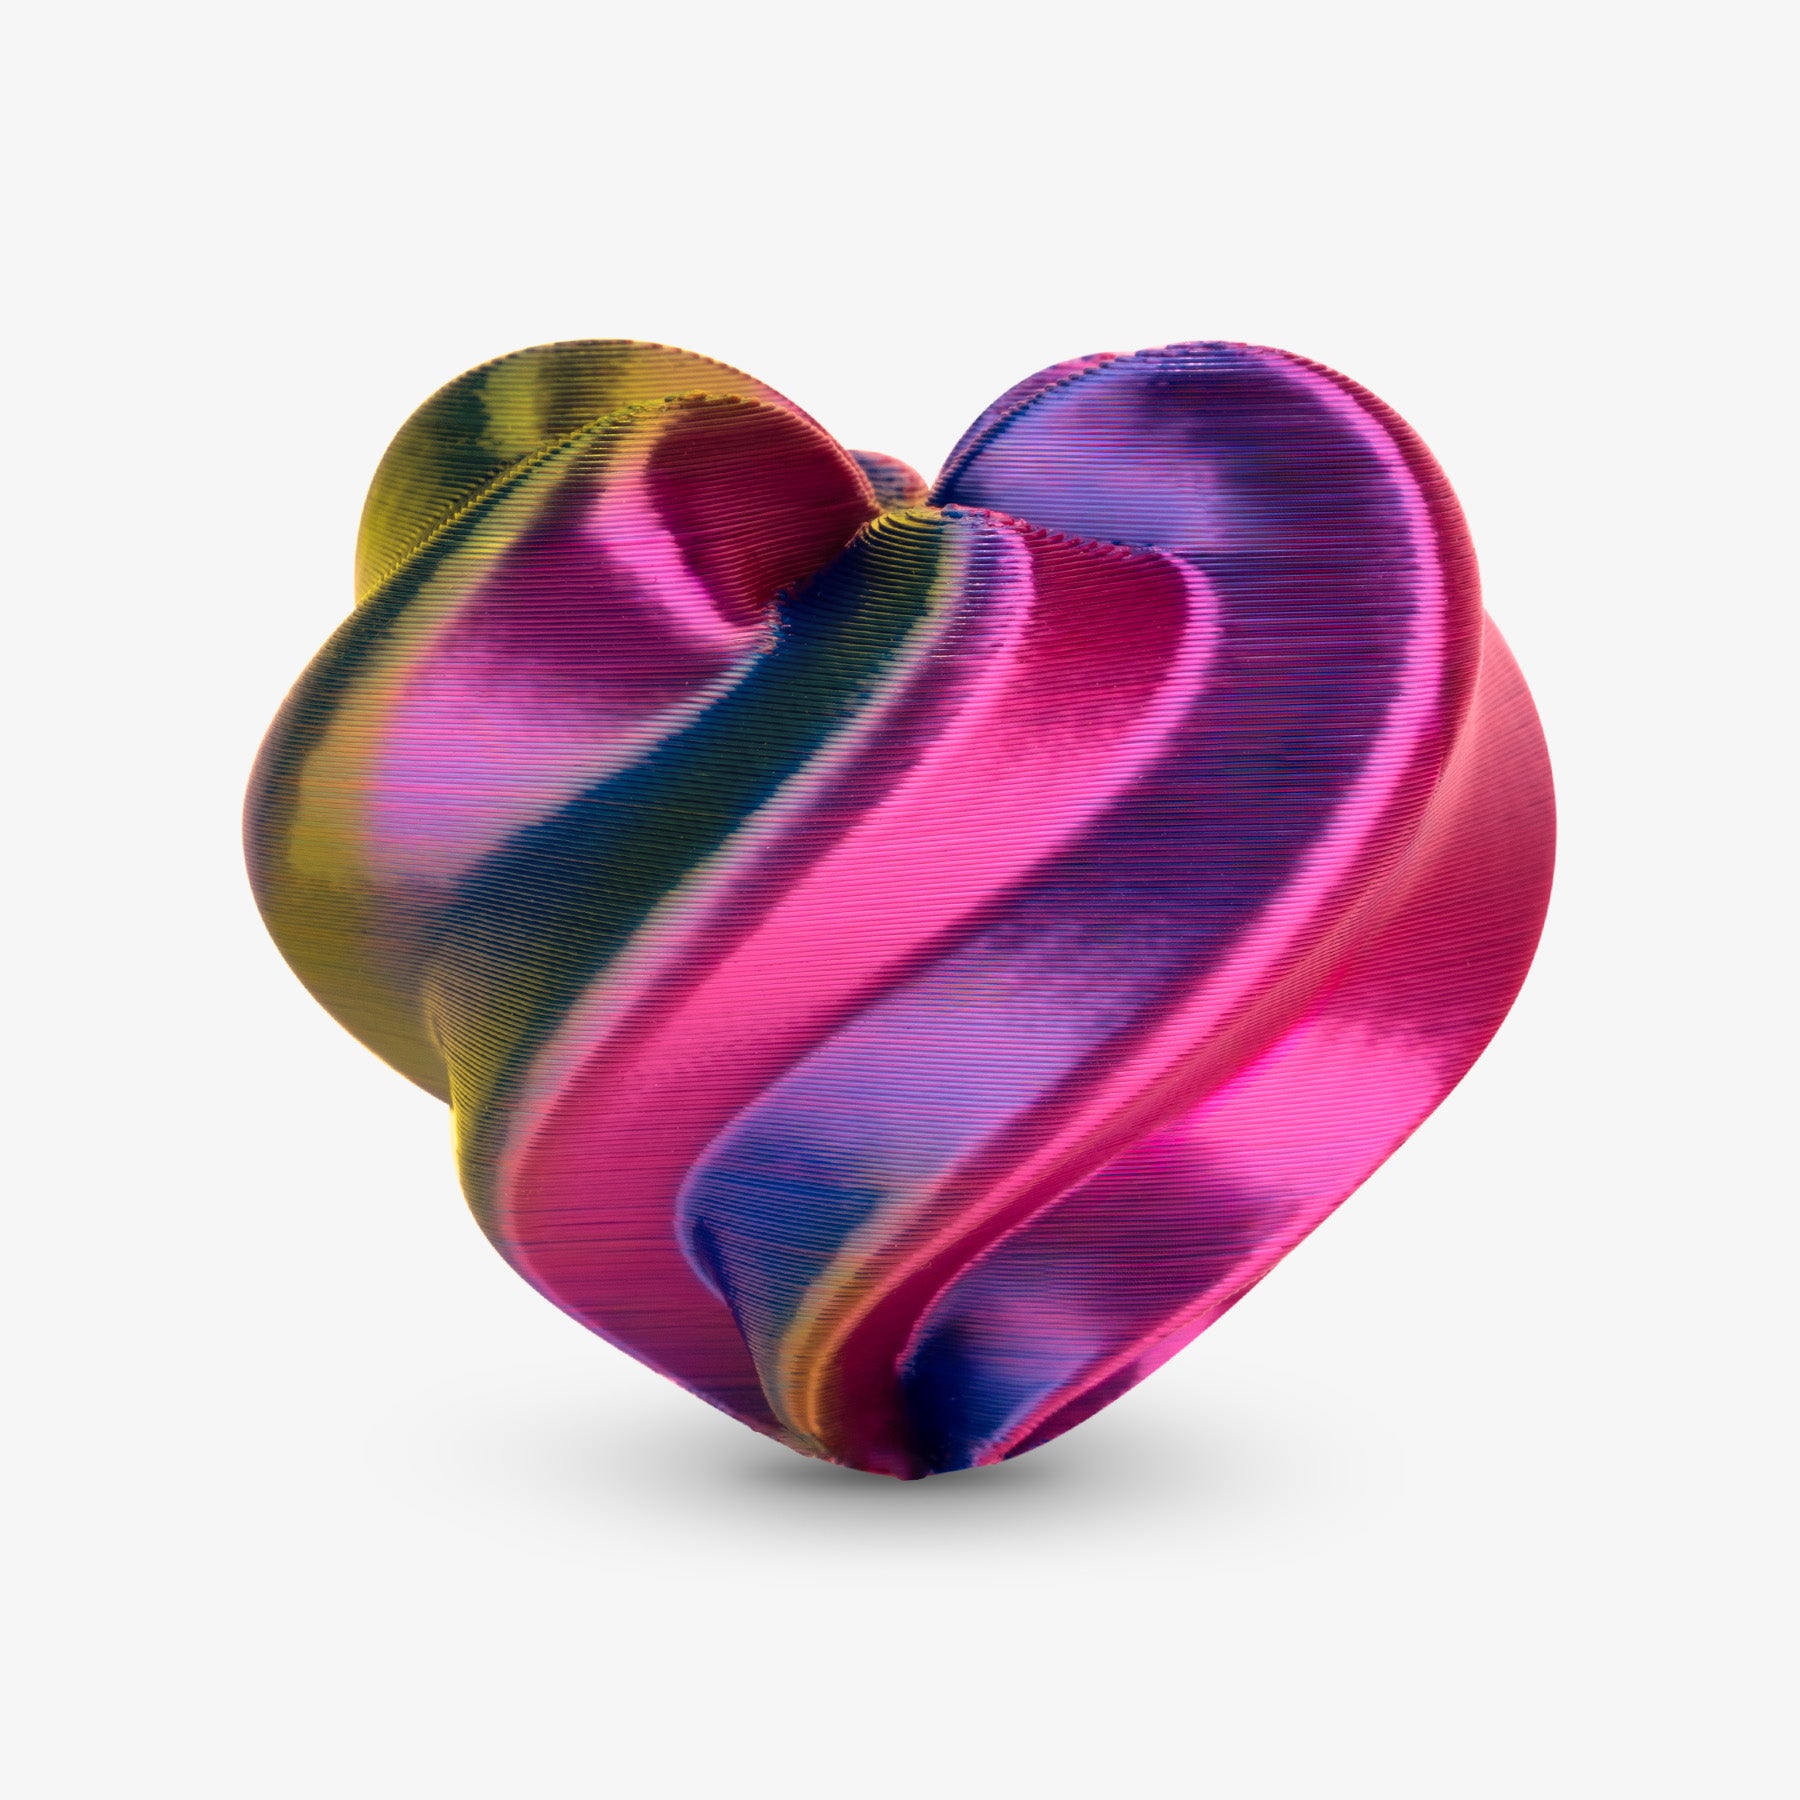
Multi-color filament combines two or more pigments in a single strand. As the printer works through the spool, the colors shift—sometimes in sudden blocks, other times in gradual fades. It's a simple method that produces multi-colored prints on nearly any 3D printer without the need for specialized hardware.
Types of Multi-Color Filament
There are several common styles of multi-color filament, each producing different results:
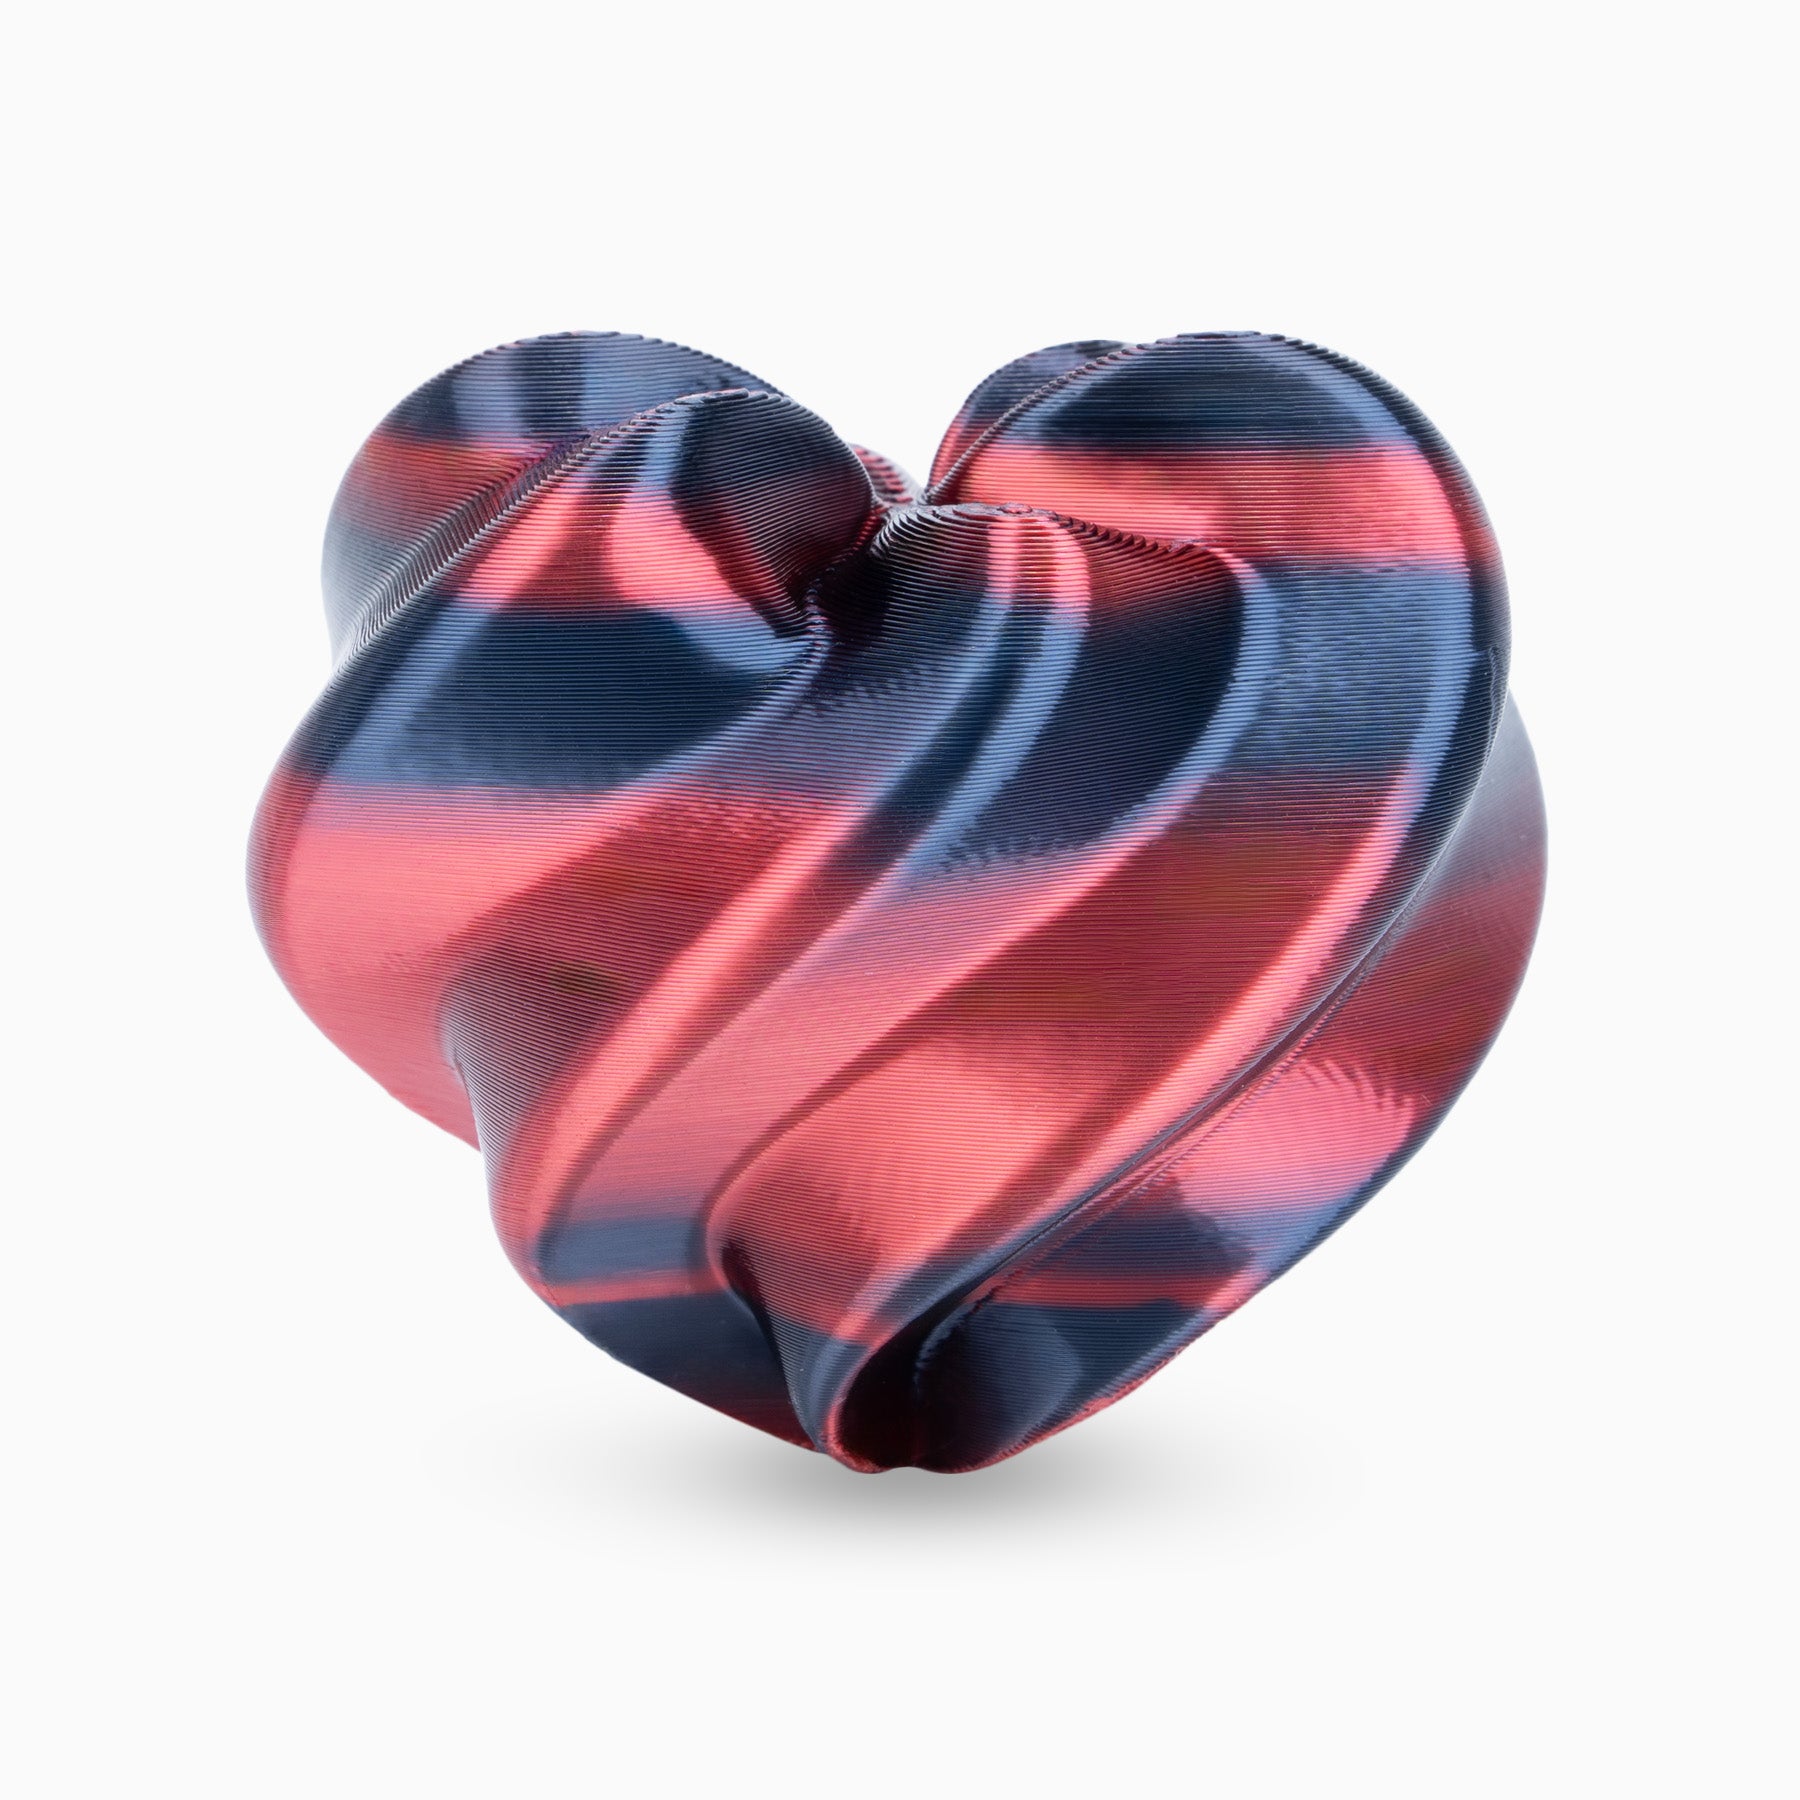
- Segmented: Clear blocks of color repeat around the spool, giving finished prints bold stripes or bands.
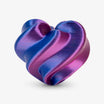
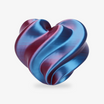
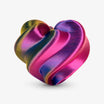
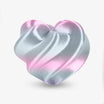
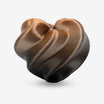
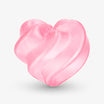
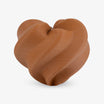
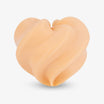
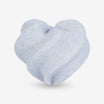
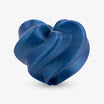
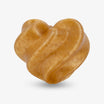
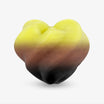
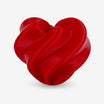
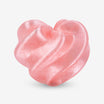
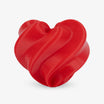
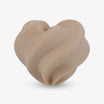
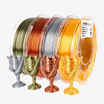
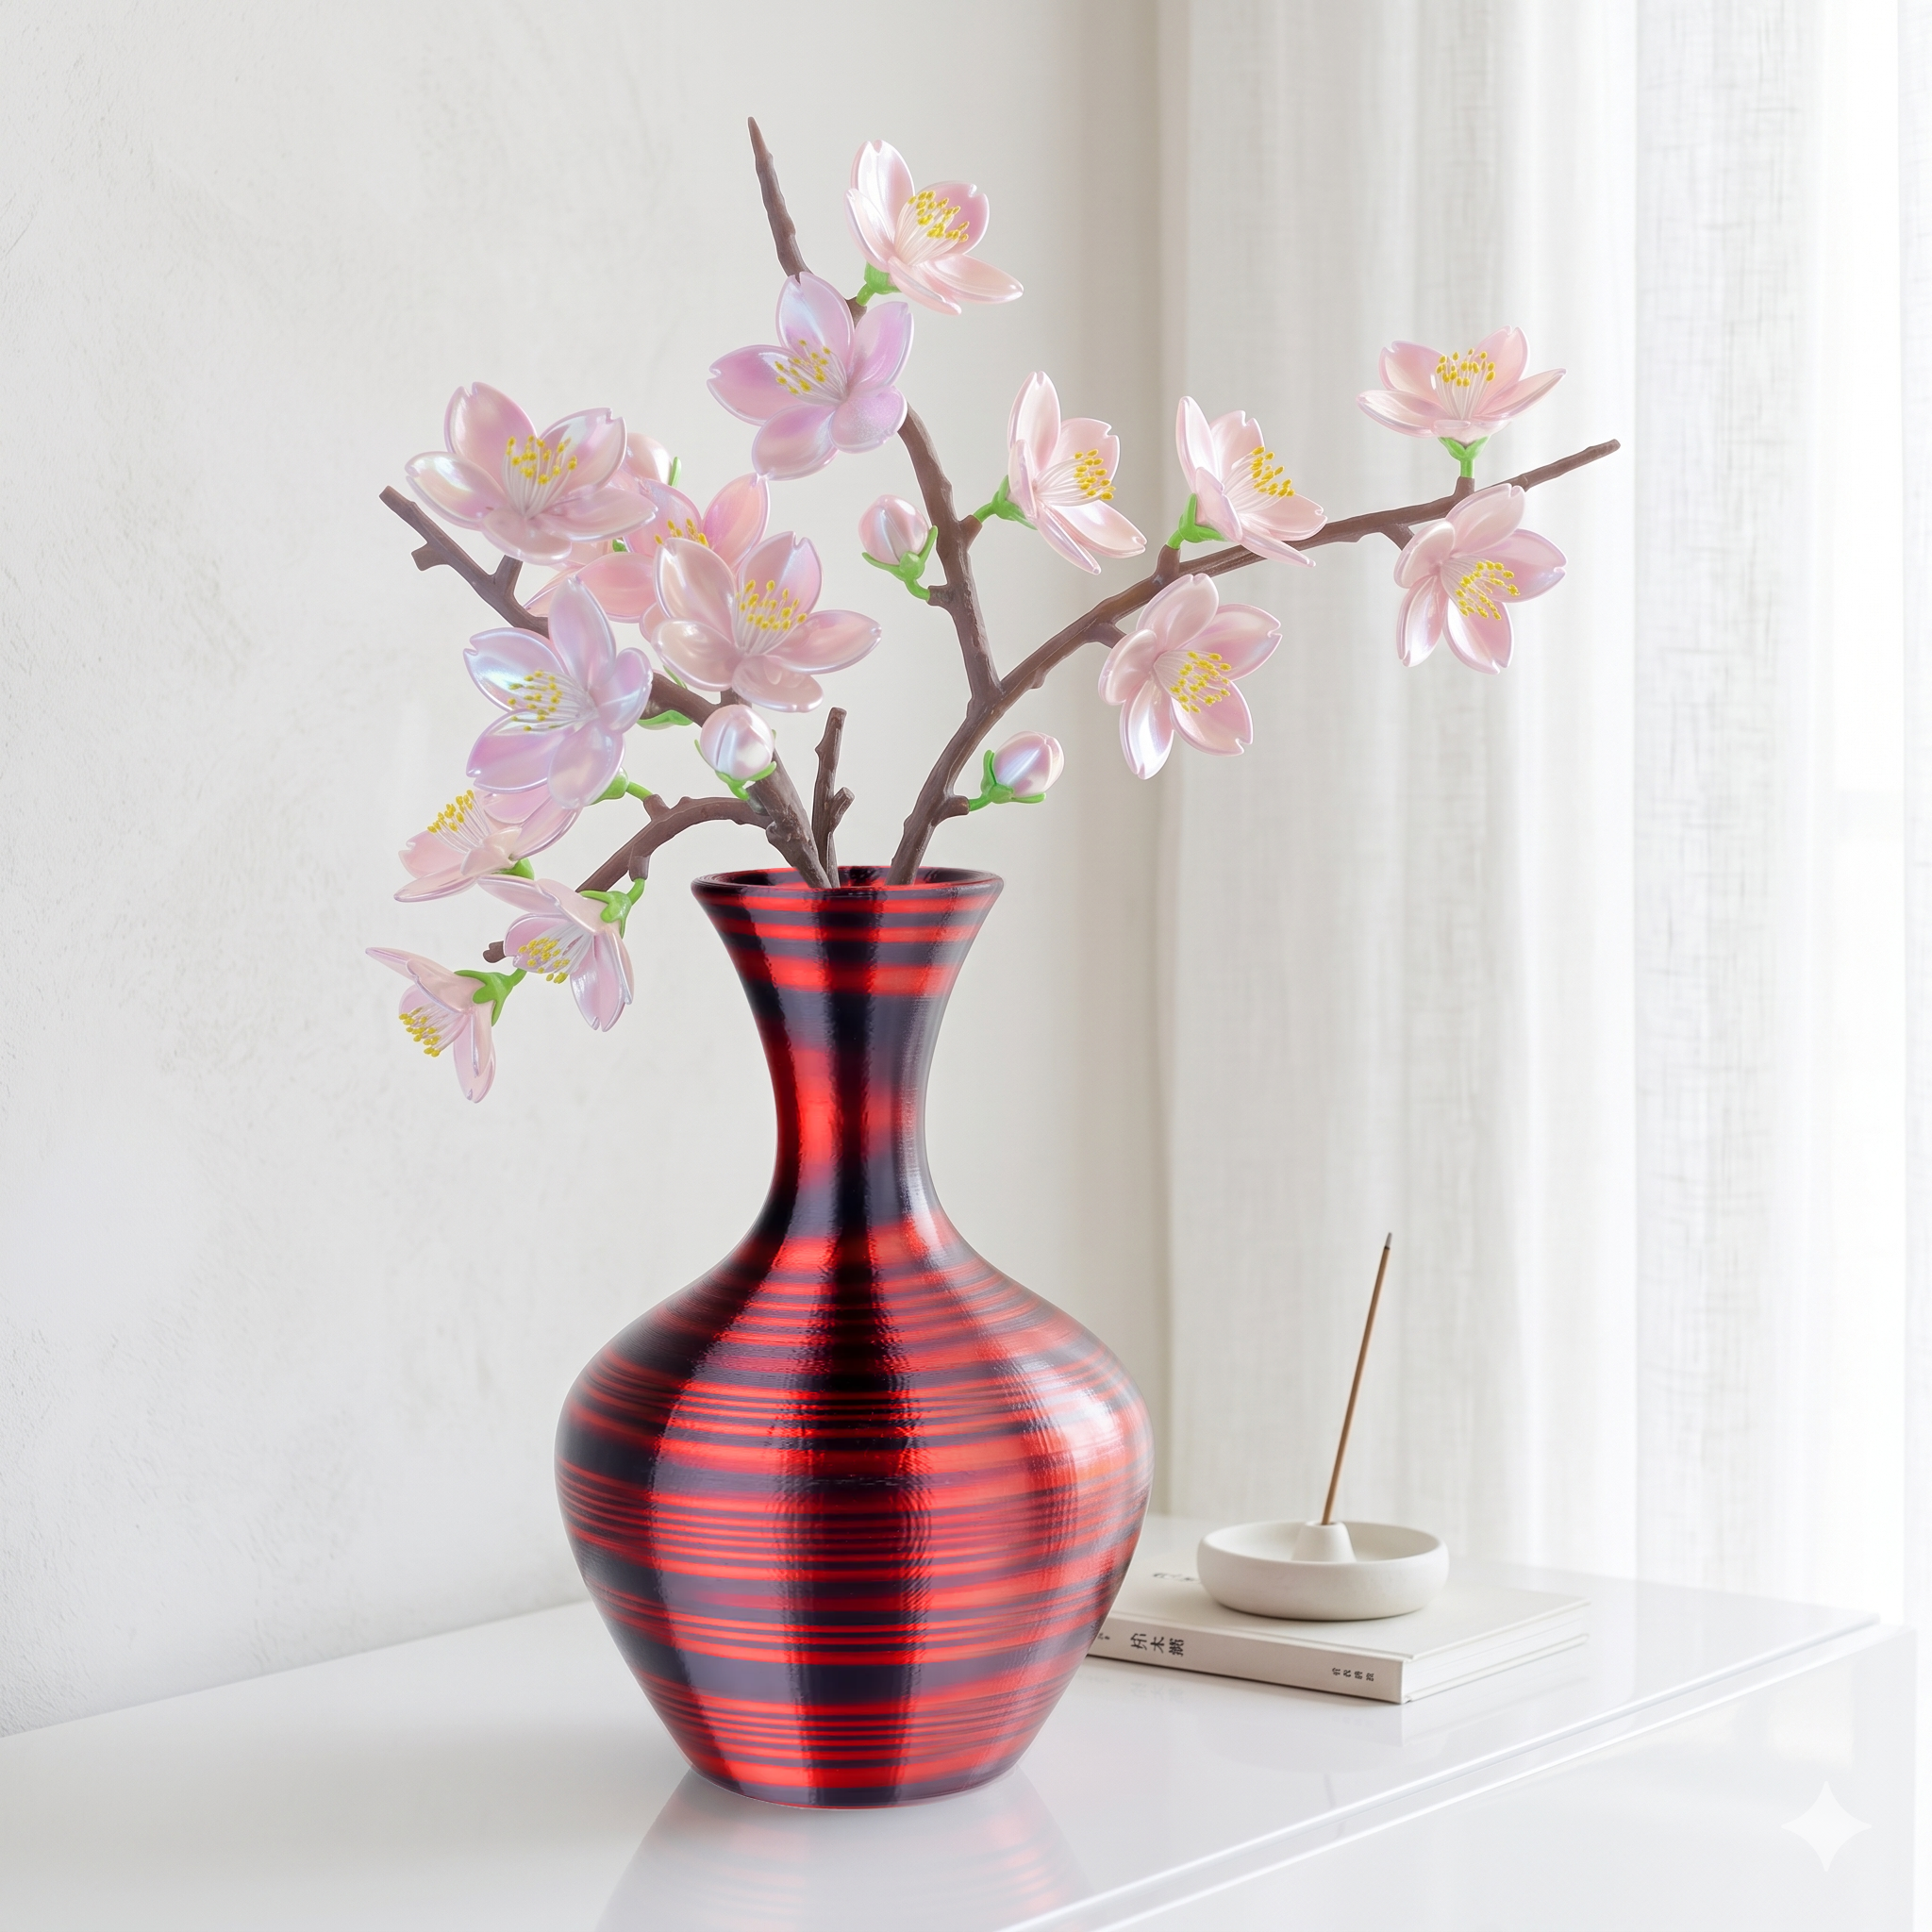
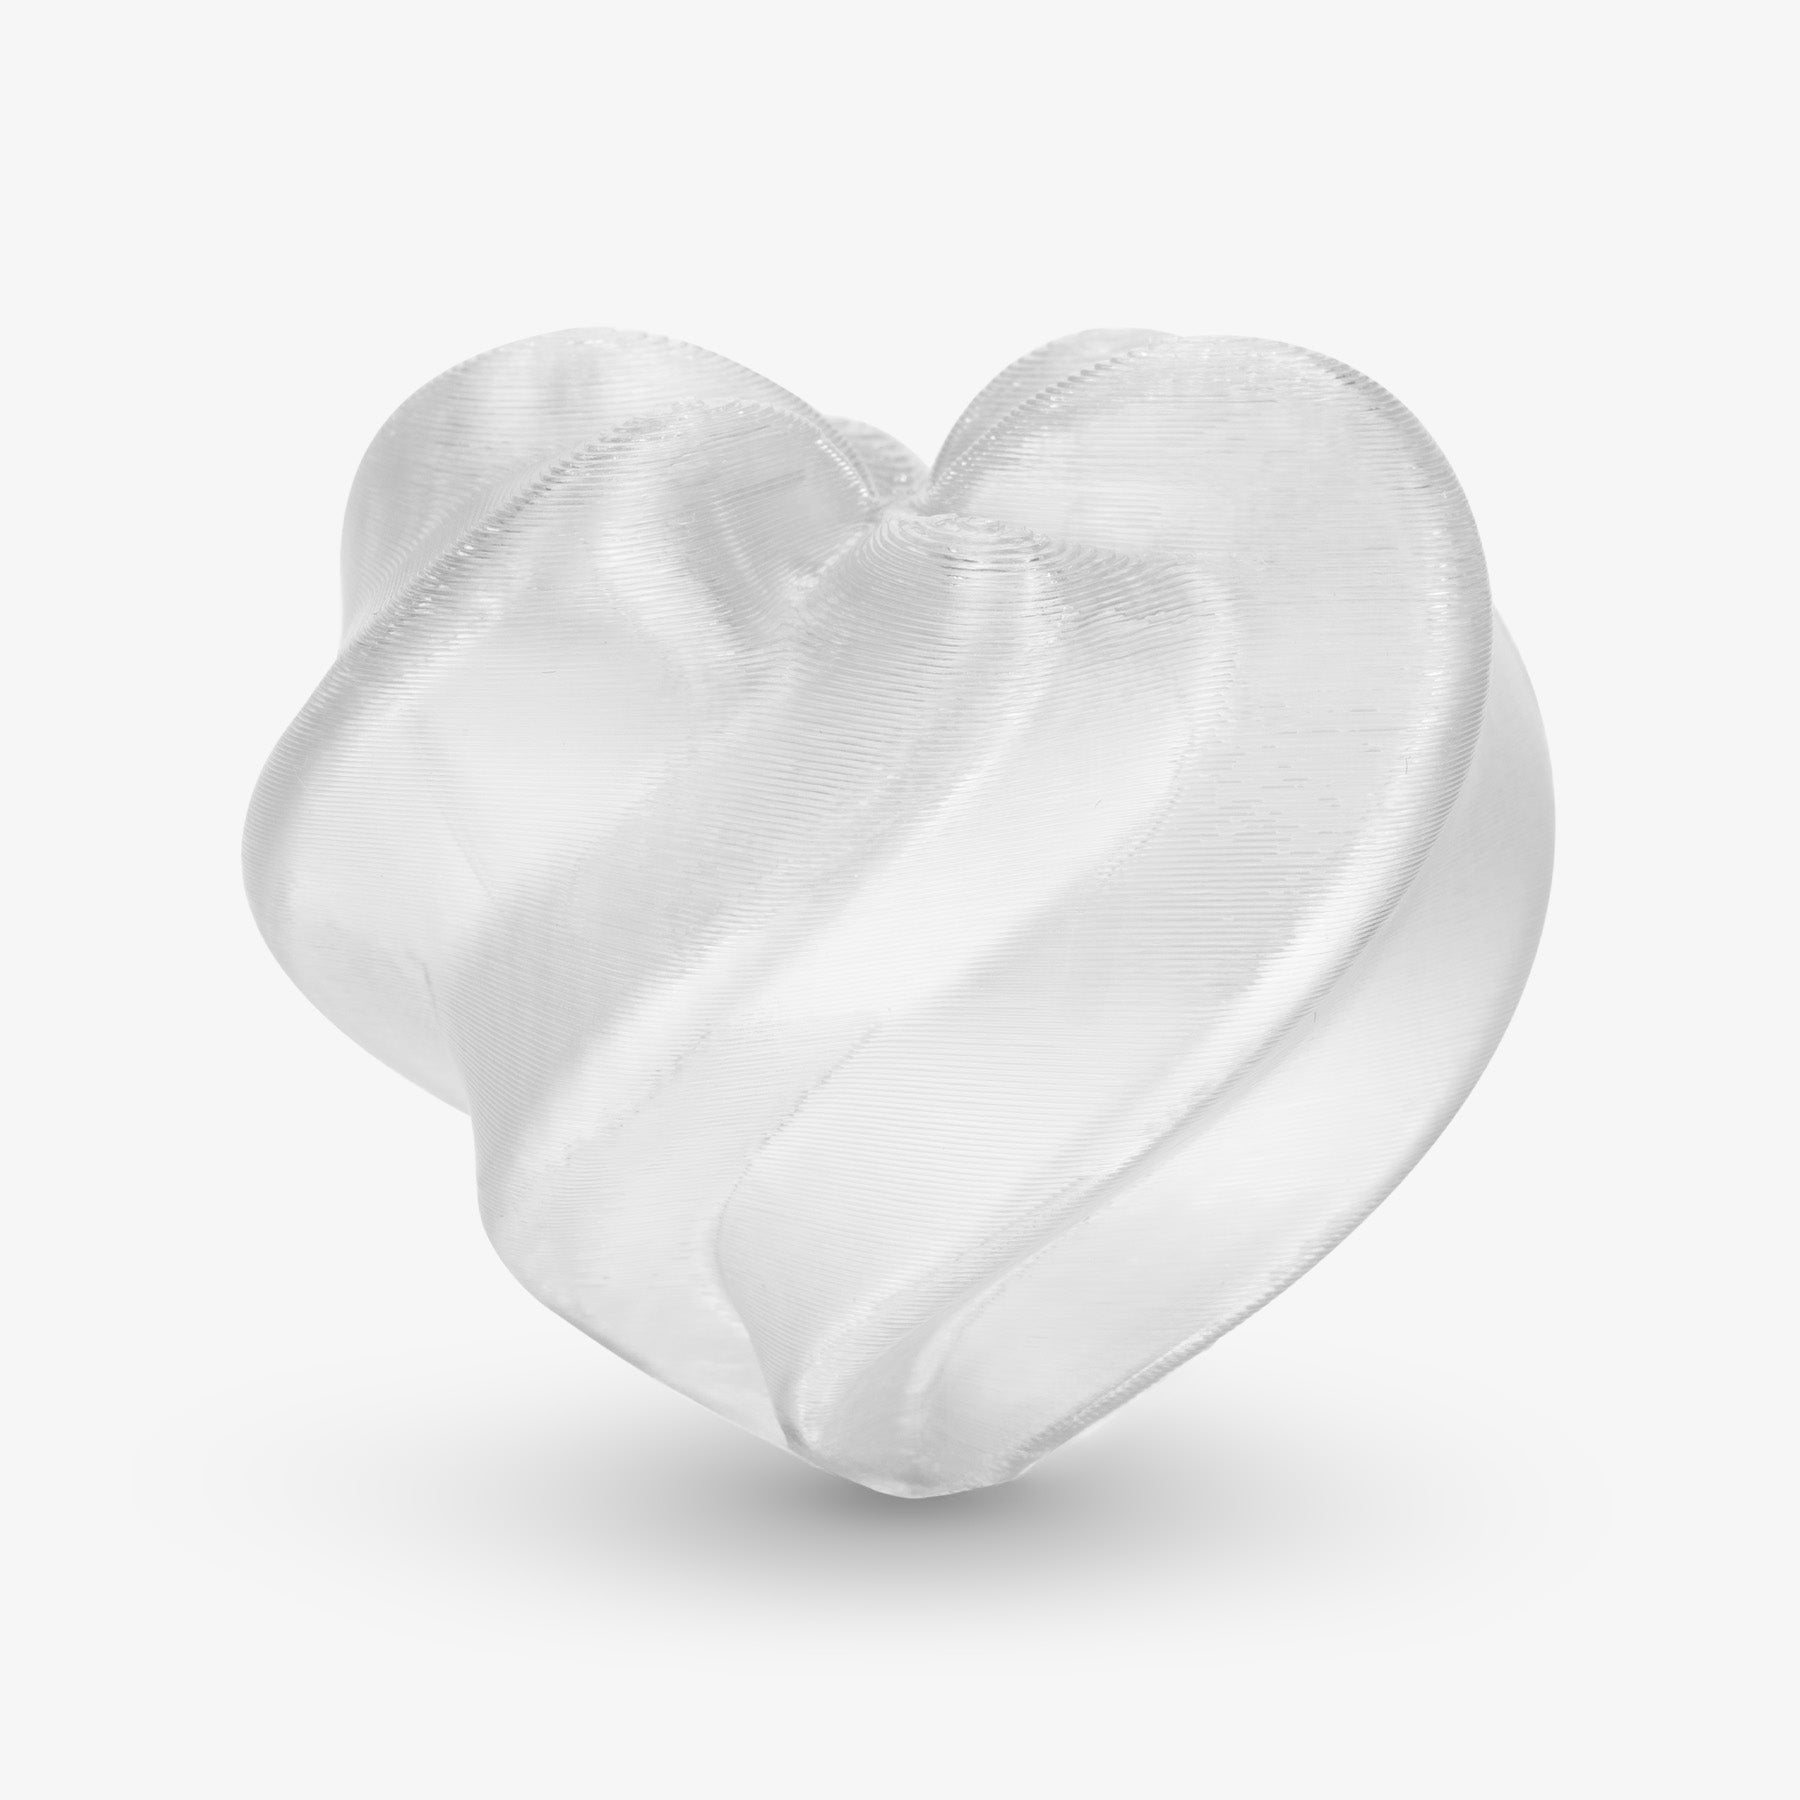
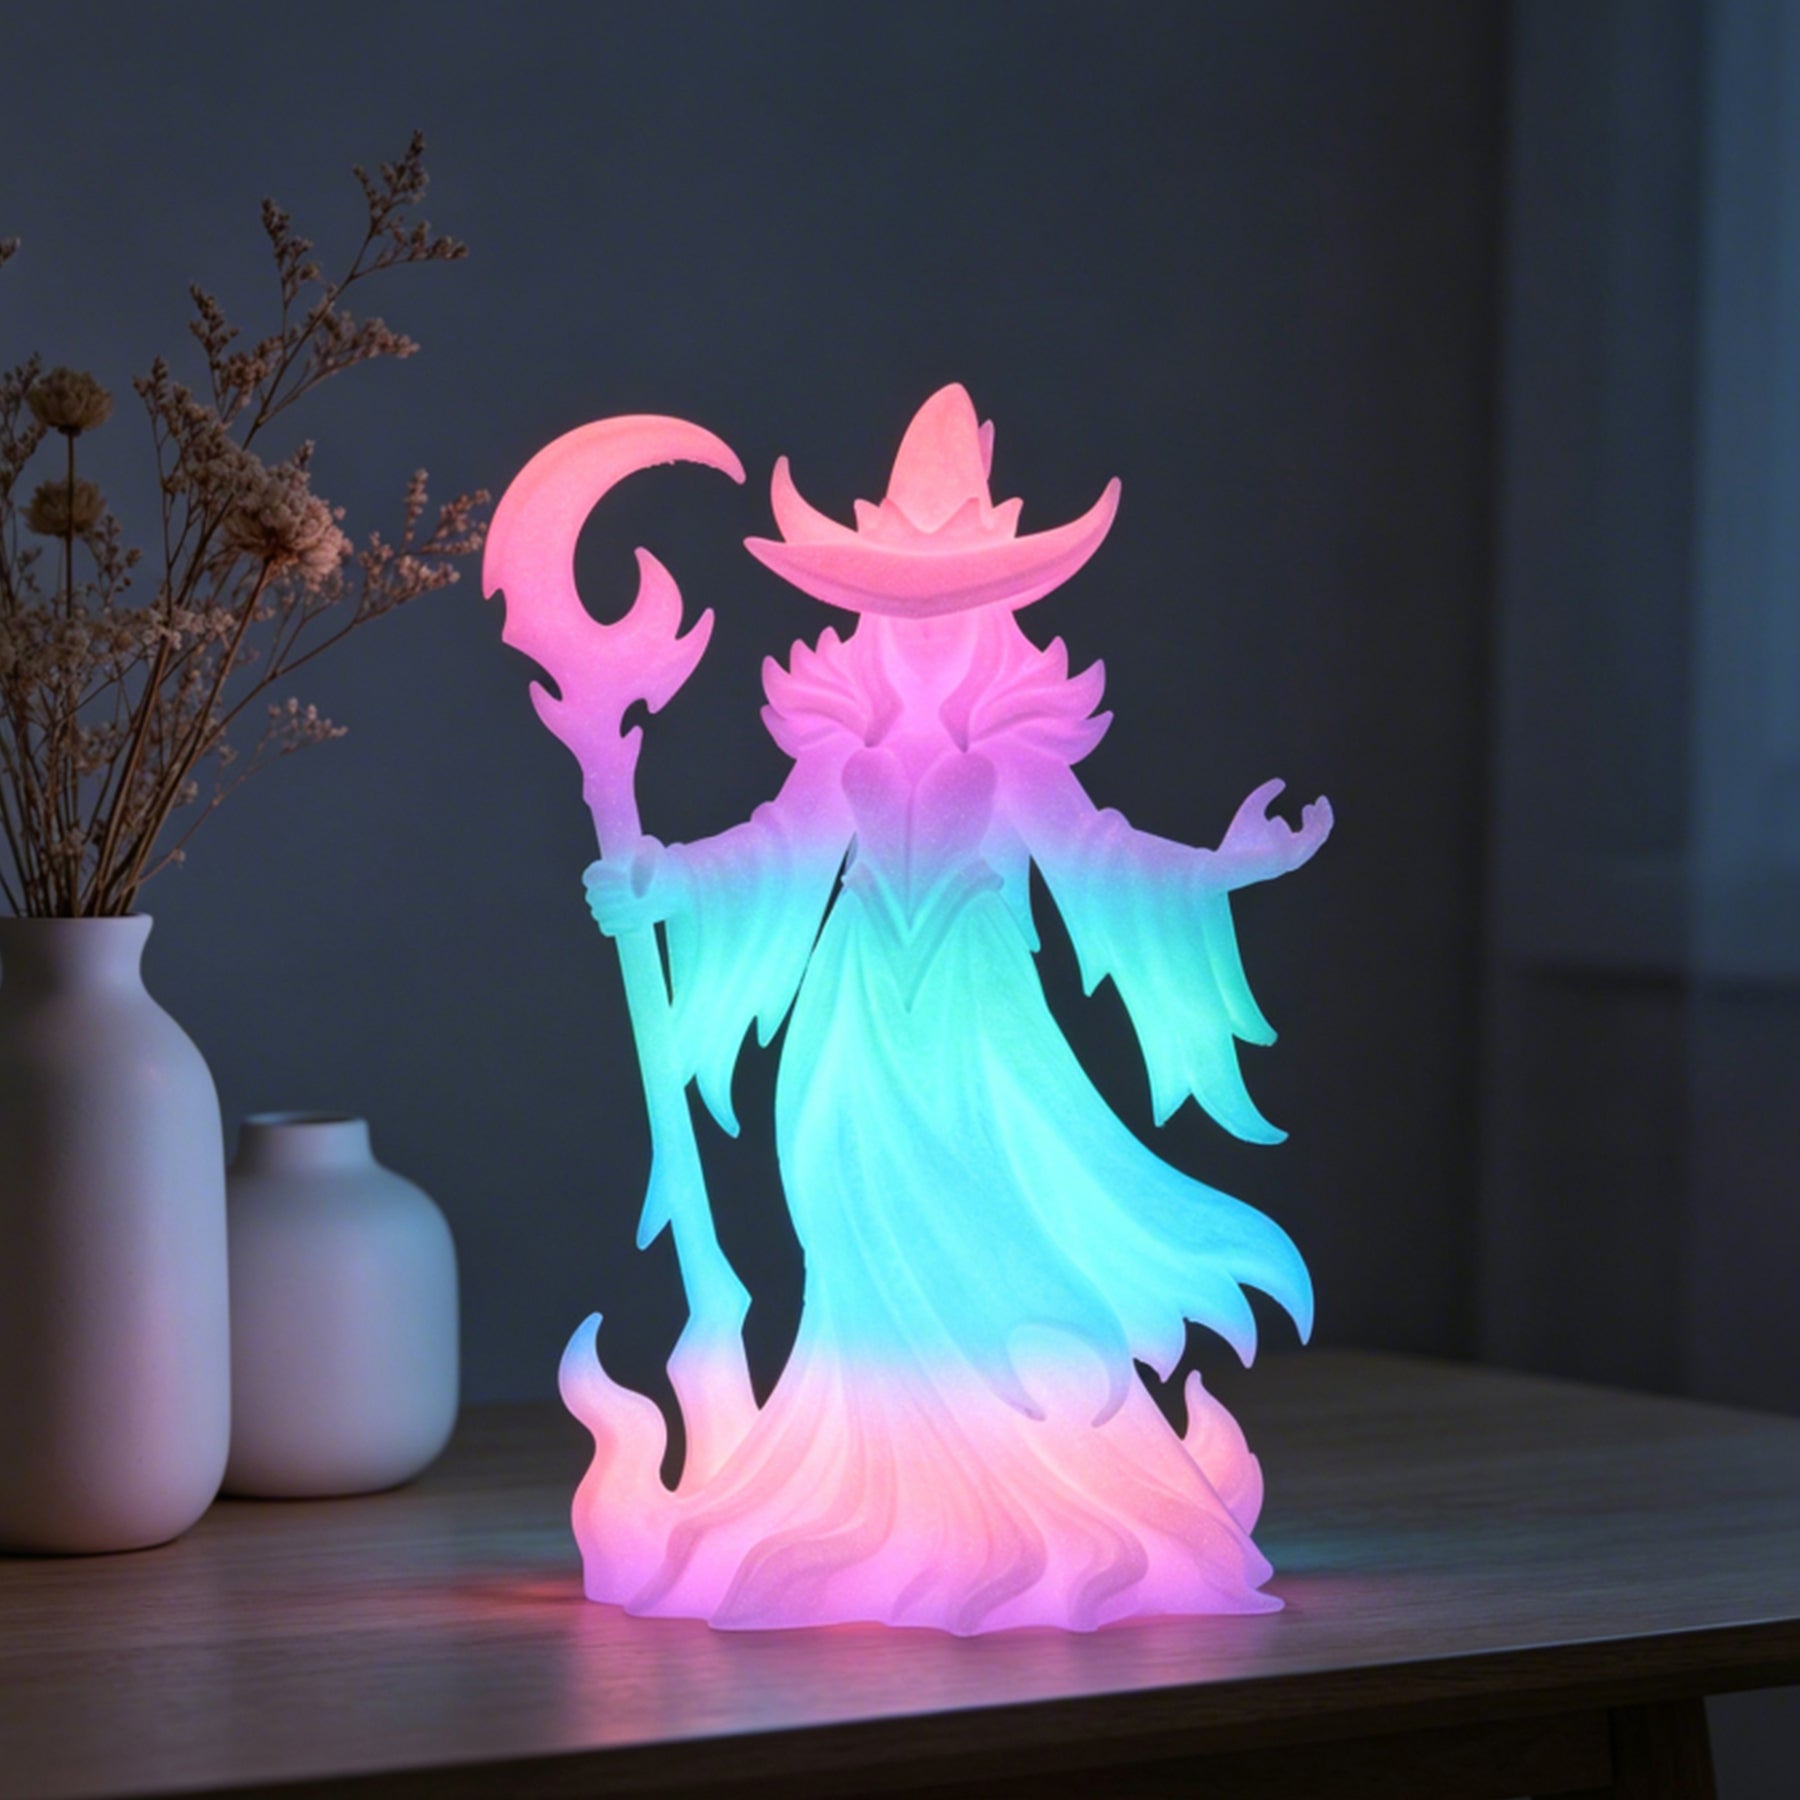
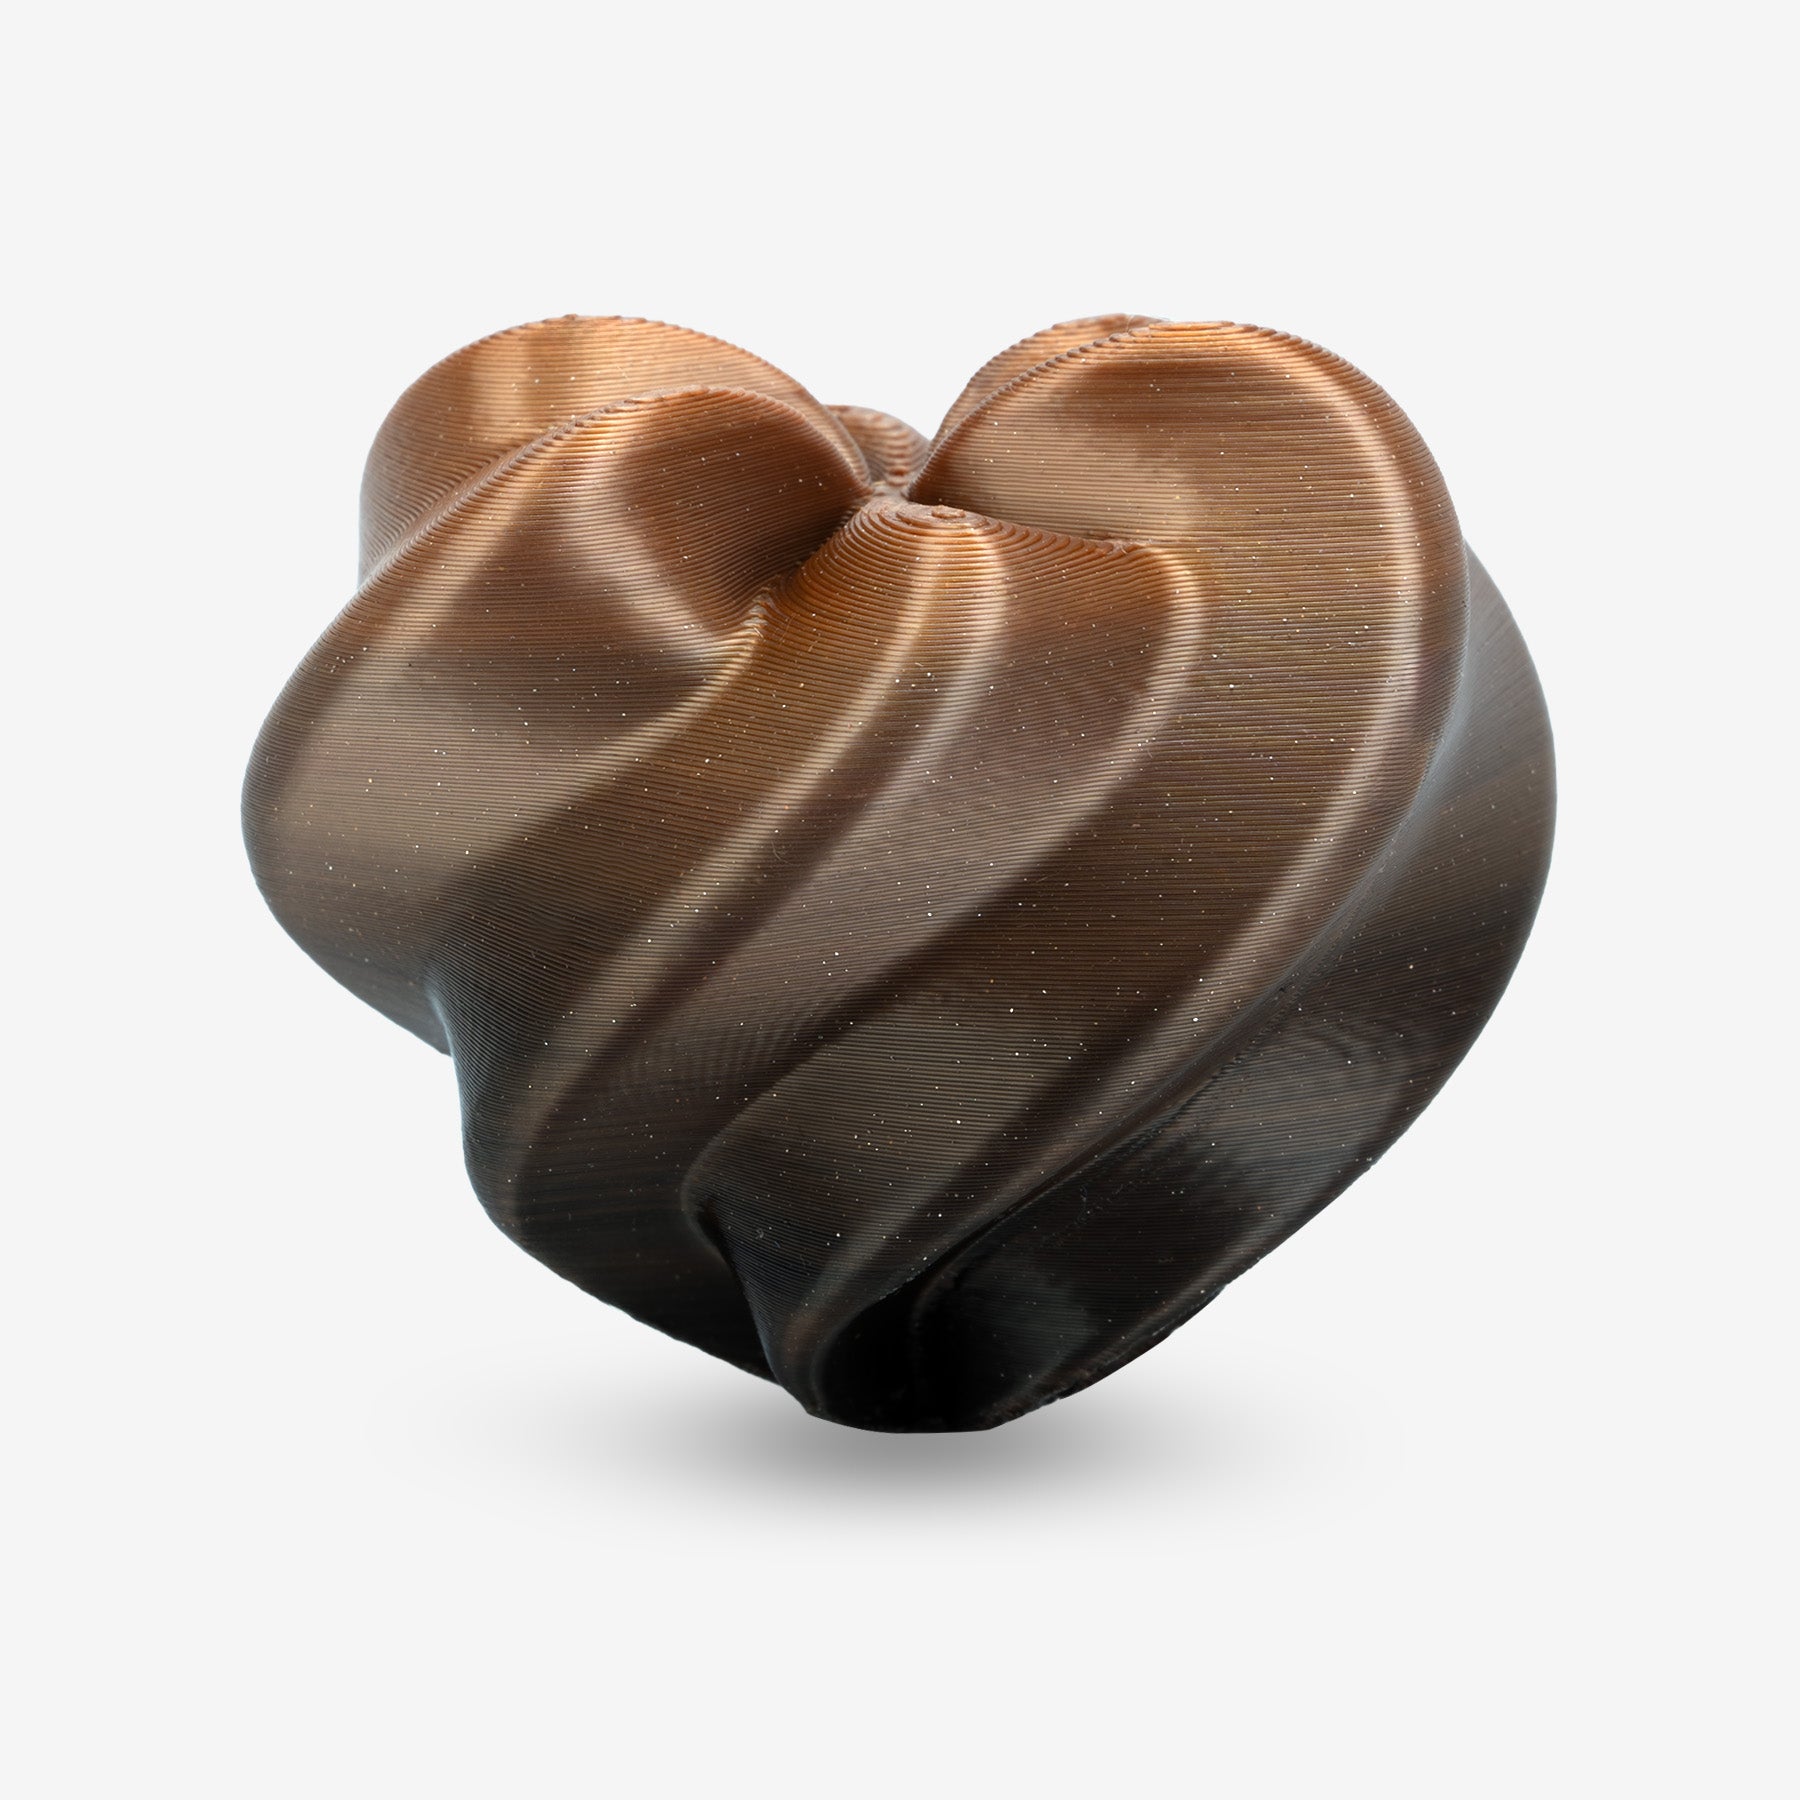
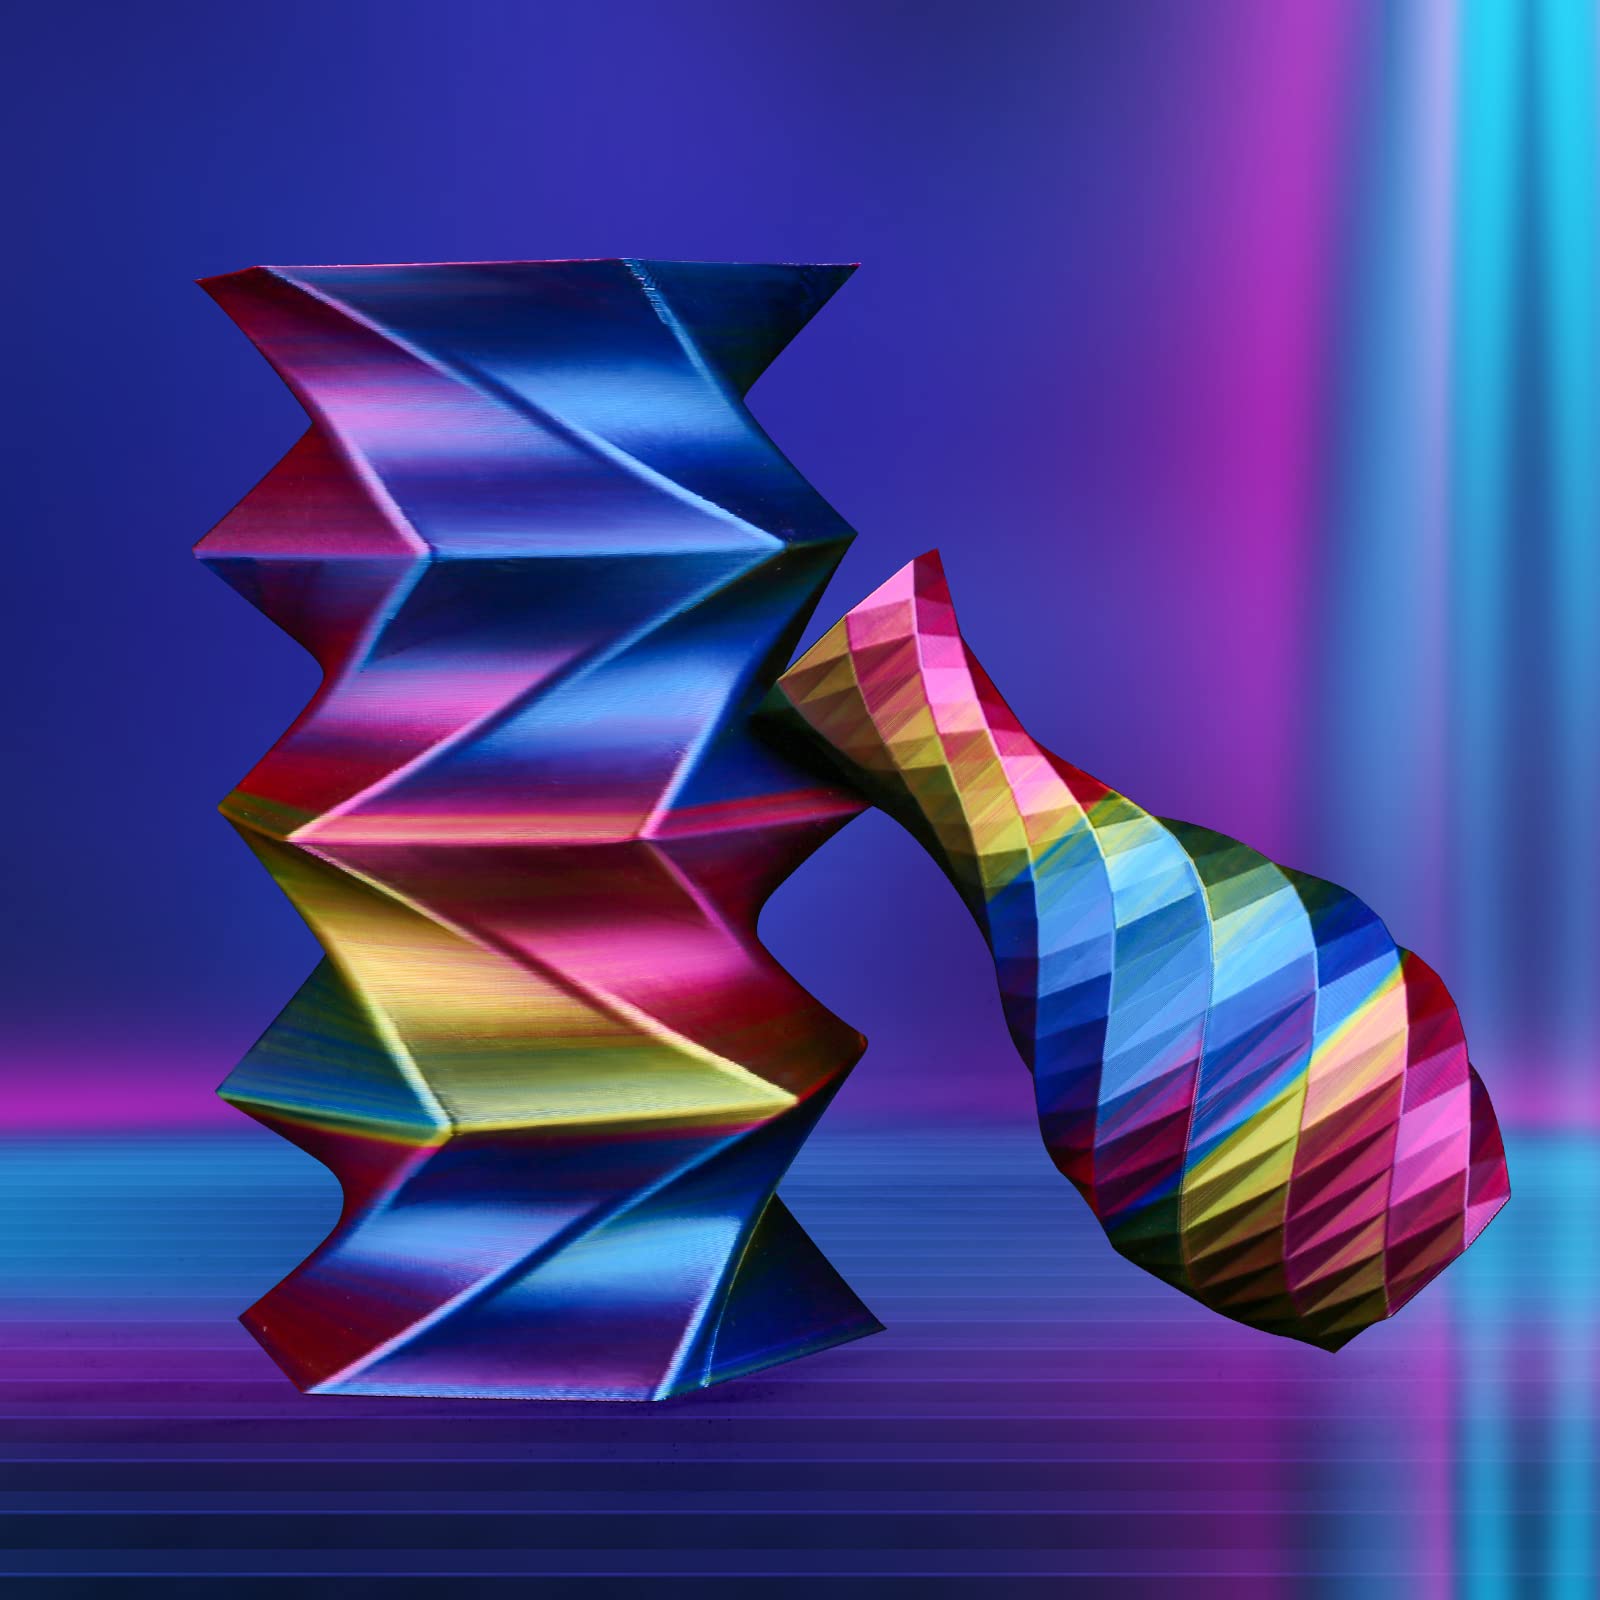
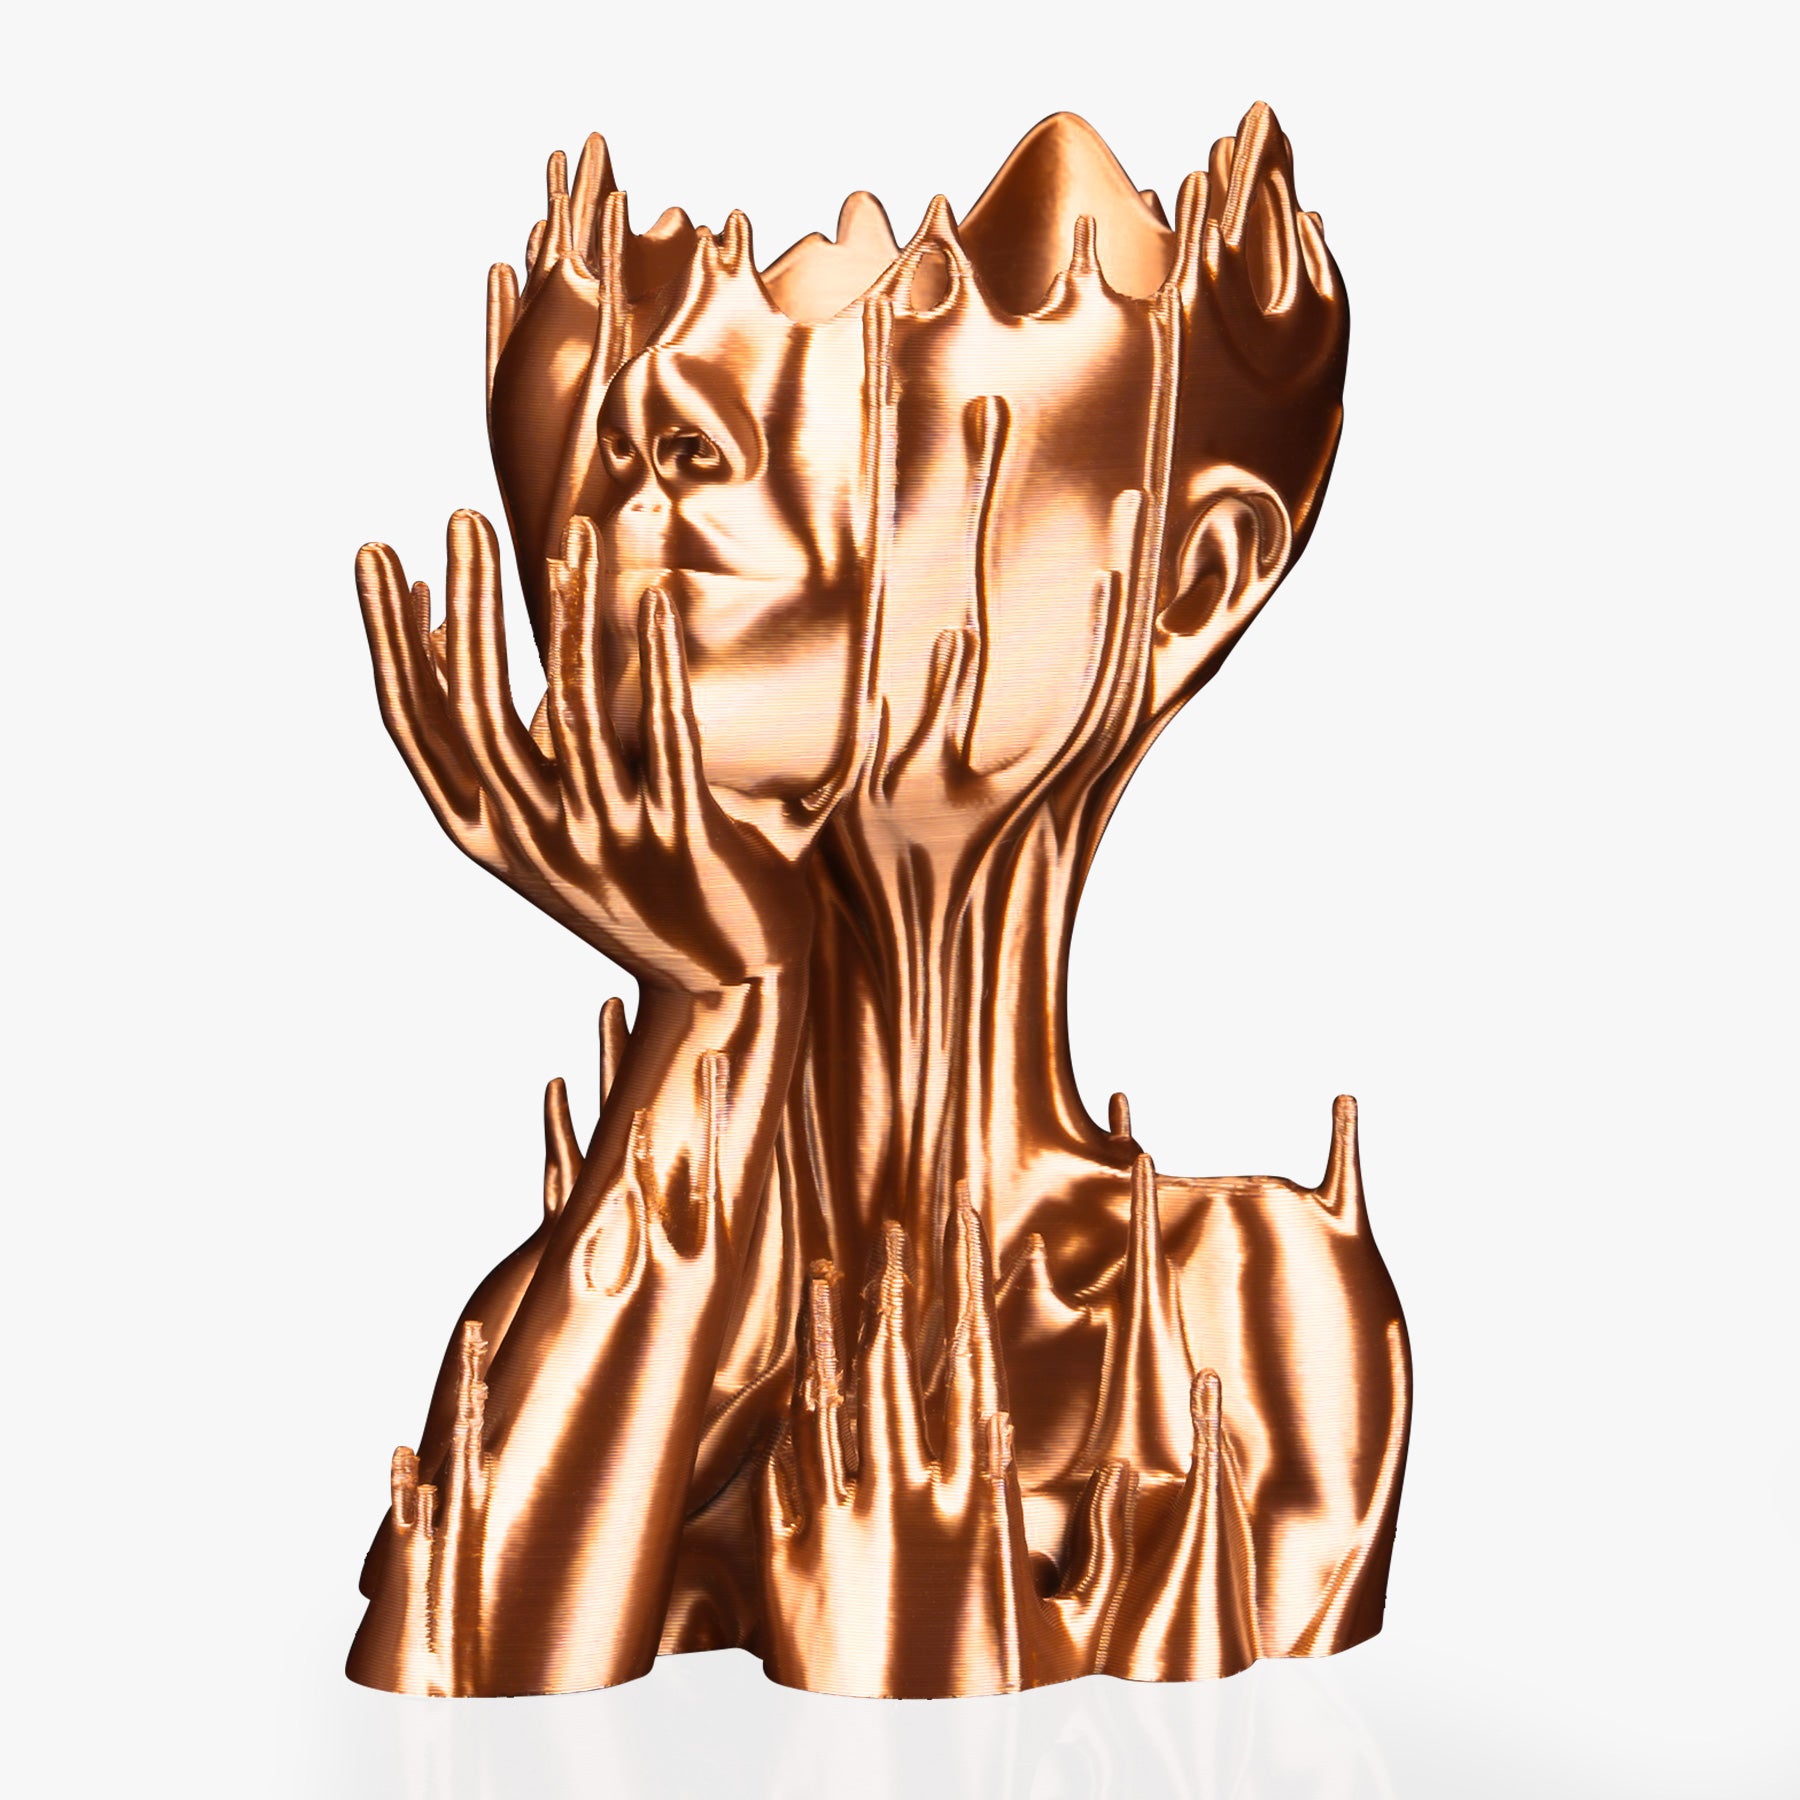
- Gradient: Pigments fade gradually over several meters. Tall models such as vases or busts show this effect most clearly.
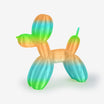
- Rainbow or Tri-Color: Multiple hues cycle through in a repeating sequence. How many shades appear depends on the cycle length and the size of your print.
Pros and Cons of Multi-Color Filament
- Pros: affordable, beginner-friendly, compatible with most printers, and great for decorative models.
- Cons: limited precision, transitions may not align with small details.
Single Extruder vs. Multi-Extruder Printing
Multi-color filament works with a single extruder and is simple to set up, but you cannot control exactly where each color transition occurs. Multi-extruder printing, on the other hand, allows precise placement of logos, letters, or sharp color changes, though it requires more calibration and often wastes filament during purges.
Multi-color filament is the easier option for creating gradients and stripes without extra hardware, while multi-extruder printing delivers crisp, controlled designs at the cost of added expense and a steeper learning curve. Choose multi-color filament for fun, decorative models, and reserve multi-extruder printing for projects where precision and detail matter most.
How Model Height, Layer Thickness, and Size Affect Color Shifts
The way colors appear in a gradient print depends on how much filament your model uses. Design choices and slicer settings control when and where those shifts show up.
Height and Layer Count
Taller models move through more of the spool. This gives space for several color changes. Small or short prints may stay inside one section of filament and look like a single shade.
Layer Thickness and Resolution
Thin layers create gentle fades because the printer stacks more layers to reach the same height. Thick layers build faster, so the change in color looks sharper and more like stripes.
Model Size and Wall Settings
Big, solid models eat up more filament and bring new colors sooner. Thin walls, like in a vase mode, stretch one shade over a long distance. Adding extra walls or thicker shells also speeds up color changes.
Shape and Orientation
Curves and textures show color shifts in a smoother way. Flat faces can make bands look harsh if the change happens quickly. Turning or scaling a model can move the gradient to a spot where it looks better, like across the face of a bust instead of the base.
Height, layer thickness, size, and shape all influence how colors appear. With small adjustments, you can guide gradients to show up in the most attractive places on your print.
Practical Tips for Getting the Best Gradient Effect
Planning makes gradients look intentional. These steps increase the odds that colors fall where you want them.
- Print a Transition Tower: A small tower beside your model reveals where each color appears at different heights. Save it for reference when you reuse the spool.
- Check Spool Information: Some brands list the average color-change length (e.g., 3–5 m). This helps you estimate how tall a fade will run.
- Scale Thoughtfully: Upsizing a model reveals more shades; shrinking one narrows it to a single hue.
- Use Walls to Nudge Color Timing: Adding perimeters or thicker shells consumes filament faster, moving the color shift upward.
- Prime the Nozzle: Extrude a short line before starting to avoid muddy first layers.
- Choose Models That Show Color Well: Decorative objects such as lampshades, vases, and figurines highlight gradients more effectively than text or logos.
Transition towers, smart scaling, and nozzle prep help gradients feel more controlled.
Recommended Slicer Setup and Filament Management
Printer settings play a major role in how quickly colors advance. Keep notes for each spool so you can repeat good results.
| Setting / Strategy | Suggested Value | Effect on Color | Notes |
| Layer Height | 0.16–0.20 mm | Smooth, subtle fades | Go finer for silky results |
| Wall Count | 2–3 | More walls = faster shift | Three walls look good on decorative parts |
| Wall Thickness | 0.8–1.2 mm | More filament per layer | Moves color upward sooner |
| Infill Density | 5–12% | Small effect on color | Lower infill saves time and material |
| Vase Mode | On for hollow prints | Long continuous fade | Great for vases, shades |
| Nozzle Diameter | 0.4 mm standard | Larger = faster shift | 0.6 mm exaggerates stripes |
| Purge Line/Block | Short line or cube | Cleans start color | Optional helper |
| Transition Length | Test or label info | Baseline planning | Note once, reuse later |
Treat wall count, layer height, and nozzle size as color-timing tools. Record each spool's cycle for reliable future prints.
Common Beginner Mistakes and How to Fix Them
Beginners often run into the same frustrations. Most are easy to avoid.
- Printing Models Too Small: Tiny objects don't use enough filament to show a fade. Solution: increase size or print multiples at once.
- Forgetting to Purge Old Filament: Leftover pigment in the nozzle muddies early layers. Always extrude a purge line first.
- Expecting Perfect Color Placement: Multi-color filament produces blends, not precision logos. For exact designs, dual extrusion is required.
- Skipping Test Towers: Guessing rarely works. A 10-minute tower saves hours of retries.
- Creating Friction in the Filament Path: Snagging in the spool holder or tube causes uneven feeding. Smooth the path for consistent shifts.
- Overheating Silk PLA: Too much heat leads to stringing. Lower temperature slightly for cleaner stripes.
Most problems come from unrealistic expectations or lack of prep. Purge, test, and size models appropriately.
Quick Troubleshooting for Common Issues
If a print doesn't look right, these quick checks often solve the problem.
- Bands Too Harsh: Lower layer height or use a smaller nozzle. A gradient filament also produces smoother fades than a segmented one.
- Colors Look Muddy: Increase retraction, purge fully before starting, and lower the temperature slightly with silk PLA.
- Shift Happens Too Late: Add extra walls or scale the model larger to consume filament faster.
- Shift Happens Too Early: Reduce walls or enable vase mode to slow progression.
- Gradient Hard To See on Flat Surfaces: Add shallow textures or rotate the model so more surface catches the color.
Small tuning changes often make a big difference. Adjust one setting at a time and note the effect.
Advanced Ideas for Creative Gradient Colors
Once you're comfortable with the basics, experiments can take prints further.
Using Vase Mode for Seamless Fades
Single-wall spirals turn color changes into one continuous ribbon. Transparent and silk spools make this especially striking.
Adding Mid-Print Filament Swaps
Pause at a chosen layer and switch spools. This creates a sharp divider between two gradient sections.
Choosing Different Filament Finishes
- Transparent PETG or PLA enhances how light passes through the fade.
- Matte PLA softens the look, creating painterly color shifts.
- Silk PLA highlights bands with a glossy sheen.
Mixing Gradient Filament With Dual Extrusion
If you're printing with a dual-extruder machine, using gradient filament for the main body and a solid color for details like text, combines visual flair with clear readability.
Tweaking Orientation and Scale for Timing
Even small changes—like rotating a bust 15 degrees or scaling it up by 10%—won't shift a dramatic feature into a different color band.
Advanced techniques let you maintain tighter control over the design while still preserving the natural elegance of gradient effects.
Start Your First Gradient Print
Multi-color filament is one of the easiest ways to add life and personality to 3D prints. You don't need advanced hardware or complicated setup—just a spool and a bit of curiosity. Pick a design you love, prepare your printer carefully, then sit back and watch as the colors shift layer by layer. If you've been looking for something new, now is the perfect time to start and see how gradient printing can turn simple designs into true showpieces.

