


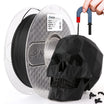


Most desktop 3D printers build objects by melting a plastic filament layer-by-layer, a process known as Fused Deposition Modeling (FDM). While many types of filament exist, the best one to learn with is Polylactic Acid (PLA). It has become the standard for beginners because it's easy to use, works with lower temperatures, and is far more forgiving than other materials. This guide will walk you through the practical steps for printing with PLA and help you understand when it’s the right choice for a project.
The PLA Printing Process: Step-by-Step
Turning a digital file into a physical object is a straightforward process. Following these steps will help you get a great result every time.
Step 1: Prepare Your Printer and Filament
First, let's get your gear in order. You’ll need a few things to begin:
- An FDM 3D printer
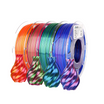
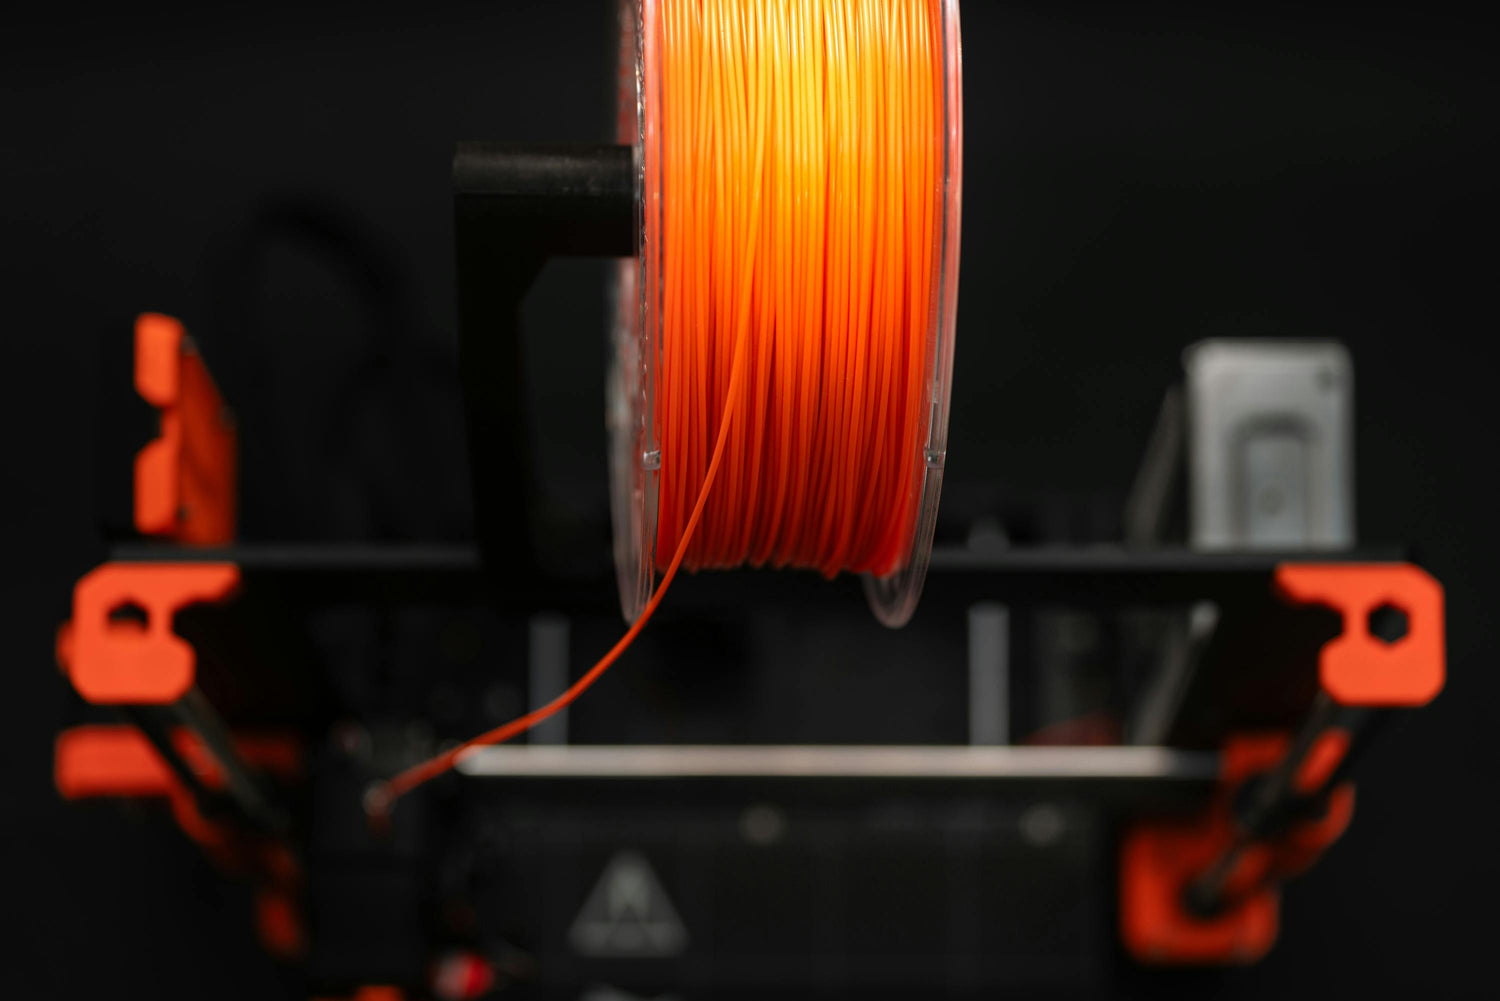
- A spool of PLA filament (most printers use the 1.75mm diameter size)
- A computer with slicer software (Cura, PrusaSlicer, and Creality Slicer are popular free options)
- A 3D model file (you can download millions for free from sites like CGTrader and Thingiverse)
Once you have everything, you need to set up the printer itself. The single most important part of this setup is bed leveling. This just means making sure the printer's nozzle is the exact same, tiny distance away from the build plate at all points. If the nozzle is too close or too far, your first layer won't stick properly, and the whole print will fail. After leveling, wipe down the build surface with isopropyl alcohol (IPA) to get rid of any dust or fingerprints, which helps the print stick better. Finally, heat up the printer's nozzle and load your PLA filament until you see the new color coming out cleanly.
Step 2: Configure the Slicer Settings
Your slicer software is what translates your 3D model into instructions (called G-code) that the printer can understand. Getting the settings right is key to a good print. While every printer is a little different, these settings are a great starting point for any standard PLA.
- Nozzle Temperature: 190-220°C. A cooler temperature is good for models with lots of tiny details, while a hotter temperature makes the layers bond together more strongly, creating a tougher part.
- Bed Temperature: 20-60°C. PLA doesn't always need a heated bed, but setting it to 50-60°C really helps the first layer stick down and stay flat.
- Print Speed: 40-60 mm/s. This is a reliable speed that gives you good quality without taking forever to print.
- Layer Height: 0.2mm is the standard for good quality. You can go down to 0.12mm for higher detail or up to 0.28mm for a quick draft print.
- Infill: 10-20% is fine for most decorative models. If you're printing something that needs to be strong, like a tool or bracket, use 25-50%.
- Cooling Fan: Set this to 100% power after the first couple of layers are done. PLA needs to be cooled quickly to produce sharp corners and handle overhangs.
- Retraction: Make sure this is turned on. It pulls the filament back slightly when the nozzle moves across an open space, which prevents thin, wispy "strings" from forming on your print.
Step 3: Start the Print and Monitoring the First Layer
With your file sliced, you can transfer it to the printer (usually with an SD card or USB) and hit start. It's very important to watch the first layer go down. As we covered in the setup section, a good first layer is everything. You're looking for clean, straight lines that are slightly squished onto the build plate. If you have that, you're in great shape. After that, you can just check in on the print every so often to make sure it's running smoothly.
Step 4: Clean Up and Finishing Your Print
When the print is done, let the bed cool down. Usually, the print will pop right off once the bed is cool. If your model needed support structures to print correctly, you can now carefully break them away with small pliers or a hobby knife.
If you want to take your print to the next level, you can sand it with fine-grit sandpaper for a smooth finish. If you plan on painting it, a coat of filler primer will hide the layer lines and help the paint stick. For projects made of multiple pieces, cyanoacrylate (super glue) is perfect for gluing PLA parts together.
Which Materials to Choose: PLA vs. Other Filaments
PLA is fantastic, but it's not the right material for every job. Knowing its limits is just as important as knowing its strengths.
When Should You Use PLA?
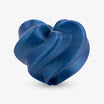
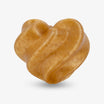
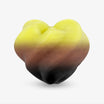
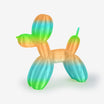
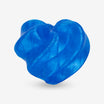
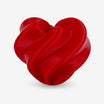
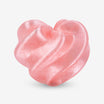
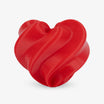
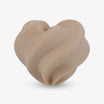
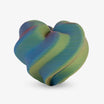
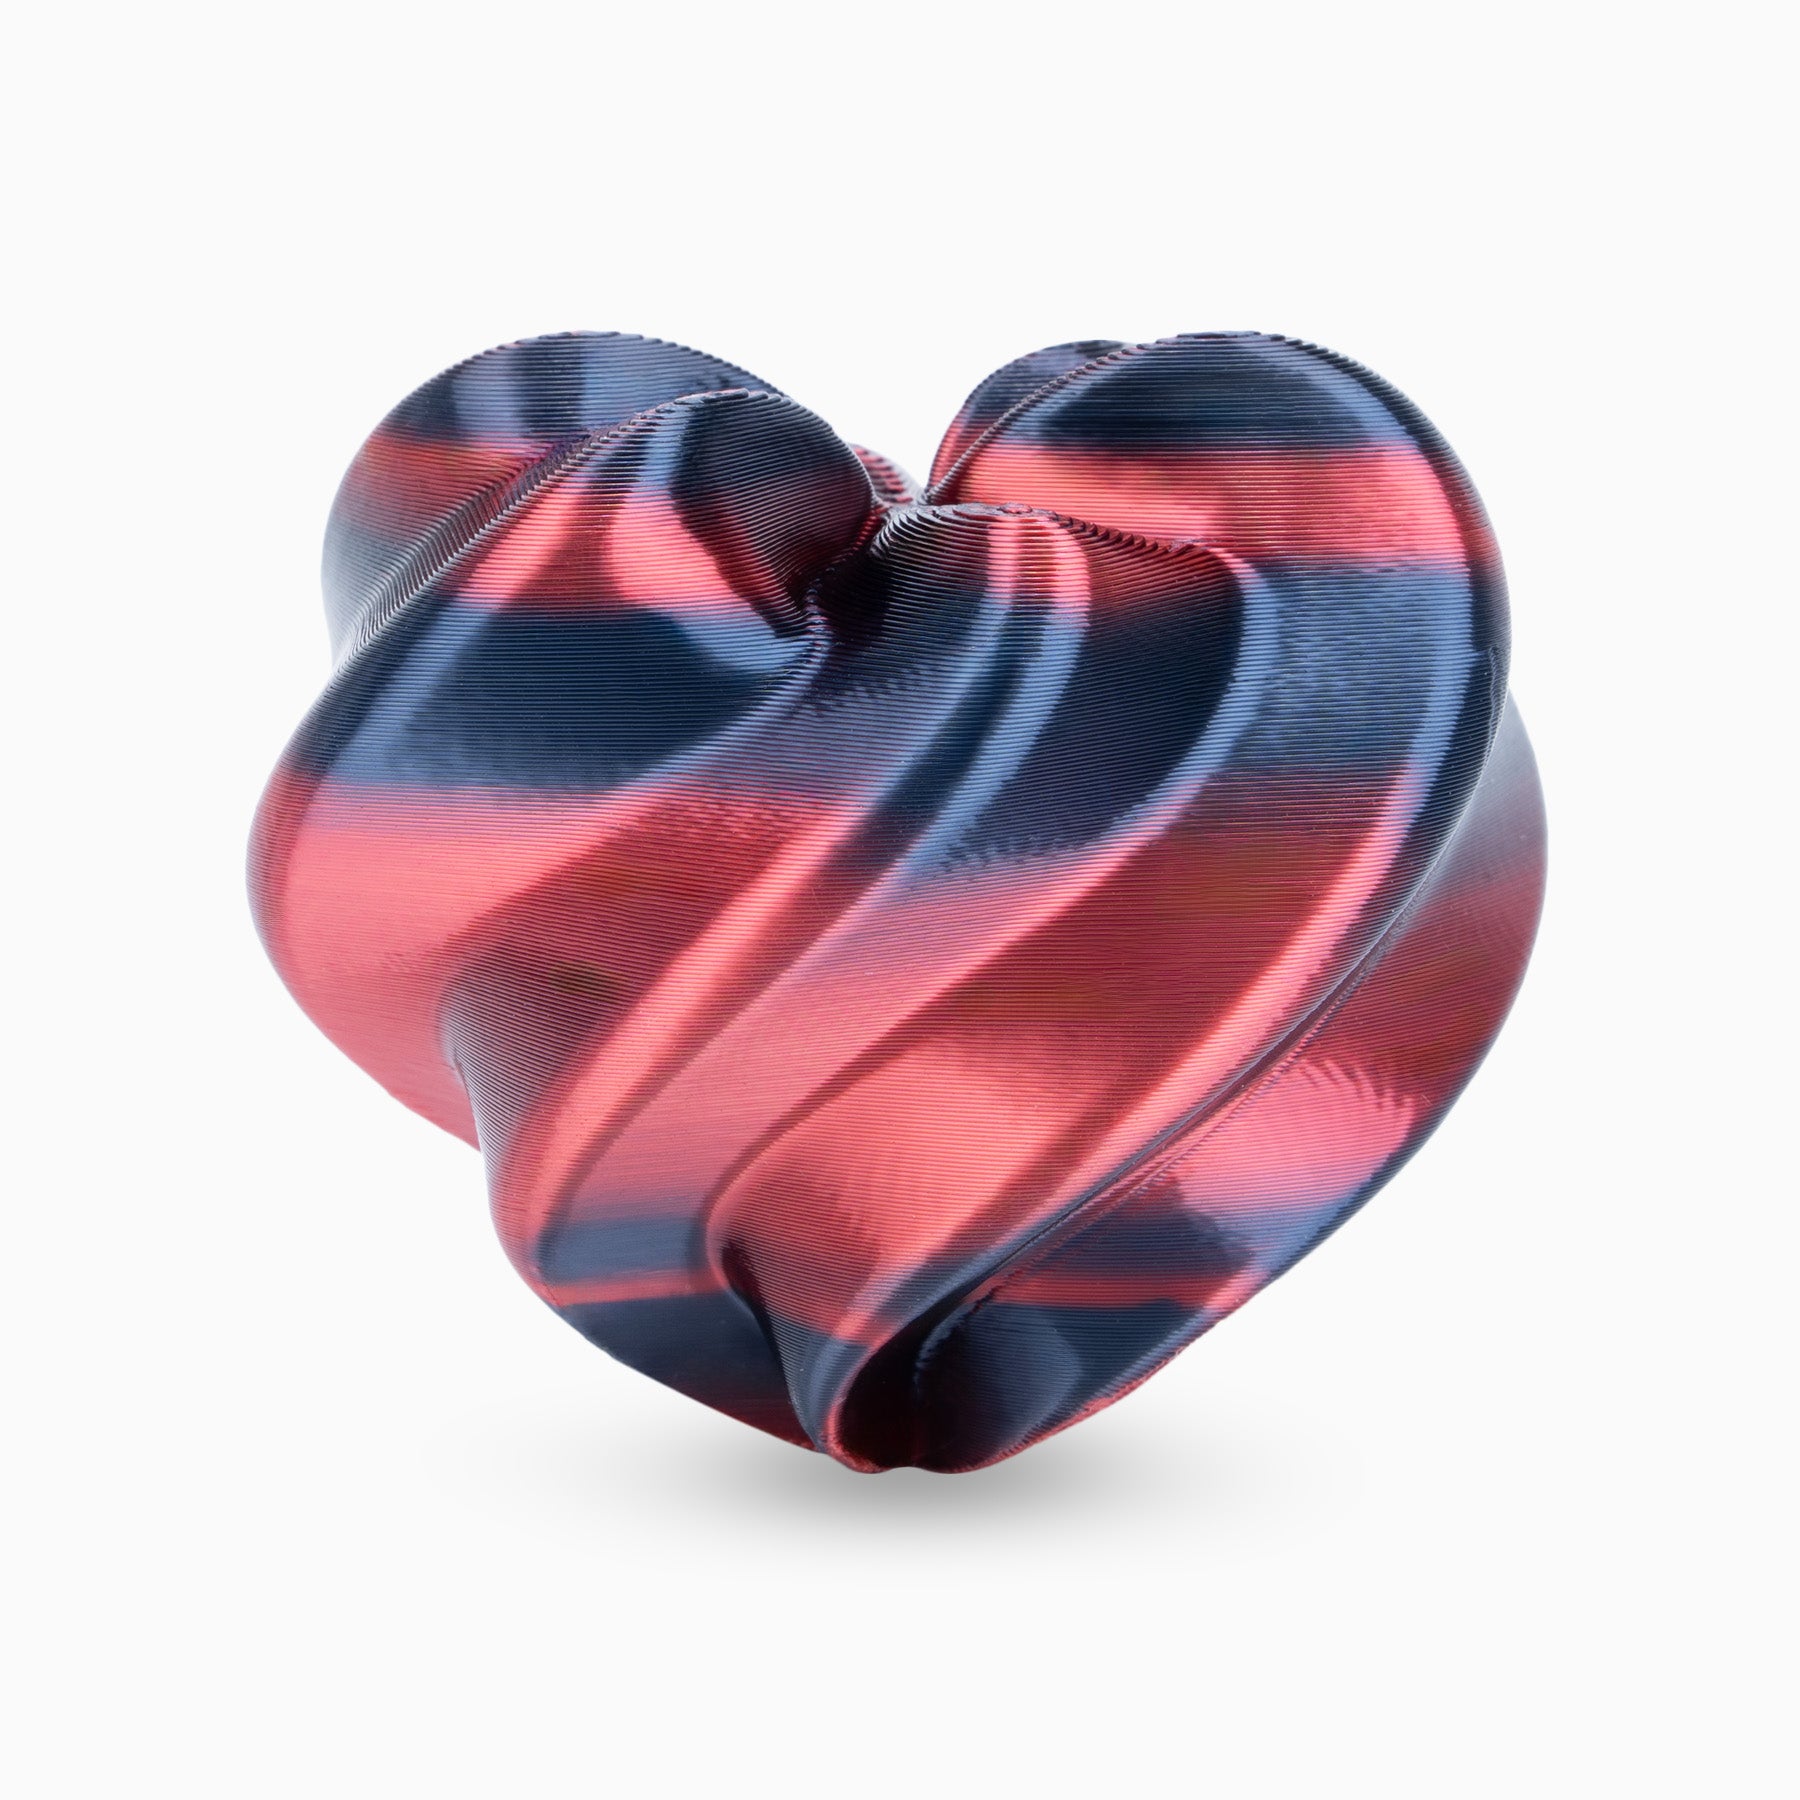
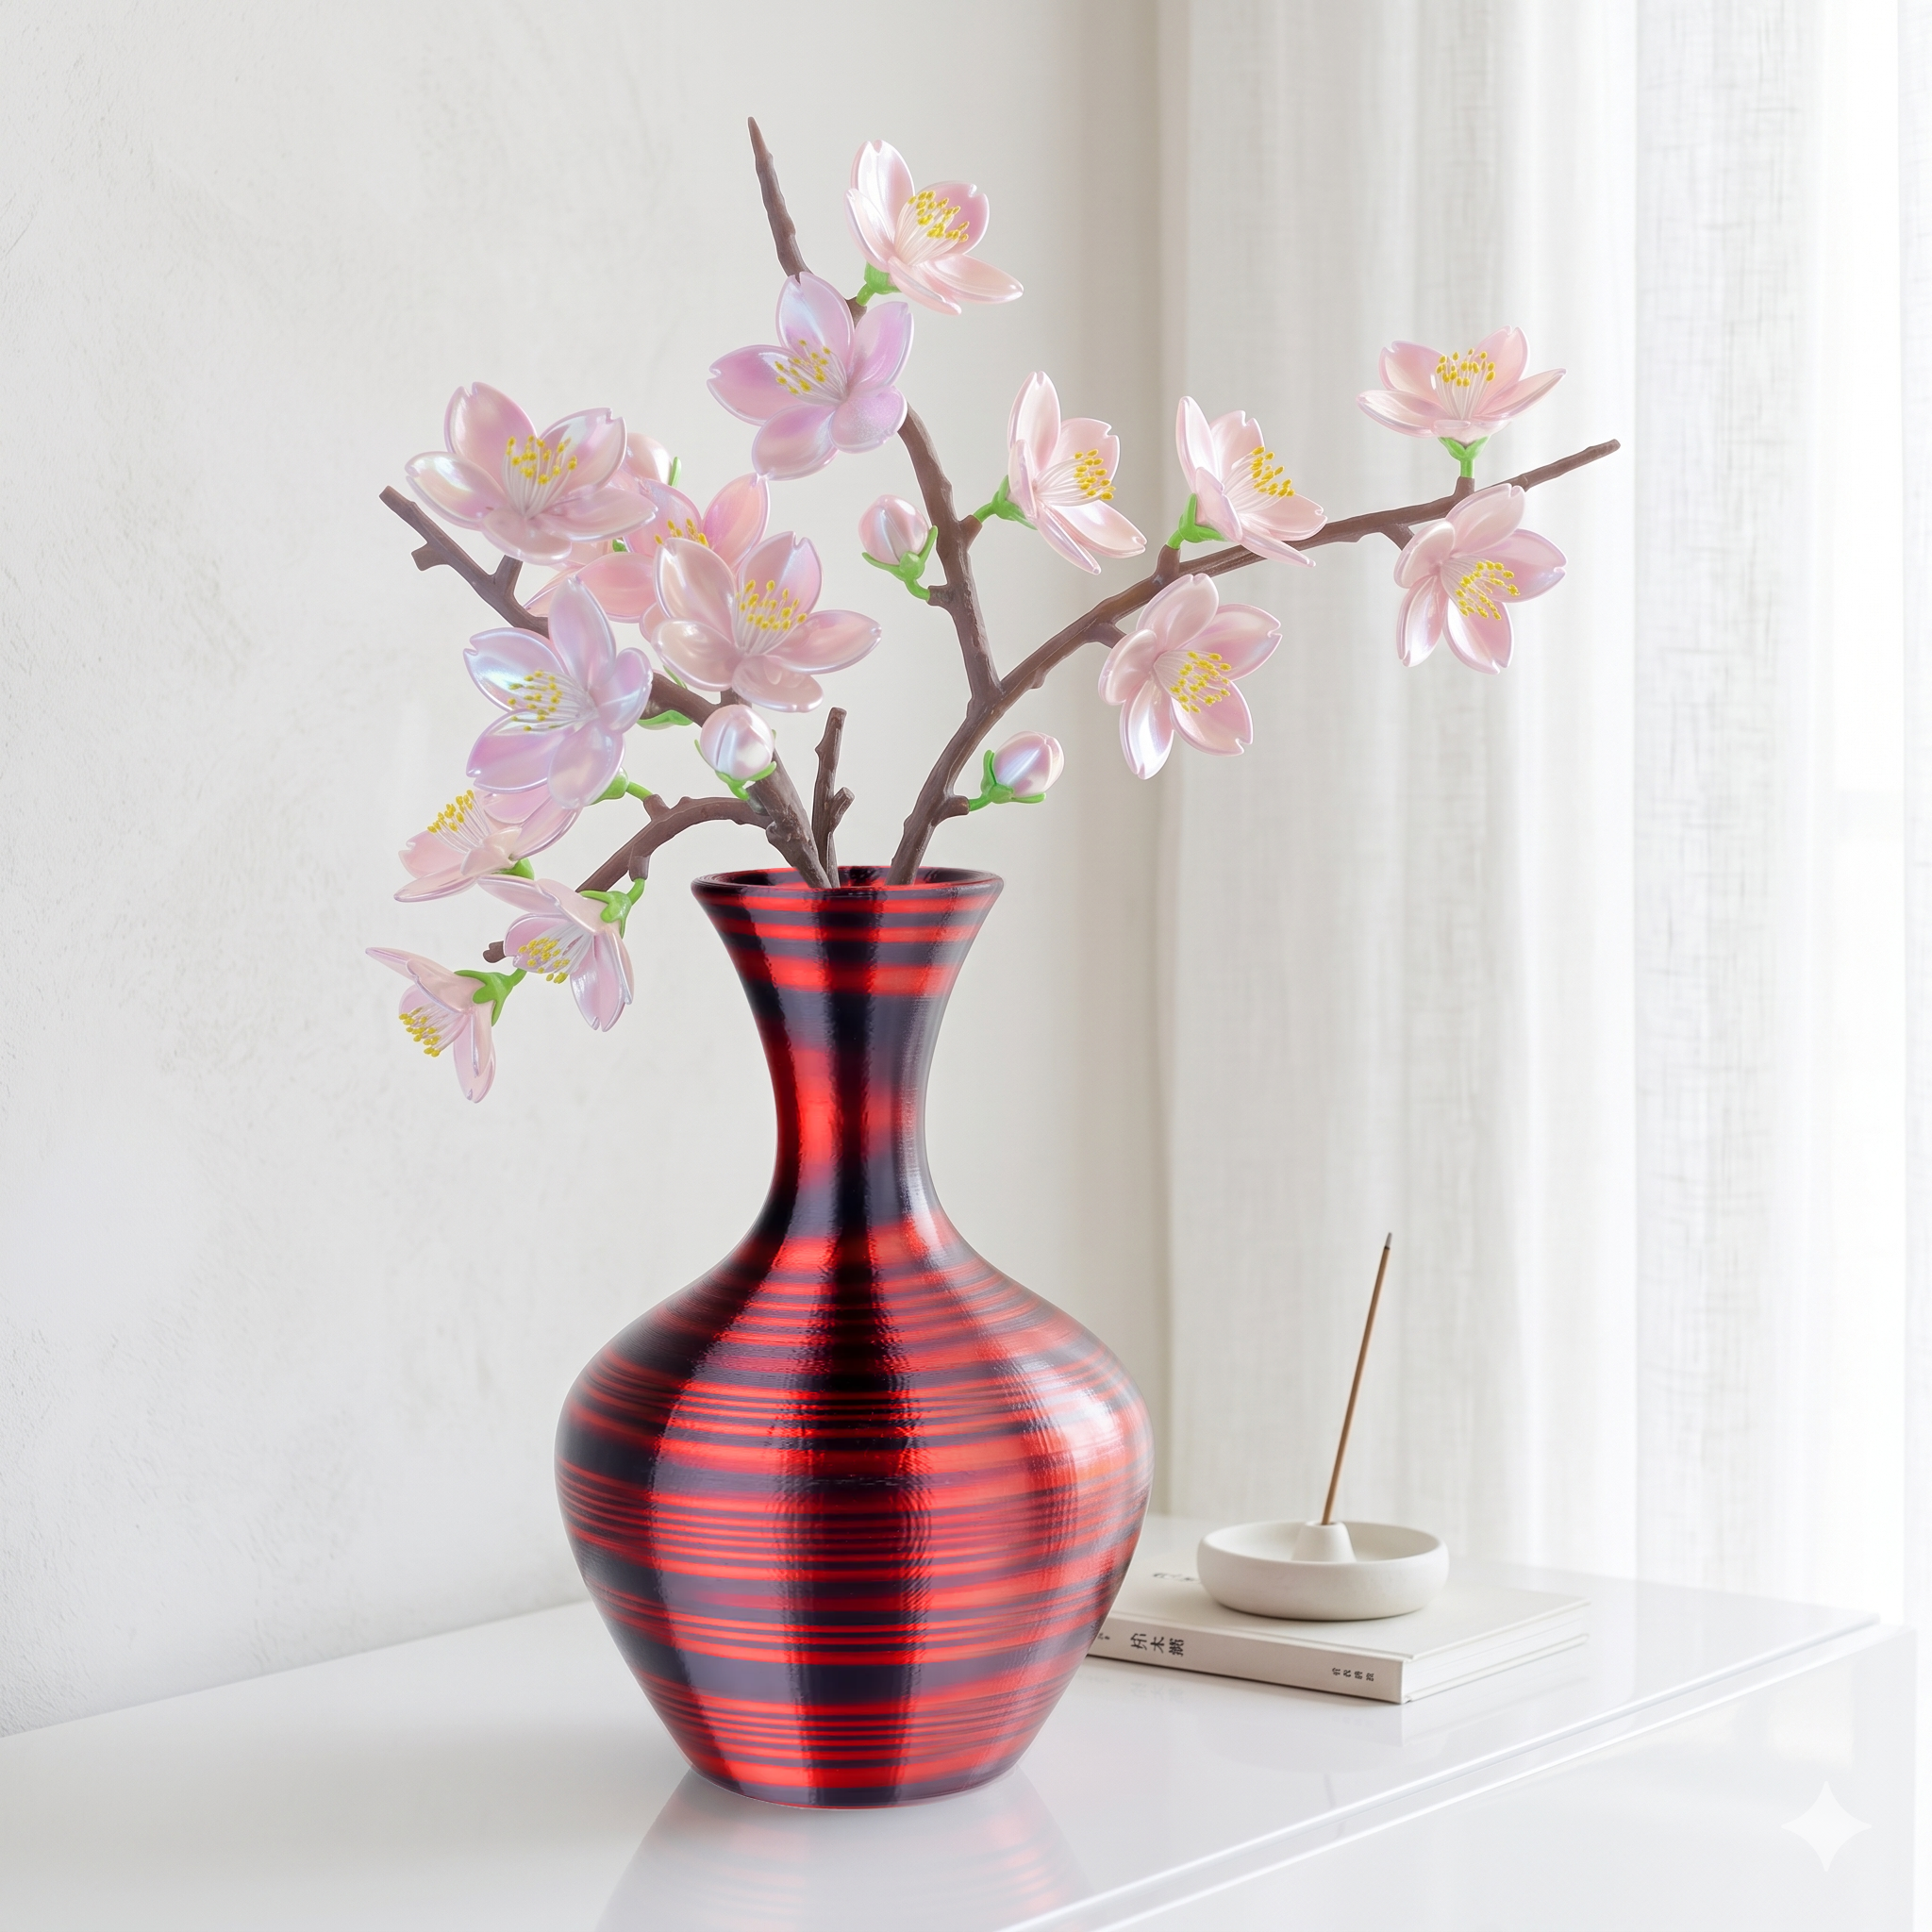
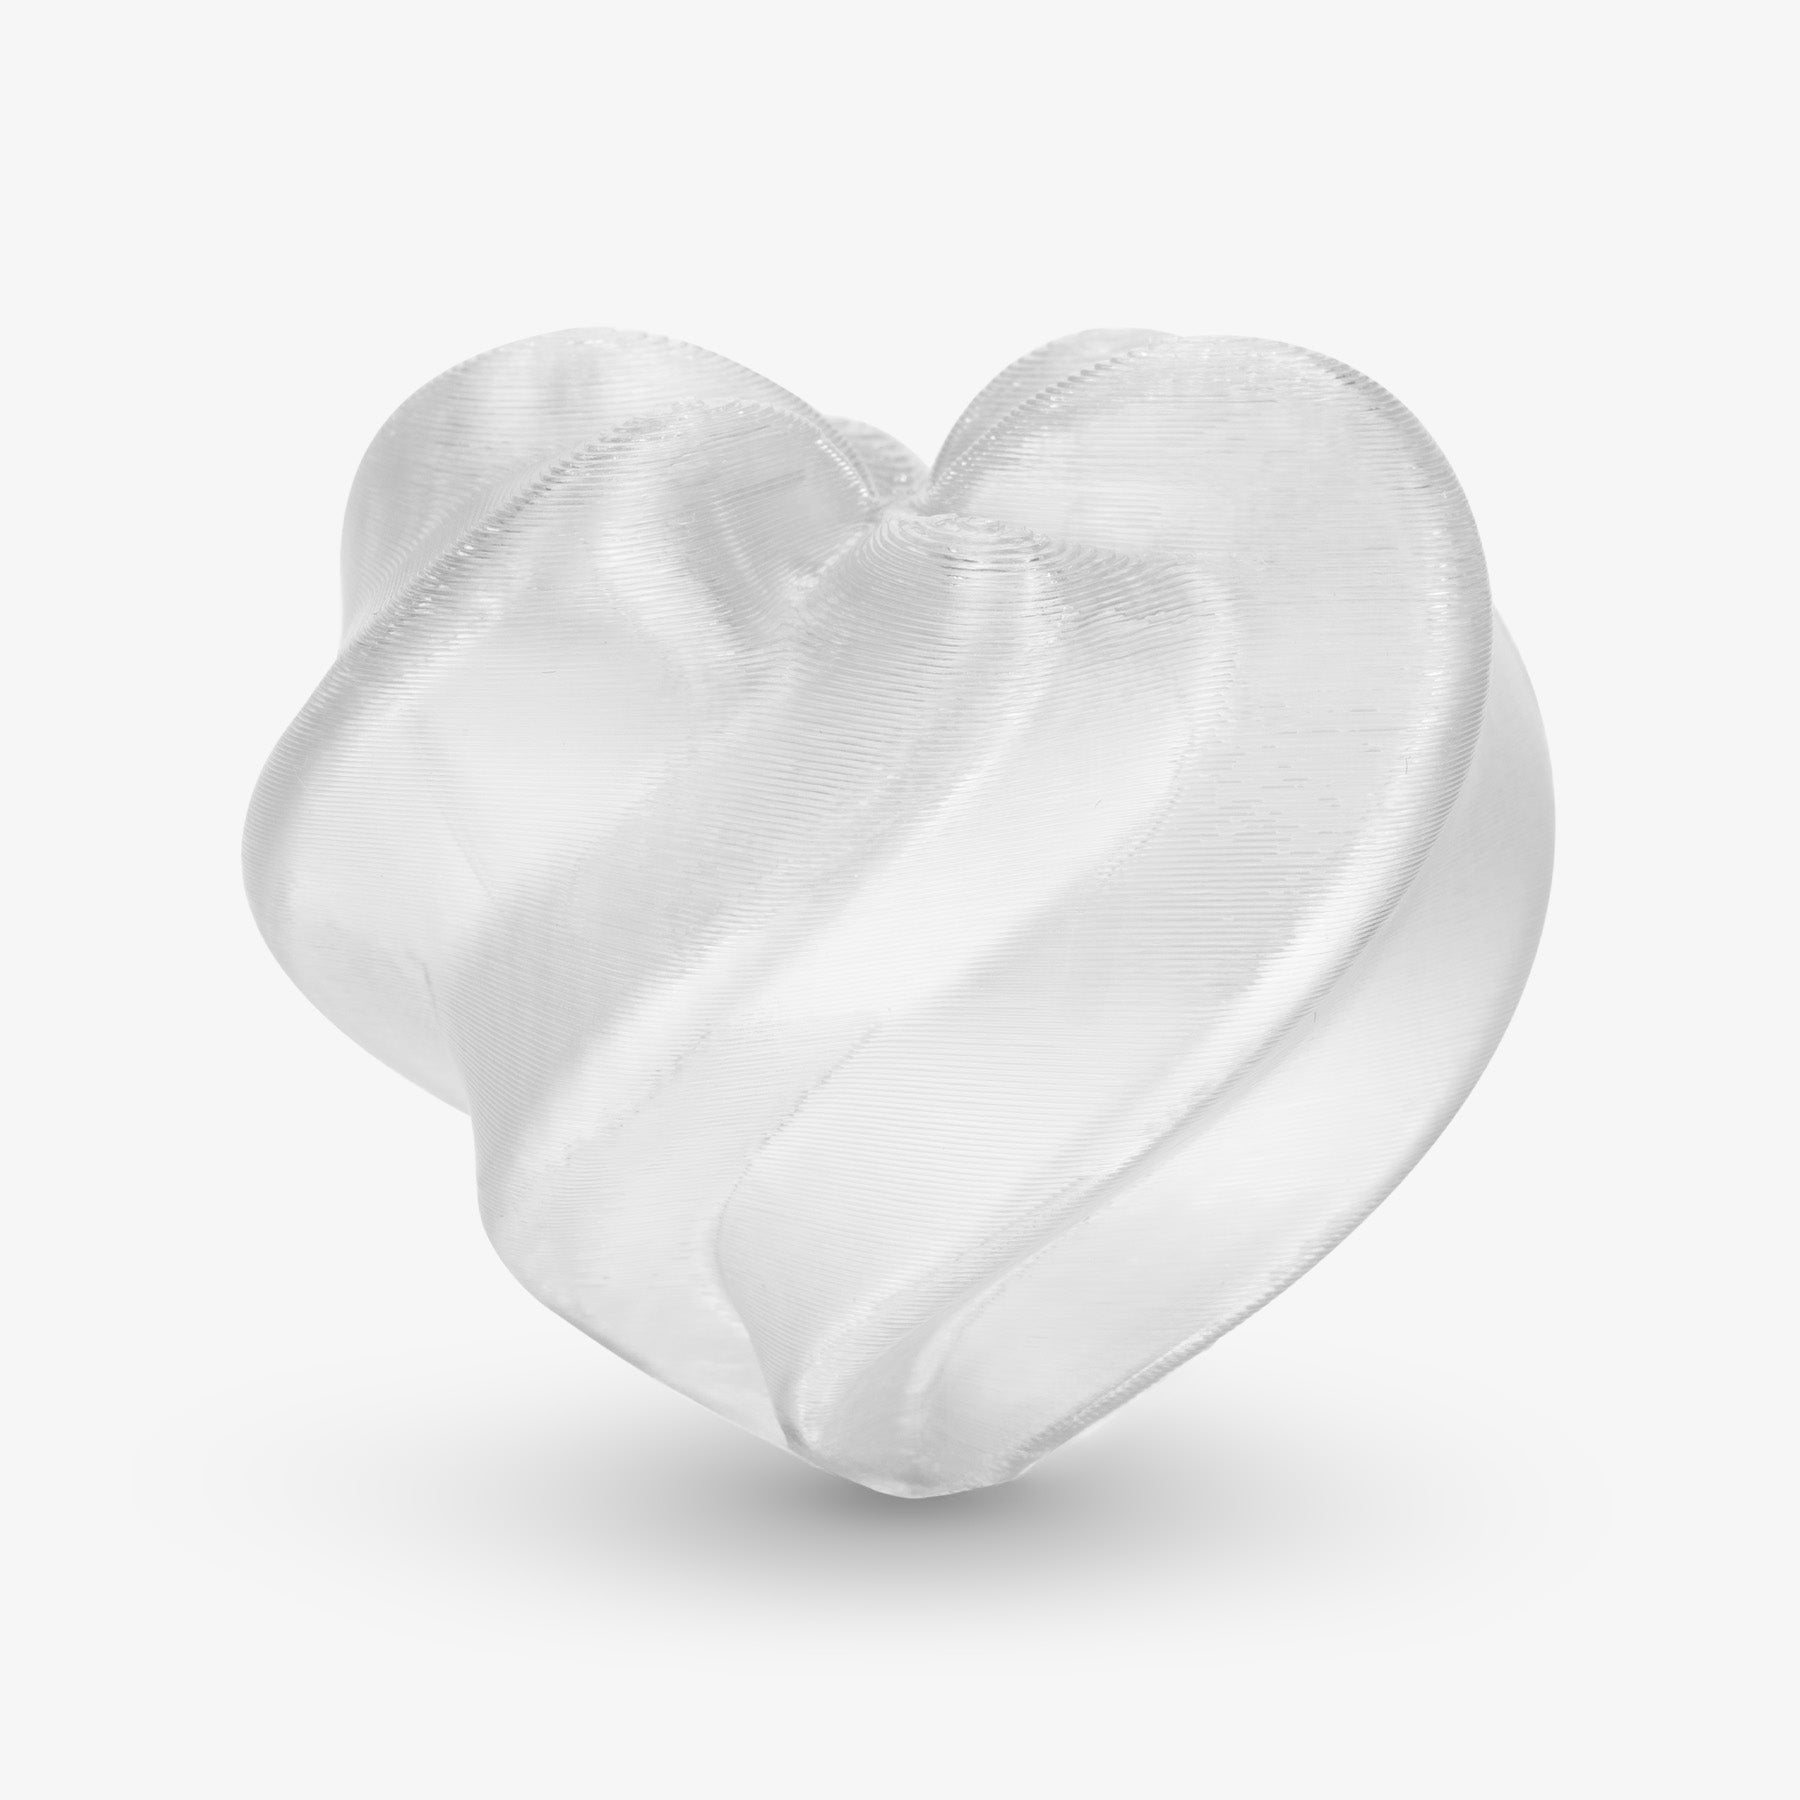
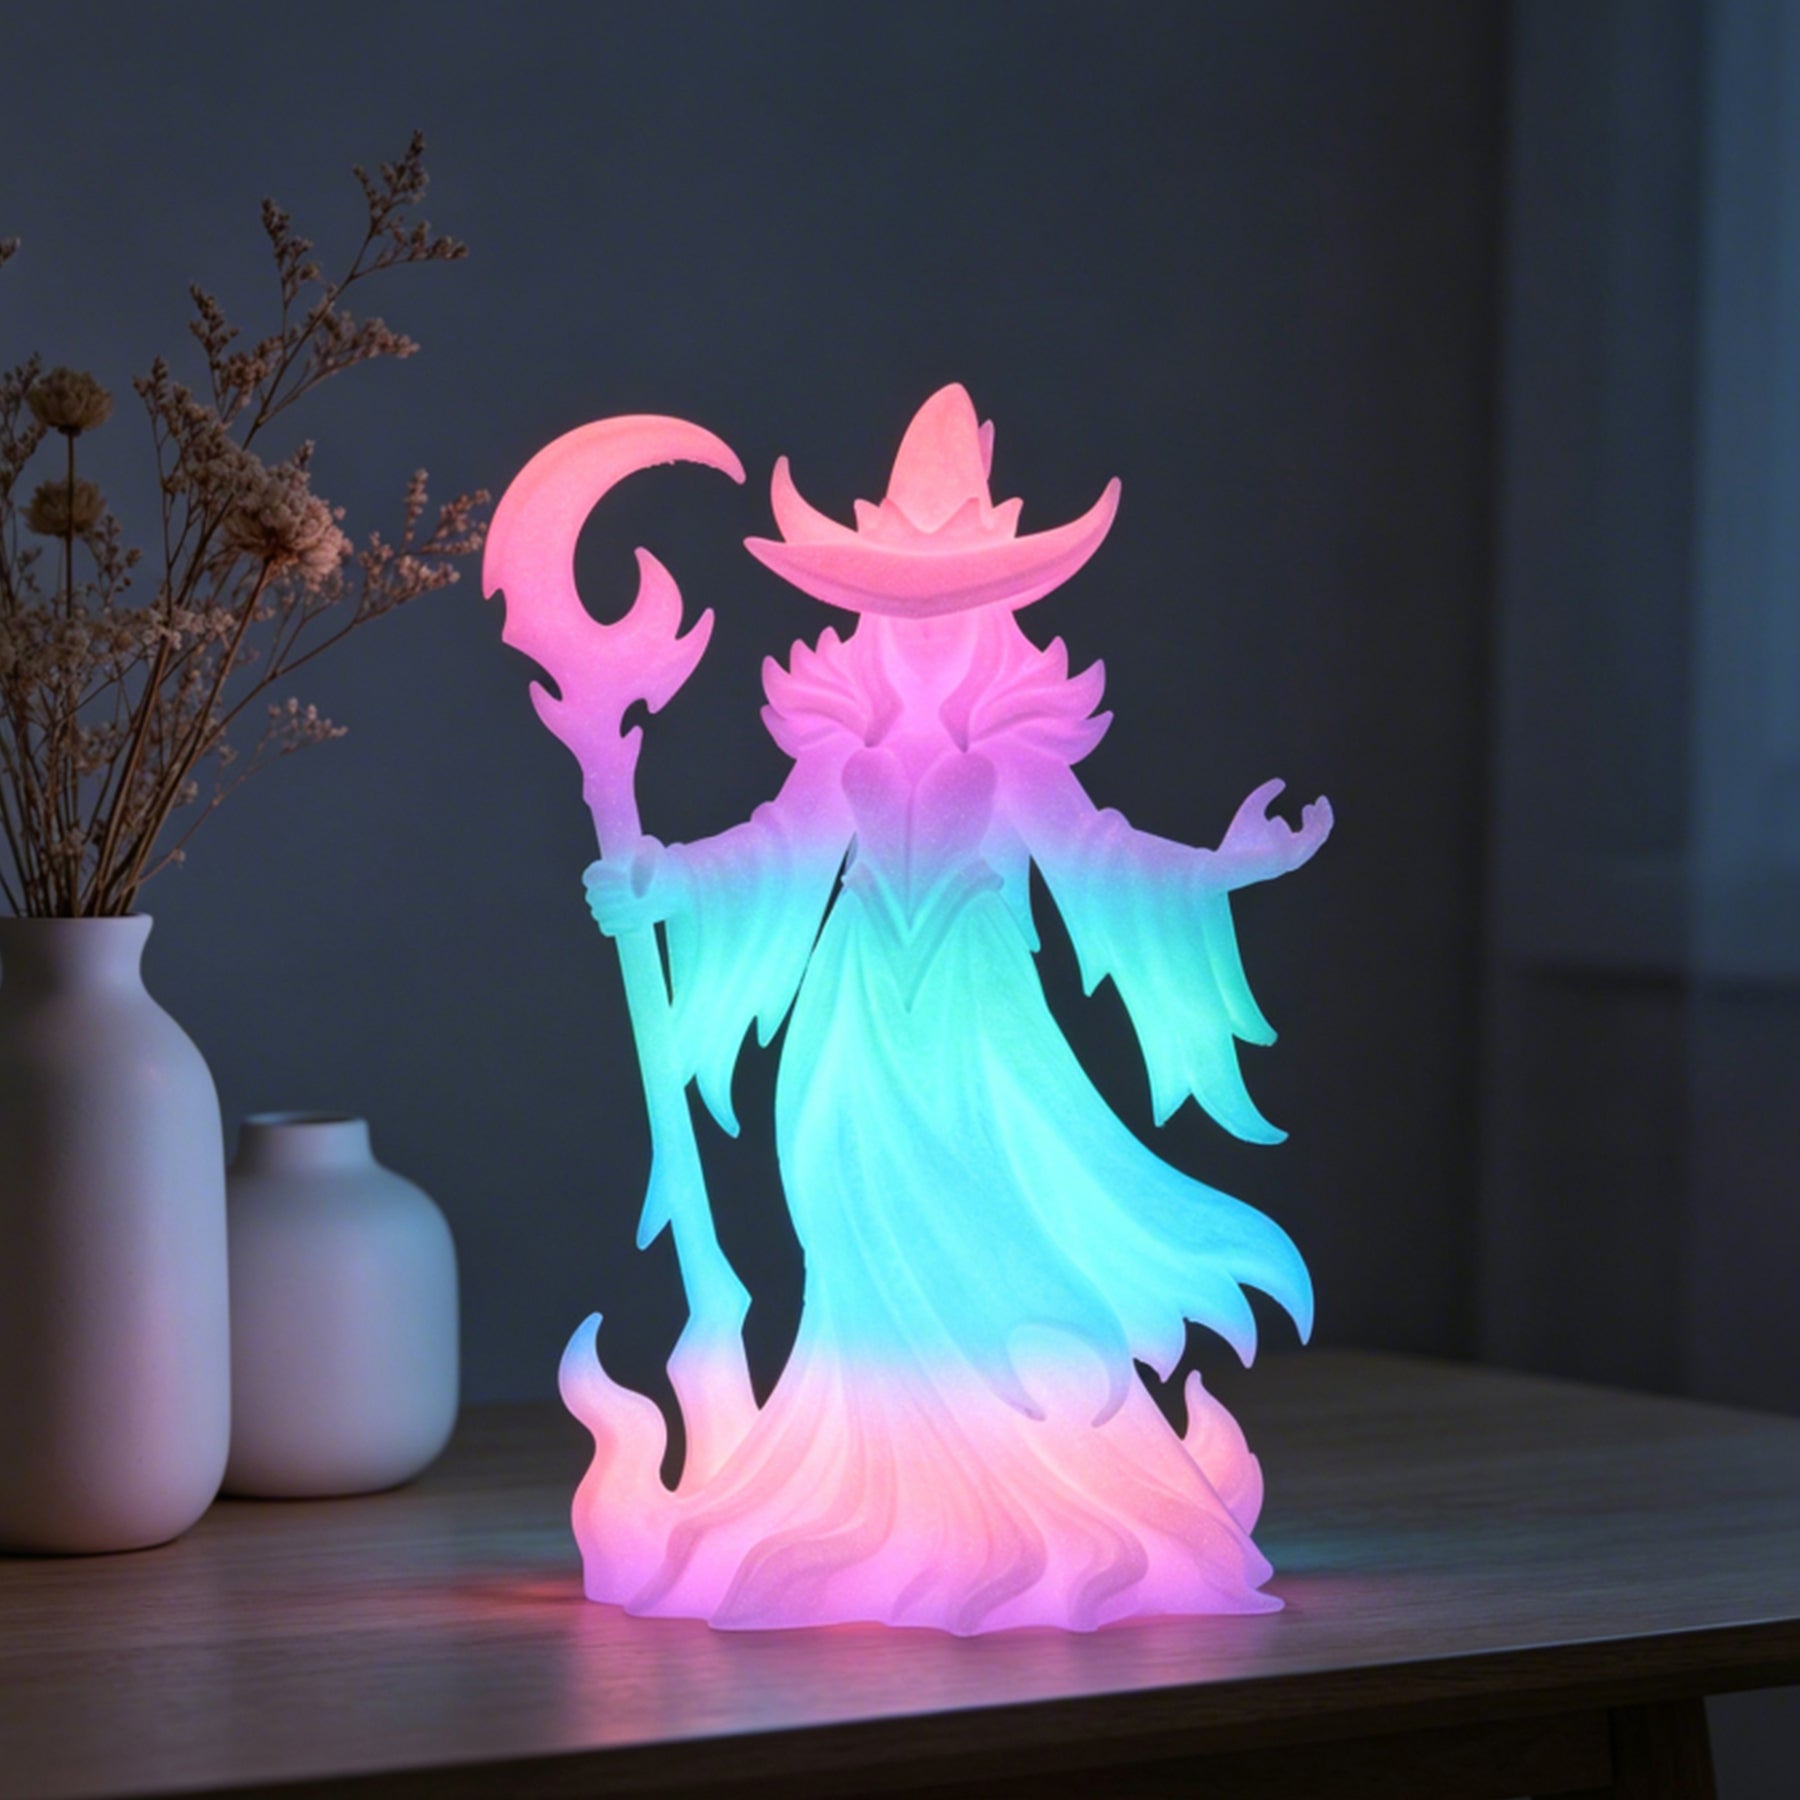
PLA is perfect for visual items. It's rigid, captures fine details beautifully, and comes in a huge variety of colors and finishes. This makes it the go-to choice for things like:
- Prototypes and concept models
- Figurines and miniatures
- Toys and educational models
- Low-stress functional parts like cases or brackets
However, PLA has a few weaknesses. It gets soft and deforms in temperatures above 50°C (122°F), so don't leave it in a hot car. It's also brittle and can shatter on impact, so it's not great for parts that need to be durable or flexible. Finally, it will become weak and brittle if left in the sun for a long time.
Common Alternatives to PLA
When a project calls for something tougher, more flexible, or more heat-resistant, you'll need to use a different filament.
- PETG (Polyethylene Terephthalate Glycol): Think of PETG as a tougher, more heat-resistant version of PLA. It's more durable, less brittle, and often food-safe. It's a bit trickier to print with since it likes higher temperatures (220-250°C) and can be stringy, but it's excellent for functional parts like mechanical components or protective cases.
- ABS (Acrylonitrile Butadiene Styrene): This is the same stuff LEGO bricks are made from. It's very strong and can handle high temperatures well. The downside is that it's difficult to print. It shrinks as it cools, so it needs a heated enclosure around the printer to prevent it from warping and splitting apart. It also releases smelly fumes, so you need good ventilation. It's best for parts that will take a beating, like car parts.
- TPU (Thermoplastic Polyurethane): This is a flexible, rubbery material. It's extremely durable and can bend and stretch without breaking. Printing it can be a challenge because it has to be done very slowly to prevent it from kinking in the extruder. TPU is the perfect choice for things like flexible phone cases, gaskets, or shock absorbers.
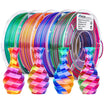
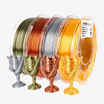
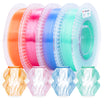
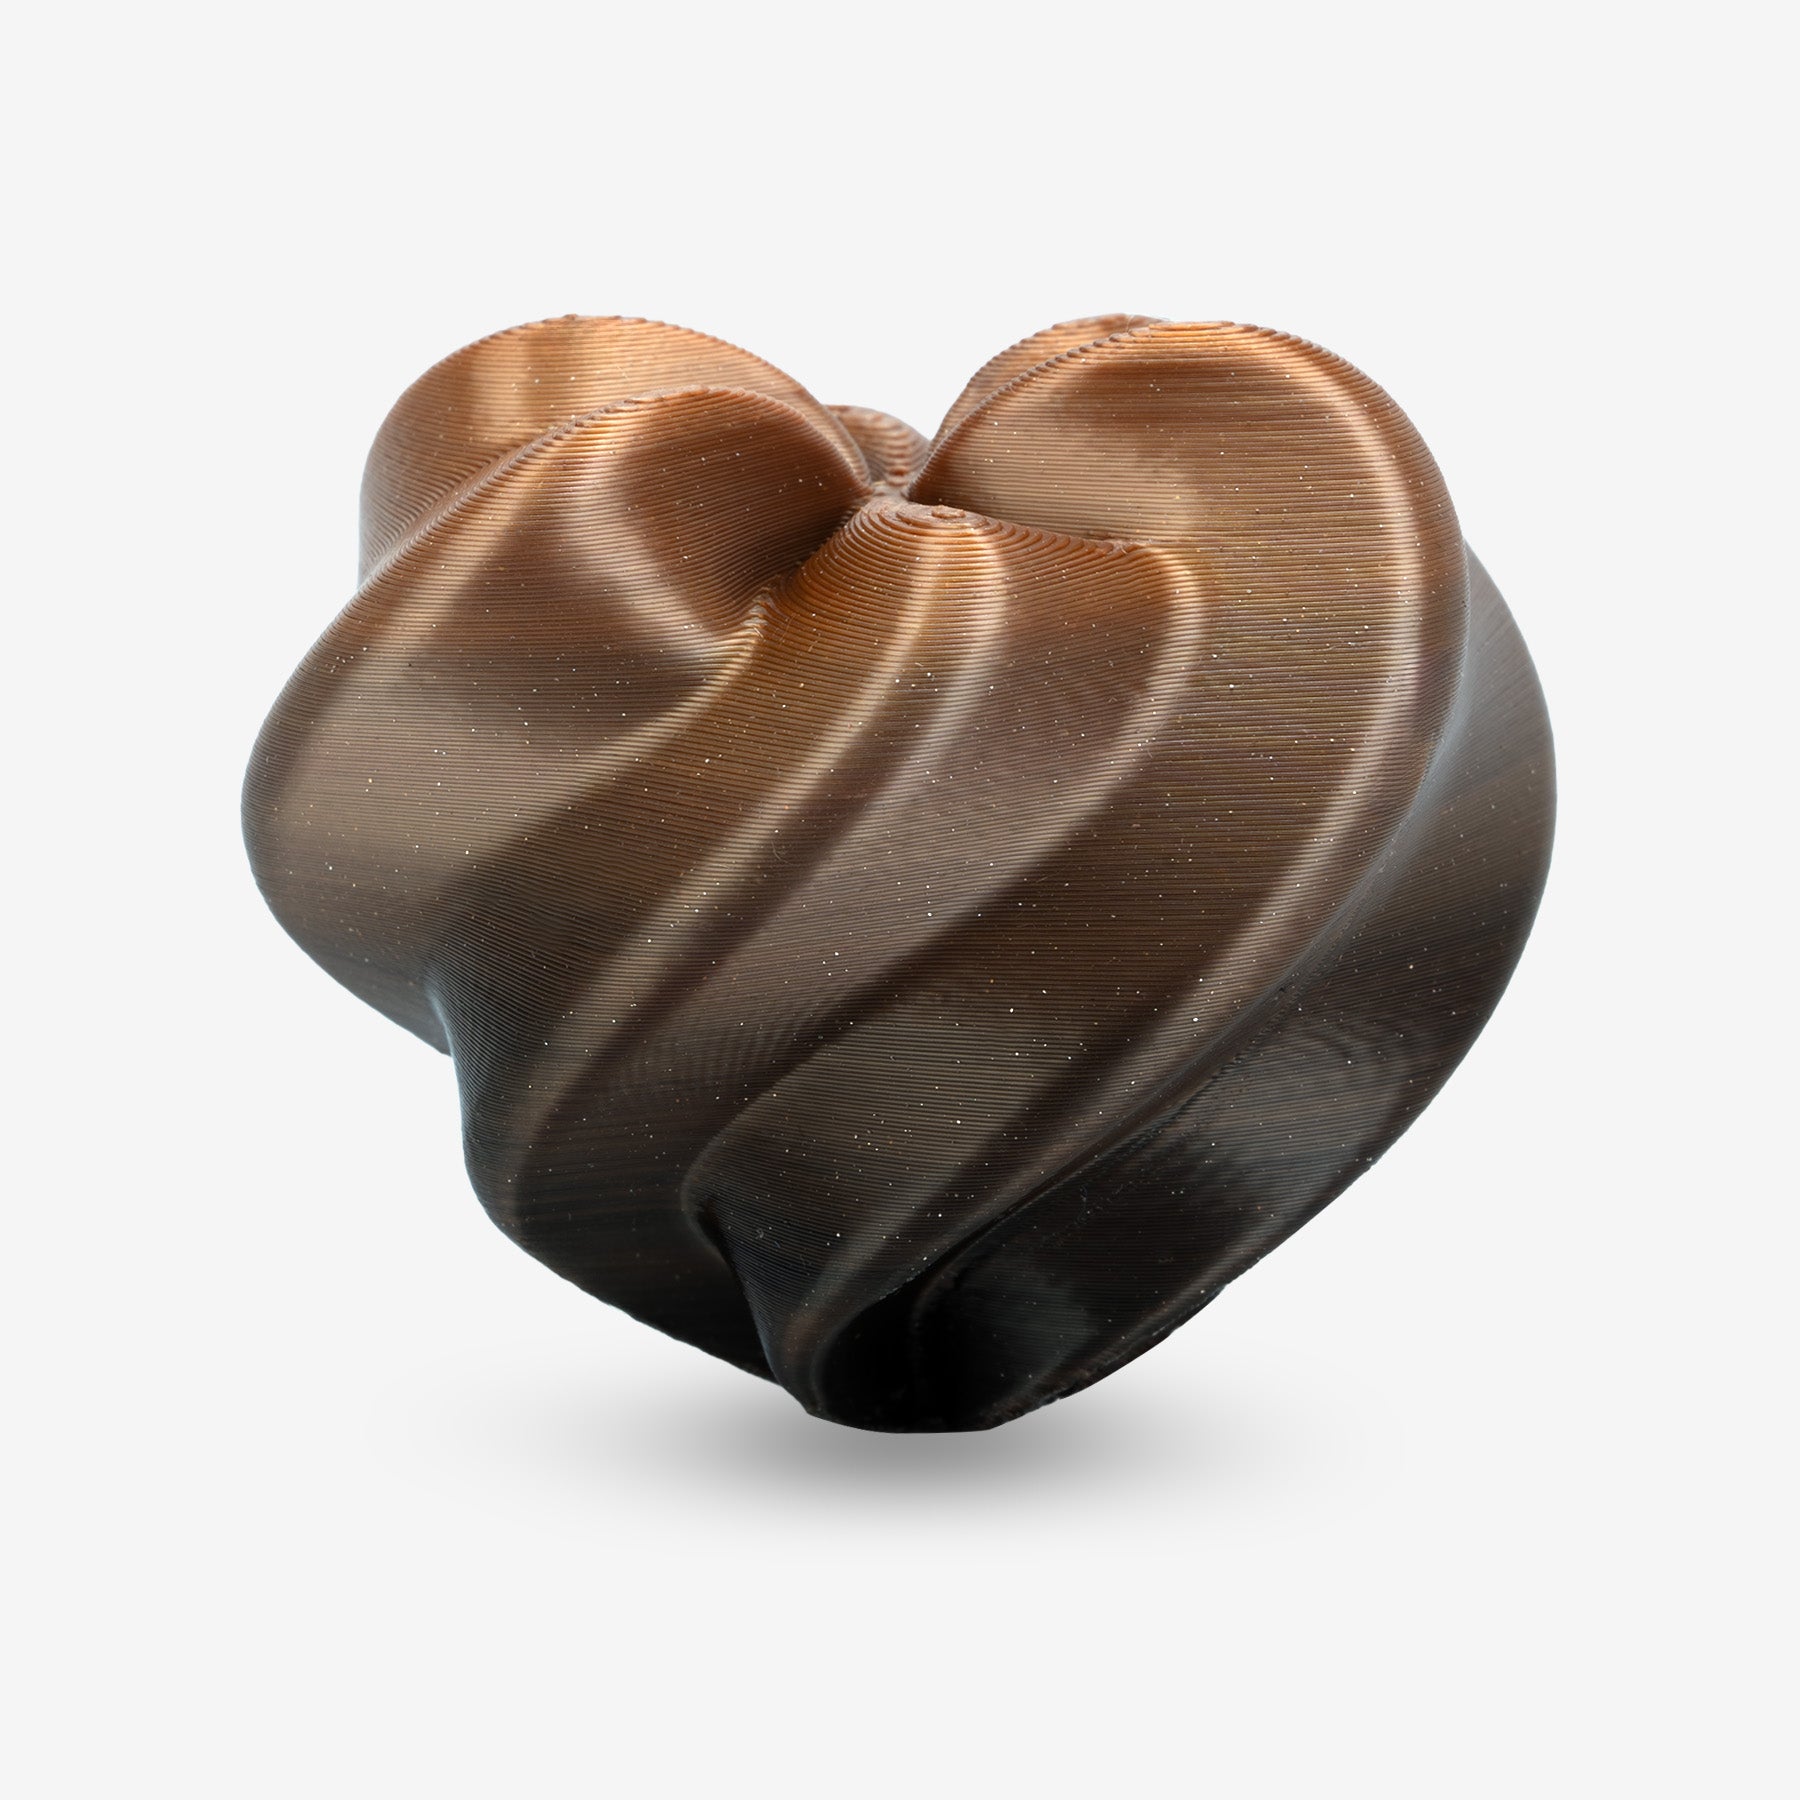
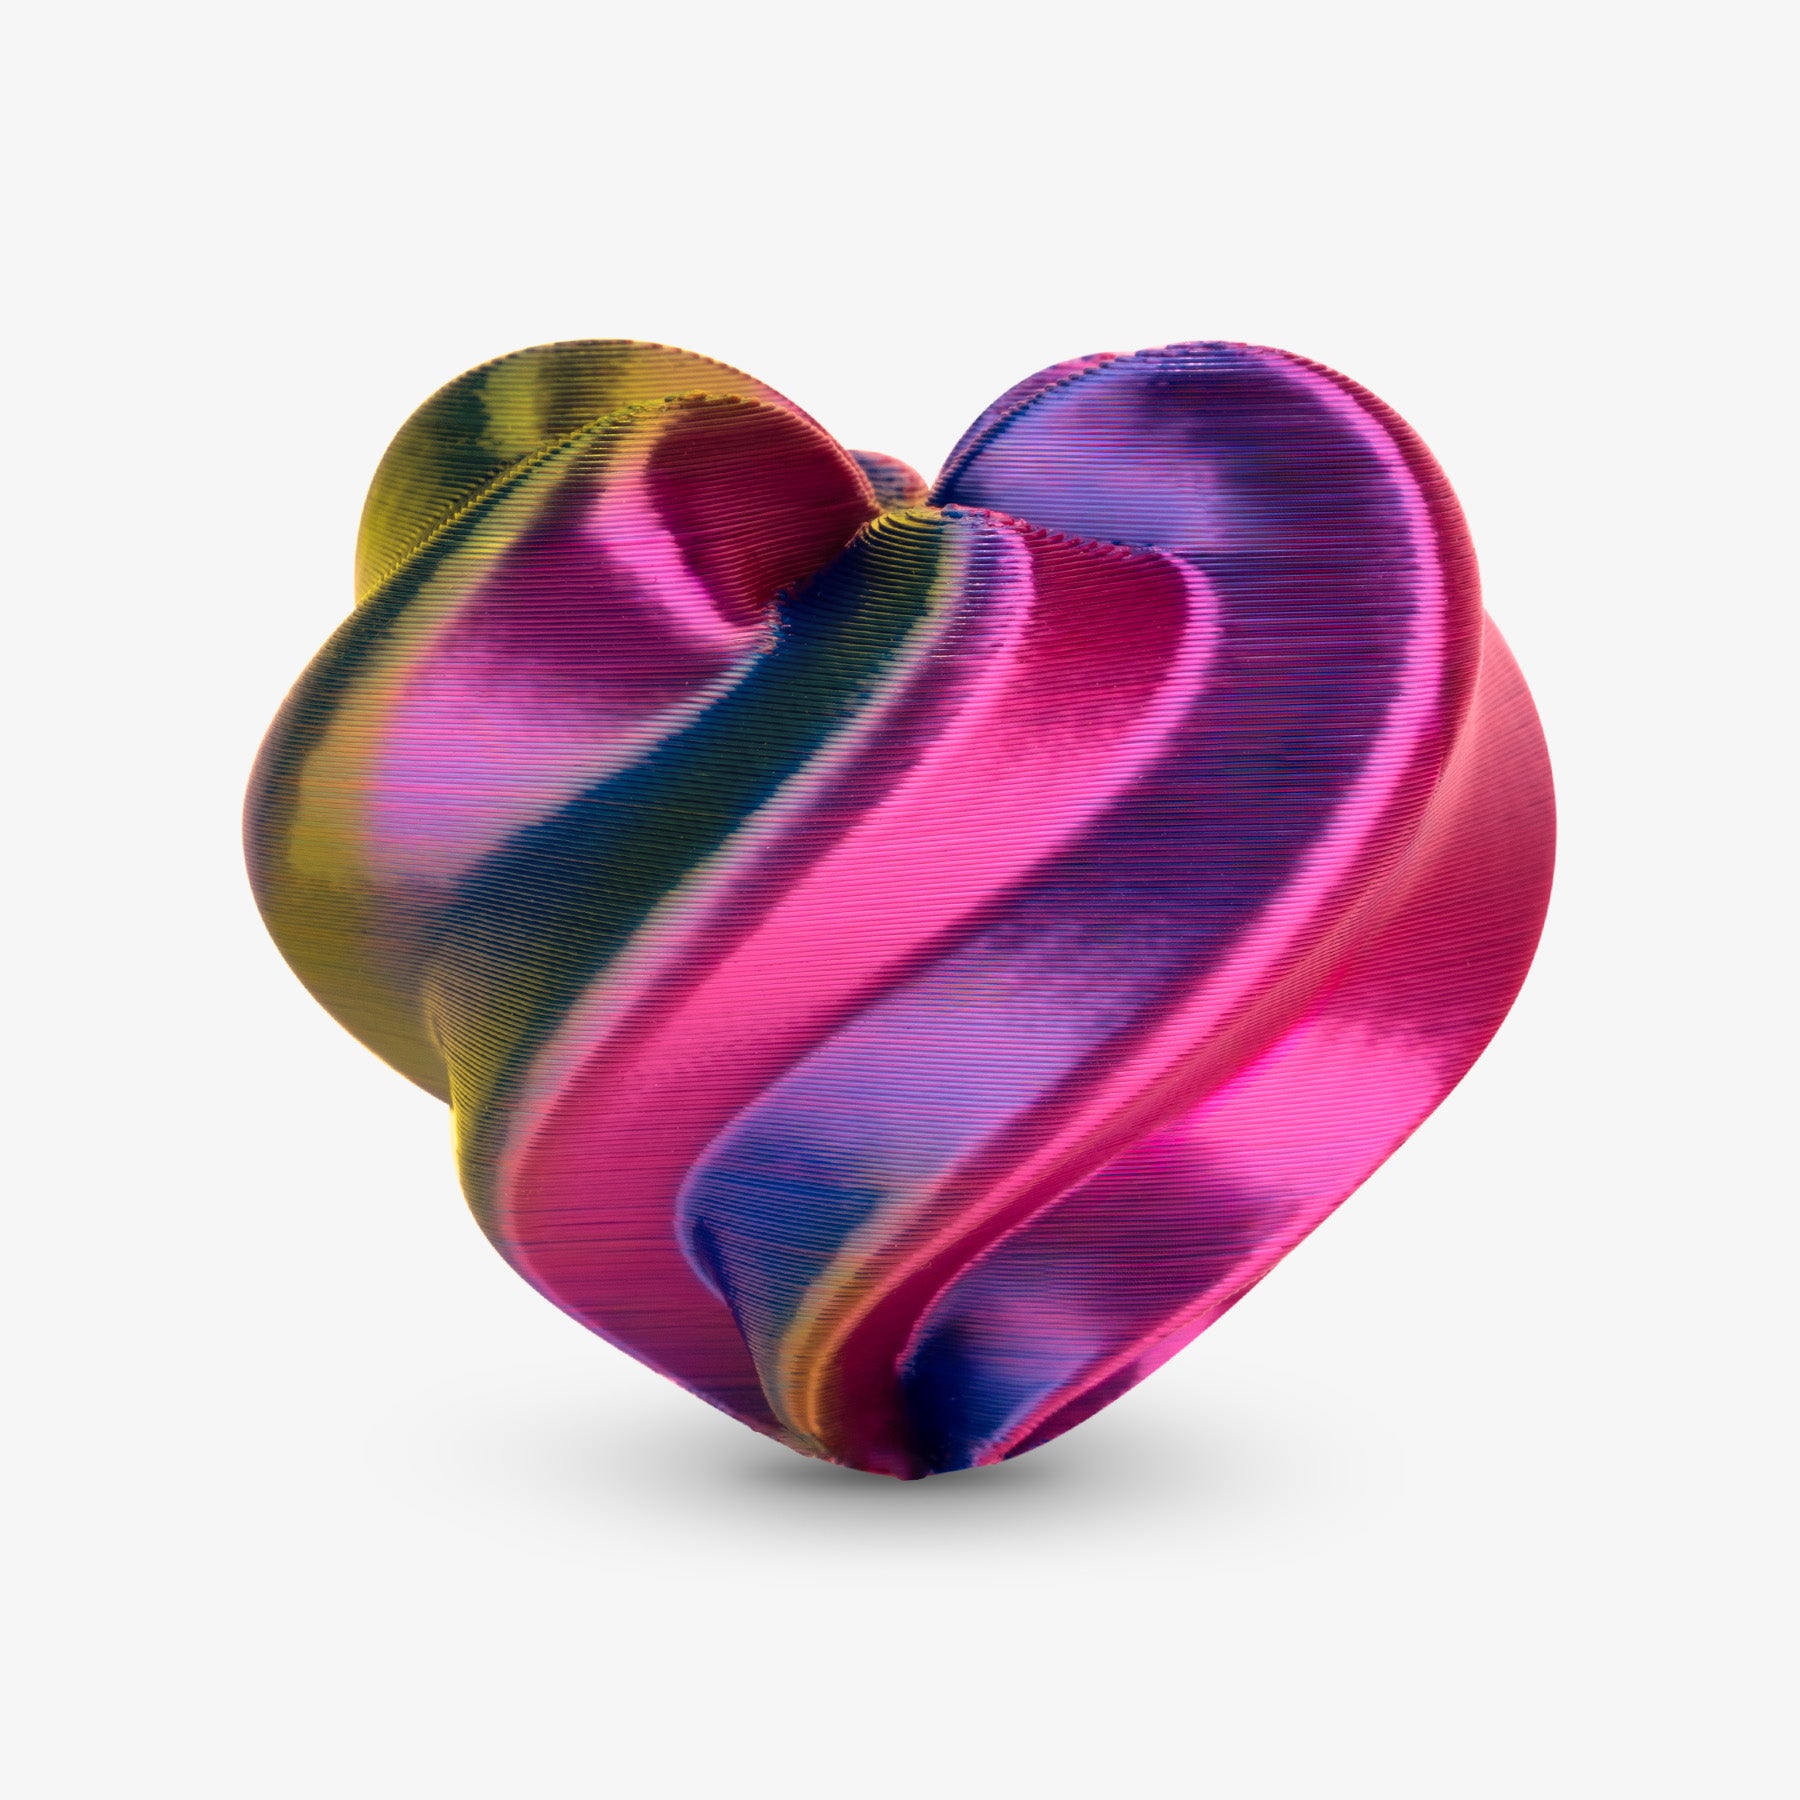
- Specialty PLAs: These are PLA filaments that have been mixed with other materials to give them special properties. You can find PLA mixed with wood fibers, metal powders, or silky additives that create unique looks. There is also Carbon Fiber PLA, which is much stiffer and stronger, but be warned: it's abrasive and will quickly wear out a standard brass nozzle, so you'll need to use a hardened steel one.
Common PLA Printing Problems And Solutions
You're going to run into failed prints. It happens to everyone. Here's how to fix some of the most common issues you'll see with PLA.
Problem: Print Isn’t Sticking to the Bed.
Solution: As mentioned earlier, proper bed leveling is the most common reason for this. Re-level your bed first. If that doesn't work, clean the bed with IPA. You can also raise the bed temperature to 60°C or add a "brim" in your slicer settings to give the print more surface area to hold on with.
Problem: There Are Strings or Hairs on the Print.
Solution: This is usually a retraction issue. Try increasing the retraction speed or distance in your slicer. Printing at a slightly lower temperature can also help. Sometimes, this happens because the filament has absorbed moisture from the air, so keeping your filament dry is important.
Problem: The Corners of the Print Are Lifting up (Warping).
Solution: This is caused by the plastic cooling and shrinking too fast. Make sure your first layer is sticking well. You can also tell your slicer to keep the cooling fan off for the first few layers to let them cool more slowly. Using a brim or a raft is another great way to keep the corners locked down.
Problem: The Nozzle Is Clogged.
Solution: You can usually clear a clog with a "cold pull" (you can search online for how to do this on your specific printer). Clogs can happen if your temperature is too low or if there's a small gap between your nozzle and the tube feeding it filament.

Advance Your Printing Skills!
You now have a solid foundation for 3D printing with PLA. The best way to improve is to start printing and apply these steps and solutions. As you grow more confident, you can explore decorative filaments like Silk PLA or Wood PLA. When a project requires more strength or heat resistance, you will be prepared to work with functional materials like PETG or ABS. This guide provides the knowledge; now you can begin building your skills. Happy printing!


