


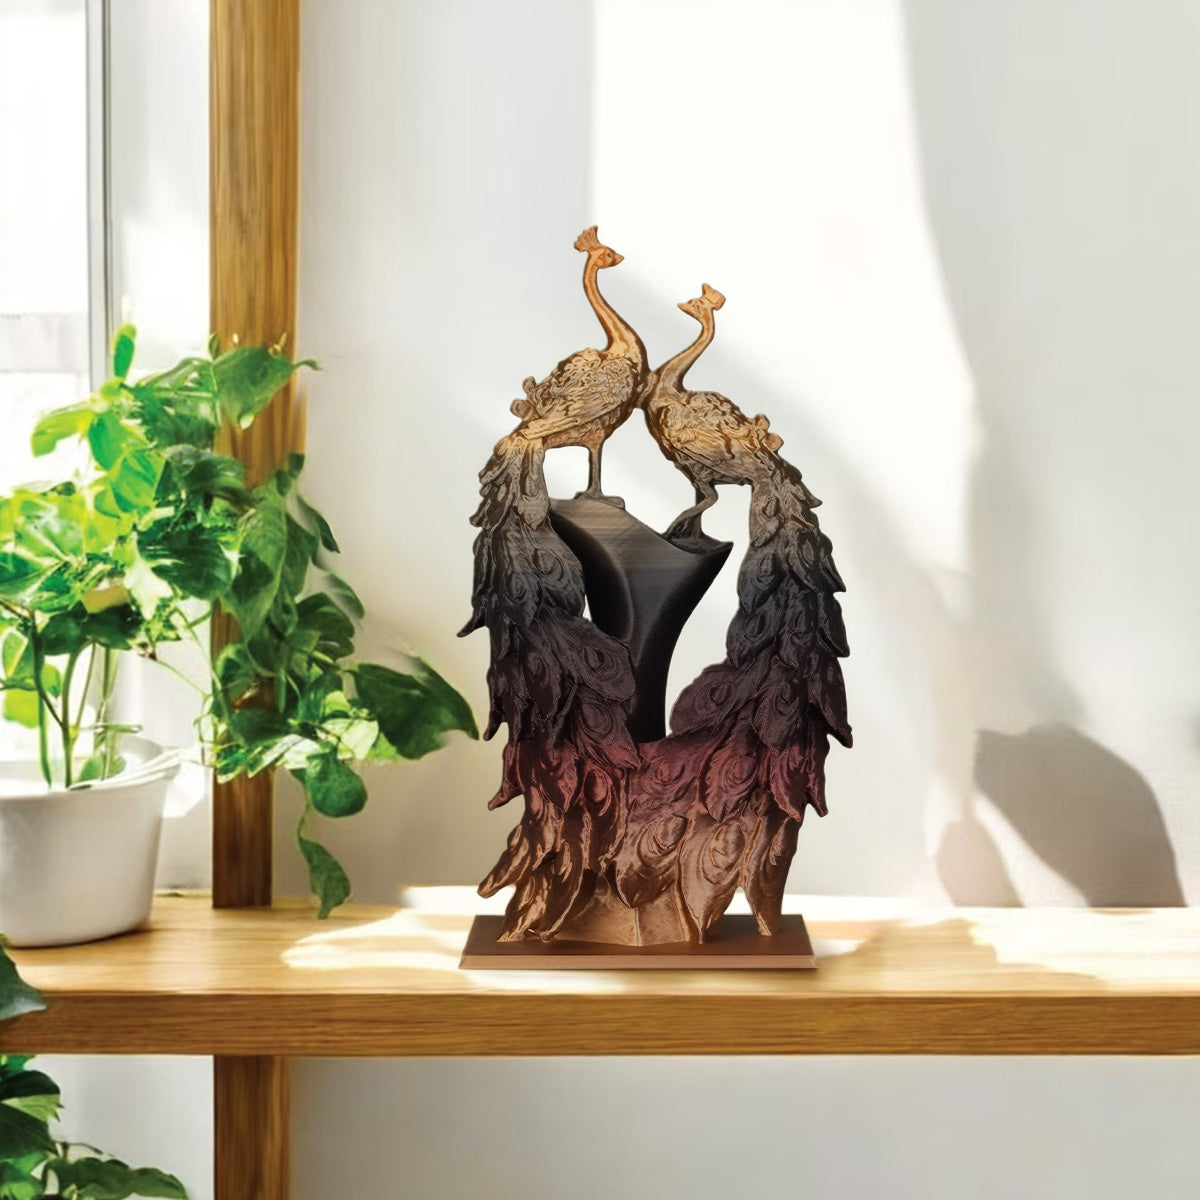
One of the best ways to get rid of the classic plastic look of 3D prints is to use wood filament. This material mixes fine wood particles into a standard printing plastic, like PLA, which results in objects that look and feel surprisingly like real wood. Best of all, you can sand, stain, and finish them just like you would a piece of timber. Getting great results requires a few key adjustments to your printer and settings. This guide provides all the necessary steps, from equipment to finishing touches, to help you start making your own high-quality wood prints.

What Exactly Is Wood Filament?
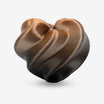
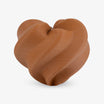
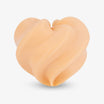
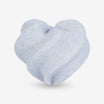
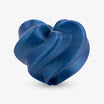
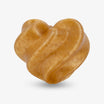
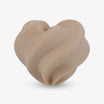
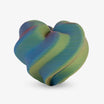
Wood filament isn't made from pure wood. Instead, it’s a material that mixes a standard 3D printing plastic (most often PLA) with fine, dust-like wood particles. These particles can come from various woods like pine, bamboo, or cork, and the type of wood used gives each filament its specific color and texture. Because of this blend, you'll often notice a faint, pleasant wood smell while printing. Once the print is finished and has cooled down, the object will have a matte, slightly fibrous surface that feels a lot like particle board.
There are two main benefits to using wood filament. The first is appearance: its natural-looking finish does a great job of hiding the visible layer lines that are common on 3D prints. The second key benefit is that you can work with it after printing. An object printed with wood filament can be sanded smooth, stained to a different shade, or painted. This gives you far more control over the final look and feel of your project compared to standard plastics.

How to Prepare Filament and Hardware for Wood Printing
Successfully printing with wood filament starts before you even slice a model. Because the material contains actual wood particles, a few simple preparation steps for your filament and hardware are essential to prevent common issues like clogs and brittle prints.
Choose the Right Wood Filament
Your first step is to pick a filament. When buying, it's a good idea to check recent reviews for different brands, as quality and consistency can vary. Also, notice the type of wood used in the filament (like pine, bamboo, or cork), as this will affect the final color and texture of your print.
Keep Your Filament Dry
Once you have your filament, proper storage is essential. Wood filament is hygroscopic, which means it easily absorbs moisture from the air. If the filament gets damp, the trapped water instantly turns to steam in the hot nozzle, which causes popping sounds, heavy stringing, and weak, brittle prints. To prevent this, always store your spool in a sealed bag or a dedicated filament dry box, preferably with a desiccant pack inside.
Check Printer Compatibility
With your filament ready and stored correctly, the next step is the printer itself. The good news is that you probably don't need a new one. Most standard FDM 3D printers that print PLA well can also handle wood filament without any major modifications. There is, however, one change you must make.
Upgrade the Nozzle
The single most critical upgrade—and the only one that is essential—is your printer's nozzle. The wood particles in the filament are abrasive and will quickly wear out a standard, soft brass nozzle.
- The Problem: As the filament passes through, the hard wood particles sand down the inside of the brass nozzle, widening its opening. This leads to inaccurate, messy prints and will eventually cause it to fail completely.
- The Solution: You must use a nozzle made from a tougher material. A hardened steel nozzle is the best all-around choice for its durability and affordable price.
- Use a Wider Nozzle: The size of the nozzle's opening is just as important as the material. A standard 0.4mm nozzle clogs easily with particle-filled filaments. It is highly recommended to use a 0.5mm or 0.6mm nozzle to give the filament a clearer path, which significantly reduces the risk of clogging.
With a quality filament that's kept dry and a printer equipped with the right nozzle, you've handled the most common points of failure. These preparations set the foundation for a much smoother printing experience.
How to Calibrate Slicer Settings for Wood Filament
Once your hardware is ready, calibrating your slicer settings is the final step before you start printing. The parameters below are a great starting point for most wood filaments, but it's always wise to check the manufacturer's specific recommendations first. Getting these settings right is key to balancing print quality with reliability.
Nozzle Temperature (200-230°C)
Wood filament generally requires a slightly higher temperature than standard PLA to ensure the mixture of plastic and wood particles flows smoothly. However, be careful not to set the temperature too high, as this can scorch the wood fibers. This not only causes a darker, slightly burnt appearance but can also increase the risk of nozzle clogs.
Bed Temperature (50-60°C)
For bed temperature, standard PLA settings work perfectly well. A heated bed set between 50 and 60°C provides excellent first-layer adhesion for most brands of wood filament.
Print Speed (40-50 mm/s)
Printing slower is almost always better with this material. A reduced print speed lowers the pressure inside the nozzle. As we discussed in the hardware section, nozzle clogging is the main challenge with particle-filled filaments, and reducing pressure is one of the most effective ways to prevent it.
Layer Height (0.2mm or Thicker)
Using a slightly thicker layer height, such as 0.2mm or even 0.3mm, is often beneficial. The larger opening for each layer allows the filament to flow more easily and further reduces the chance of wood fibers causing a jam in the nozzle. As an added benefit, thicker layers can help minimize the visibility of horizontal lines on the final print.
Retraction Settings
This setting can be a delicate balance. A fast or long retraction can pull the molten filament and wood particles back into the cold zone of the hotend, where it can solidify and create a stubborn clog. It's best to start with your standard PLA retraction settings. If you find that your nozzle is jamming immediately after a travel move, try reducing the retraction distance or speed.
Part Cooling Fan (100%)
Just like with PLA, using your part cooling fan at full speed is recommended. 100% fan speed helps the material solidify quickly, which is essential for preserving sharp details and printing clean overhangs.
Advanced Tip: Creating a Natural Wood Grain
For a more realistic wood grain effect, you can use a feature available in some slicers (like PrusaSlicer and Cura) to slightly vary the printing temperature throughout the print. By setting a random temperature variation of a few degrees (e.g., ±5°C) between layers, you can subtly alter the shade of the filament as it prints. This creates a beautiful, non-uniform finish that closely mimics the grain of real wood.
How to Fix Common Wood Filament Problems
Even with the best preparation and slicer settings, problems can still happen while printing. Don't worry—this is a normal part of the learning process. Here’s how to diagnose and fix the most common issues you might encounter with wood filament.
Problem 1: Frequent Nozzle Clogs
This is the most common issue with any particle-filled filament. As mentioned in the previous sections, the primary causes are almost always related to your hardware setup or slicer settings. The main culprits are using a nozzle smaller than 0.5mm, setting retraction too aggressively, or "heat creep" from insufficient hotend cooling.
To fix this, first ensure you are using a 0.5mm or larger hardened steel nozzle. If you find that clogs happen right after a travel move, try lowering your retraction distance in the slicer. Finally, confirm that your hotend's cooling fan is running at full speed to prevent heat from traveling too far up the filament path.
Problem 2: Excessive Stringing or Oozing
Nine times out of ten, excessive stringing with wood filament is caused by moisture. As we covered, this material is hygroscopic and acts like a sponge, absorbing water from the air. In the hot nozzle, this water turns to steam and improperly pushes out extra material, creating fine strings between the parts of your model.
The first and most important solution is to dry your filament. If the problem persists even with properly dried filament, you may then need to fine-tune your retraction settings.
Problem 3: Weak or Brittle Prints
If your finished prints feel weak or break apart easily between the layers, it's a clear sign of poor layer adhesion. This typically happens for two reasons: either the printing temperature is too low for the layers to melt and bond together properly, or the part cooling fan is cooling the plastic too quickly before it can fuse.
To solve this, try increasing your nozzle temperature by 5°C increments. If that doesn't fix it, you can also reduce your part cooling fan speed to 80-90%. This gives the layers a little more time to bond together into a strong object.
How to Sand and Stain for a Realistic Wood Look
A print that just came off the 3D printer will have obvious layer lines and look like plastic. To make it look like real wood, you'll need to do a little work after the printing is done, mostly just some sanding and staining. These steps are what really make the material look its best.
Step 1: Sanding for a Smooth Surface
First, you'll want to sand the print to get rid of the horizontal layer lines and create an even surface. Start with a rougher sandpaper, something like 120 or 150 grit, to knock down the most obvious lines. If your model has a lot of curves, a flexible sanding sponge usually works better than regular sandpaper. Once the surface looks even, switch to a finer grit, like 220 or higher, to get it really smooth. Most importantly, always wear a dust mask when you do this. You don't want to breathe in any of the fine dust.
Step 2: Applying Stain for Color and Depth
Once the print is sanded smooth, it's ready for some stain. Any regular wood stain you can find at a hardware store will work. Before you stain your whole project, it's a very good idea to test it on a failed print or a spot that won't be visible. This lets you see what the color will actually look like. Just wipe the stain on with a clean cloth, let it sit for a few minutes (check the can for directions), and then wipe off whatever didn't soak in. You'll see the wood-like texture pop right out.
Step 3: Applying a Protective Seal
To protect the finish and give your project a professional look, you can apply a clear coat. A spray-on varnish or polyurethane is simple to use and you can get it in different finishes, like matte, satin, or glossy. While most people stain their wood prints, painting is another great choice. If you want to paint it, just spray it with a coat of primer first so the paint sticks well and the color looks bright.
Project Ideas for Wood Filament
Wondering what to print with your wood filament? It's a really versatile material that works well for both decorative and useful things. Here are a few ideas to get you started.
Decorative Home Items
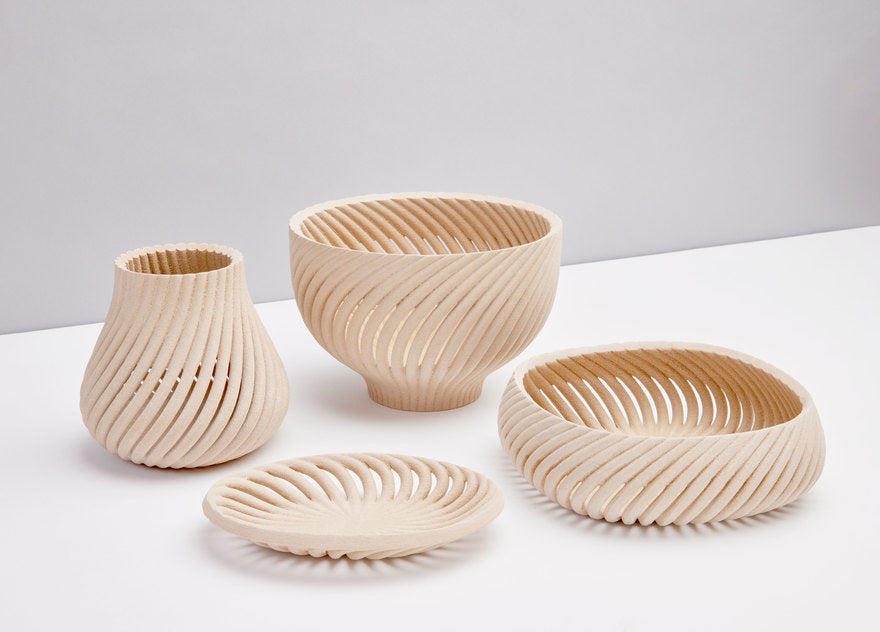
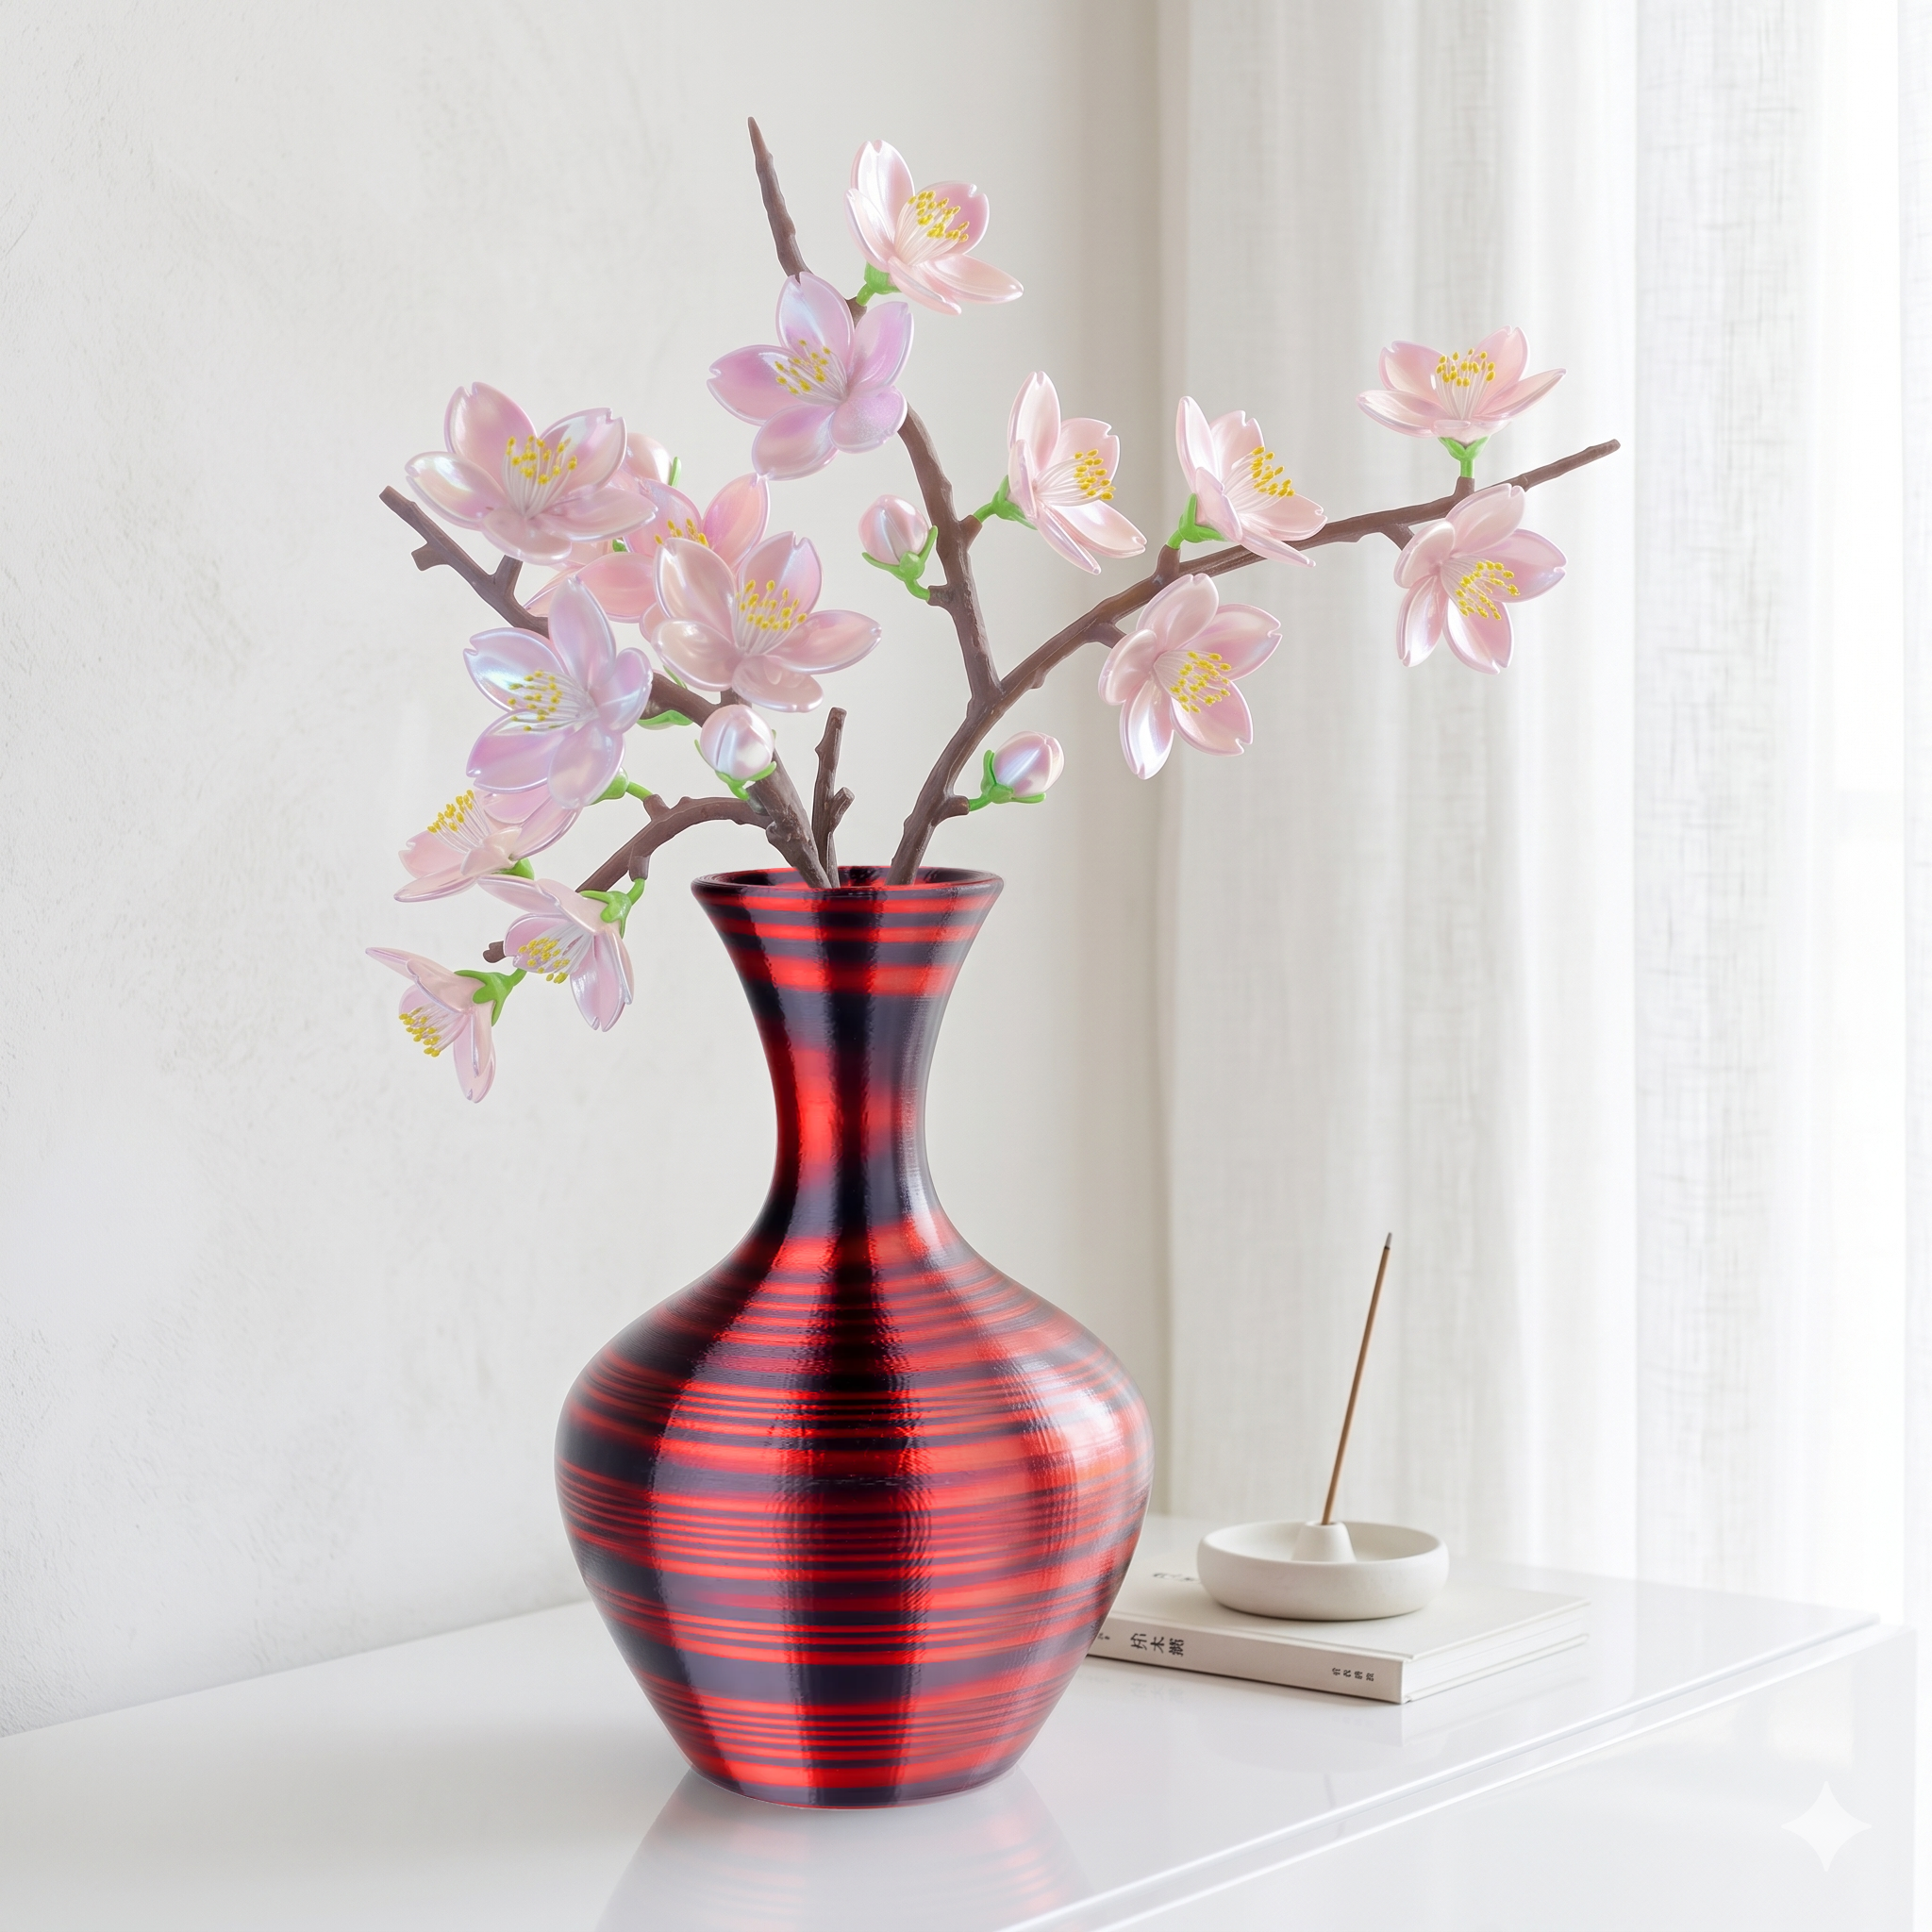
This material is perfect for making things like vases, planters, and coasters that have a simple, natural style. Since you can stain the prints, it's easy to match the color to any wood furniture you already have.
Figurines and Miniatures
The matte finish is great for anything that shouldn't look like shiny plastic, especially natural-looking characters and shapes. This is why a figure like 'Baby Groot' is such a popular print—the filament's texture looks a lot like real tree bark.
Tabletop Gaming Accessories
You can add a lot of flair to your games by printing things like treasure chests, terrain pieces, or fences. Having accessories that actually look like they're made of wood makes the whole game feel more immersive.
Functional and Elegant Gadgets
You can turn simple items like a phone stand, a headphone holder, or a key rack into something that looks really nice. Objects printed with wood filament don't look like typical plastic gadgets and can blend right in with your home's decor.
Start Making Your Own Wood Prints!
You now have a solid plan for printing with wood filament. It's a fun material that produces unique, high-quality objects. Just remember the key steps: use a larger, hardened steel nozzle, keep your filament dry, and print slowly. Don't skip the final step of sanding and staining, as that’s what makes these prints special. Take your time, and you'll soon be making things that look like they came from a workshop, not a 3D printer.


