


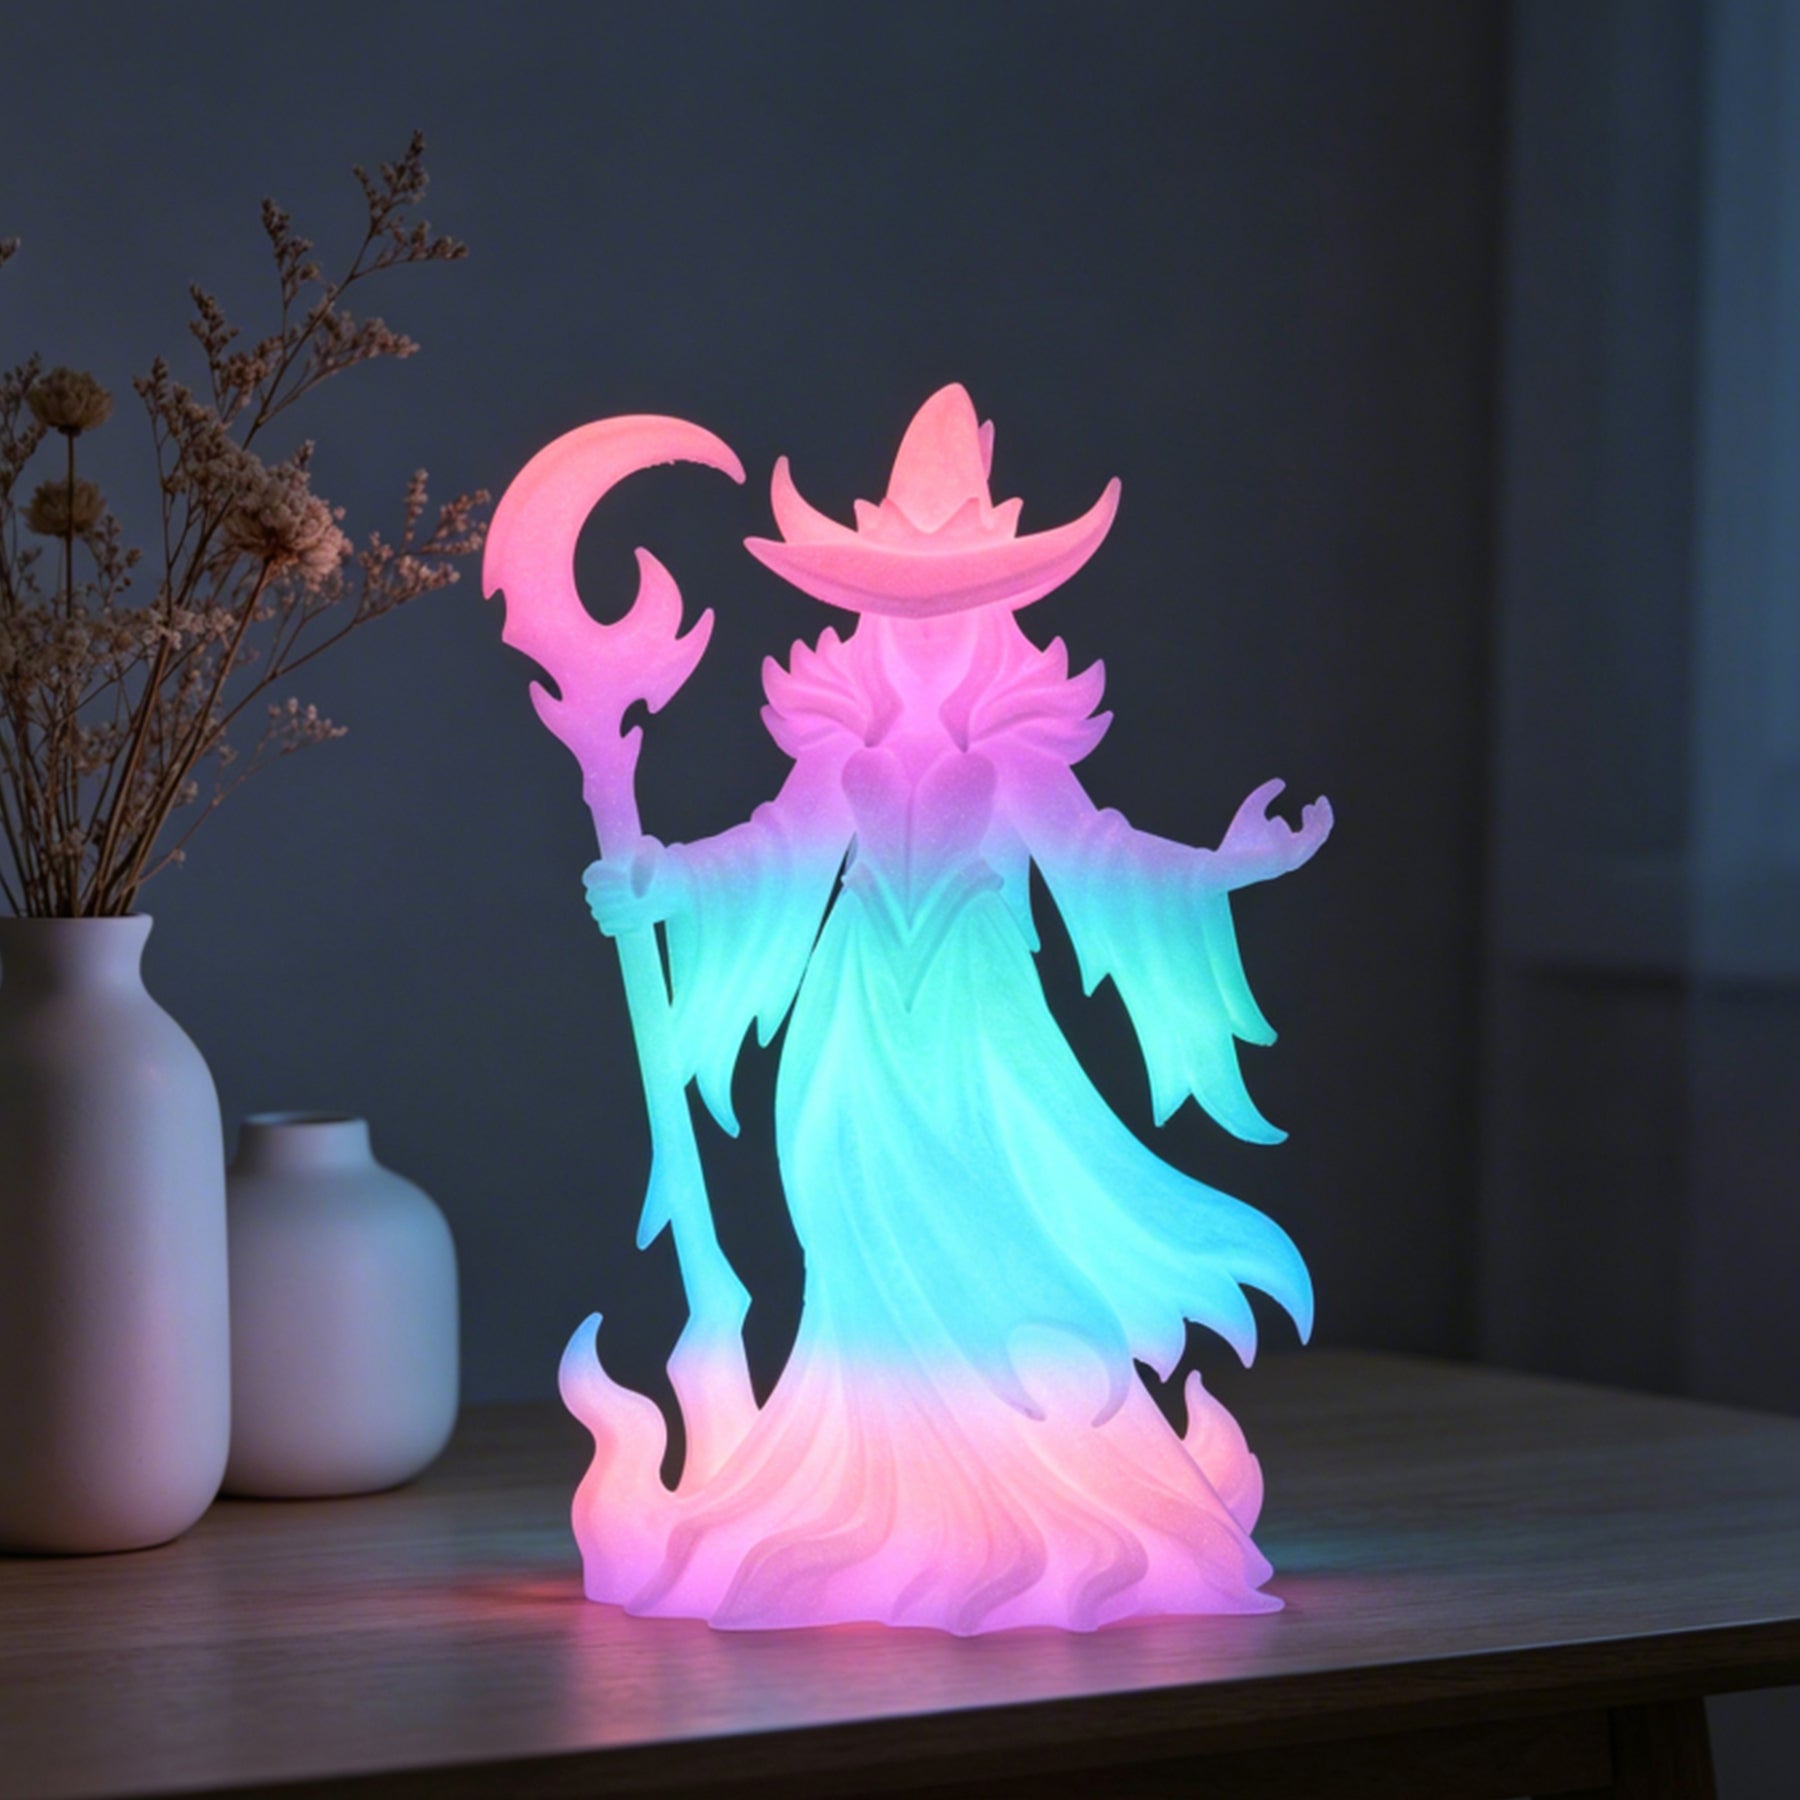
3D printing appears to be a fun activity but can be confusing—there are so many materials, settings, and recommendations. What is the ideal place to start? Begin with PLA. It can be used on nearly every printer, produces satisfactory results with ease, and teaches the fundamental skills necessary to do everything else. You will learn, within the pages of this book, why PLA makes an ideal starter material, how to prepare it, how to deal with small problems, and when to progress further when the time comes.
Why PLA Is the Perfect First Filament
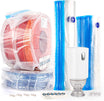
PLA (polylactic acid) is a plant-based thermoplastic made from renewable resources like corn or sugarcane. It melts at relatively low temperatures and cools quickly, which makes it one of the easiest filaments to print.
Here's why it's the beginner's favorite:
- Forgiving with settings: PLA has a wide print temperature window, so even small mistakes won't ruin your print.
- Great bed adhesion: It sticks well to common surfaces like glass, PEI sheets, and textured plates.
- Warp-resistant: Unlike ABS or nylon, it rarely lifts at the corners.
- Safe for home or classroom: PLA gives off only a mild, sweet smell when heated, making it comfortable for indoor printing.
- Tidy finishes: Parts often come out with smooth, glossy surfaces that need little or no sanding.
Limitations: PLA becomes gooey in hot spots (such as the dashboard of a parked vehicle) and may snap easily in fragile clips. As a step up to more robust pieces that can endure heat, PETG or ASA might be tried later on, but nothing is better than PLA to introduce yourself to the process and build confidence.
PLA Printing Basics for Your First Week
One reason beginners get frustrated is by guessing settings. Starting with clear ranges removes the guesswork and helps you focus on observing what happens.
Here's a starter settings chart for PLA:
| Setting | Beginner-Friendly Range | What to Watch For |
| Nozzle temperature | 195–210 °C | Layers bond well without burning or stringing |
| Bed temperature | 55–60 °C (for glass/PEI beds) | Corners stay flat, avoid "elephant's foot" |
| Layer height | 0.20 mm (with 0.4 mm nozzle) | Good detail with reasonable print time |
| Print speed | 45–55 mm/s | Start slower, increase speed after a few successes |
| Cooling fan | 100% after layer 2 | Cleaner overhangs and bridges |
| First layer speed | About 20 mm/s | Smooth, slightly squished lines for strong adhesion |
| Retraction (Direct) | Distance: 0.5–1.0 mm, Speed: 25–35 mm/s | Reduces stringing while keeping flow steady |
| Retraction (Bowden) | Distance: 1.5–3.0 mm, Speed: 30–45 mm/s | Compensates for the longer filament path |
Pro tip: Always clean your bed with isopropyl alcohol before printing. Oils from fingers can sabotage adhesion.
Start conservatively, watch the print, and adjust in small steps. The goal isn't speed—it's repeatability. Once your prints look consistent, you're ready for bigger or more detailed parts.
How to Choose the Right PLA for Your Printer
Even though PLA is the easiest filament to start with, not every spool of PLA behaves the same. Picking the right one keeps learning smooth and avoids wasted prints. Focus on what matches your printer and helps you build confidence step by step.
Know Your Printer's Limits
Check your machine's maximum nozzle and bed temperatures, and whether it has a part-cooling fan. PLA prints well on almost every setup, but these limits tell you which PLA blends—standard, matte, or "tough PLA"—will run most reliably.
Pick a Reliable Brand
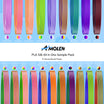
A good spool of PLA costs only slightly more than bargain options, but it saves you from jams and inconsistent extrusion. Look for 1.75 mm diameter with a tight tolerance (±0.02–0.05 mm) and clear print temperature guidance on the label.
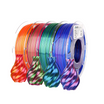
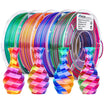
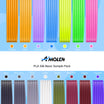
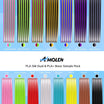
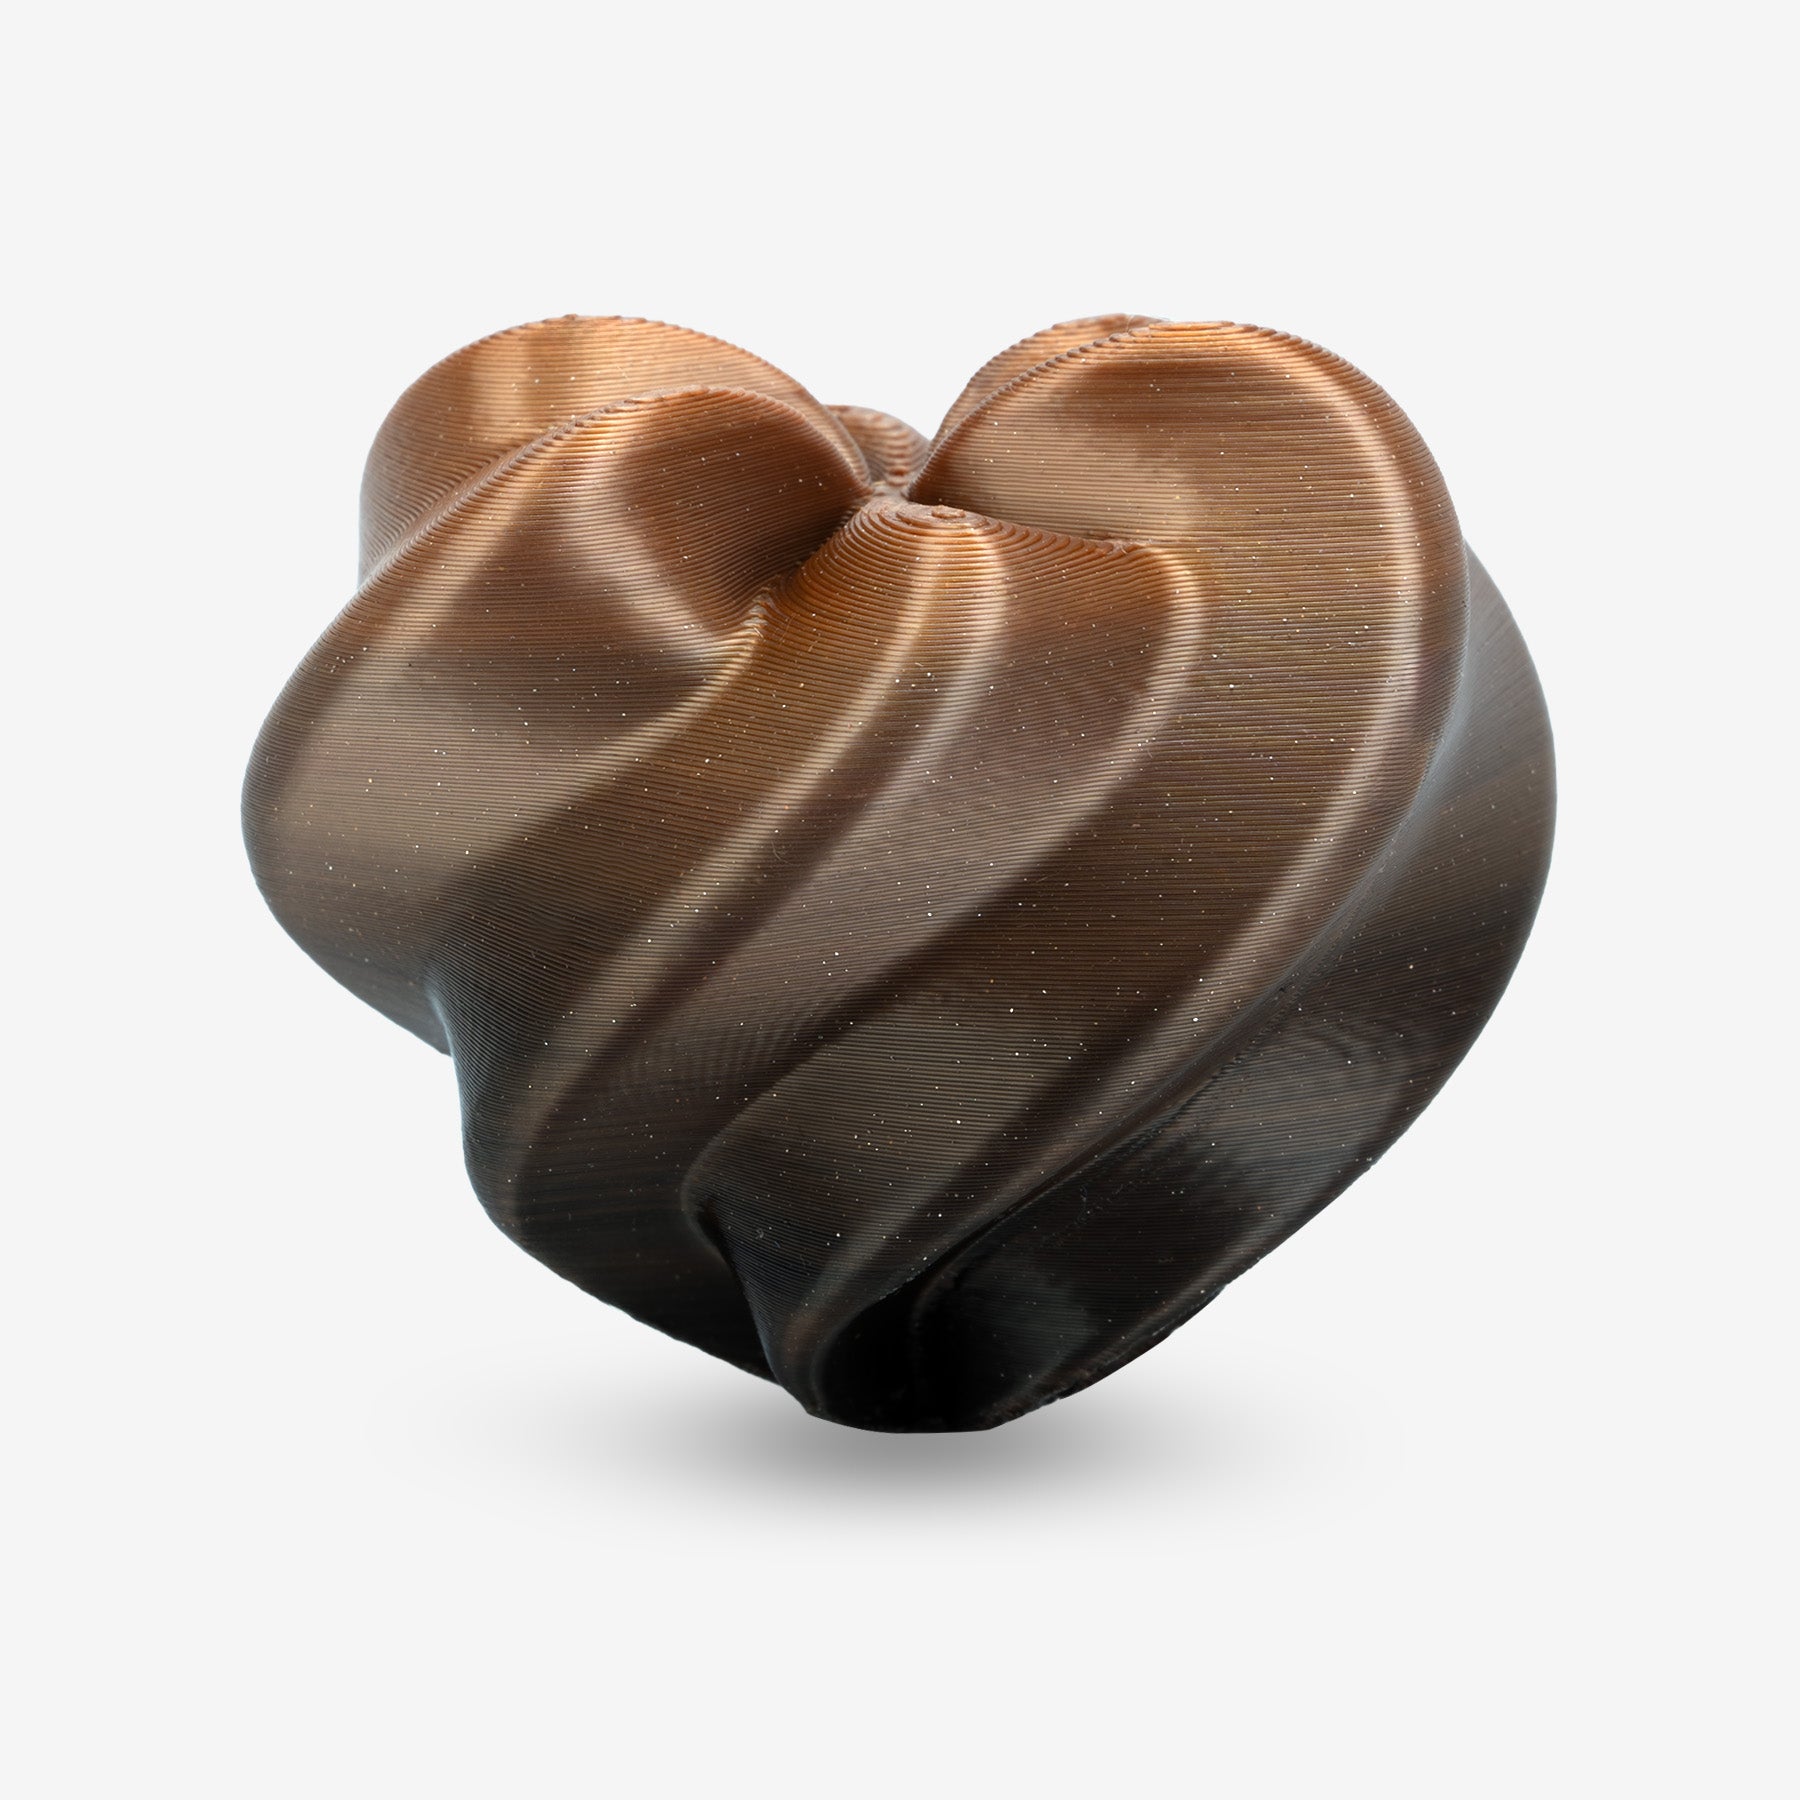
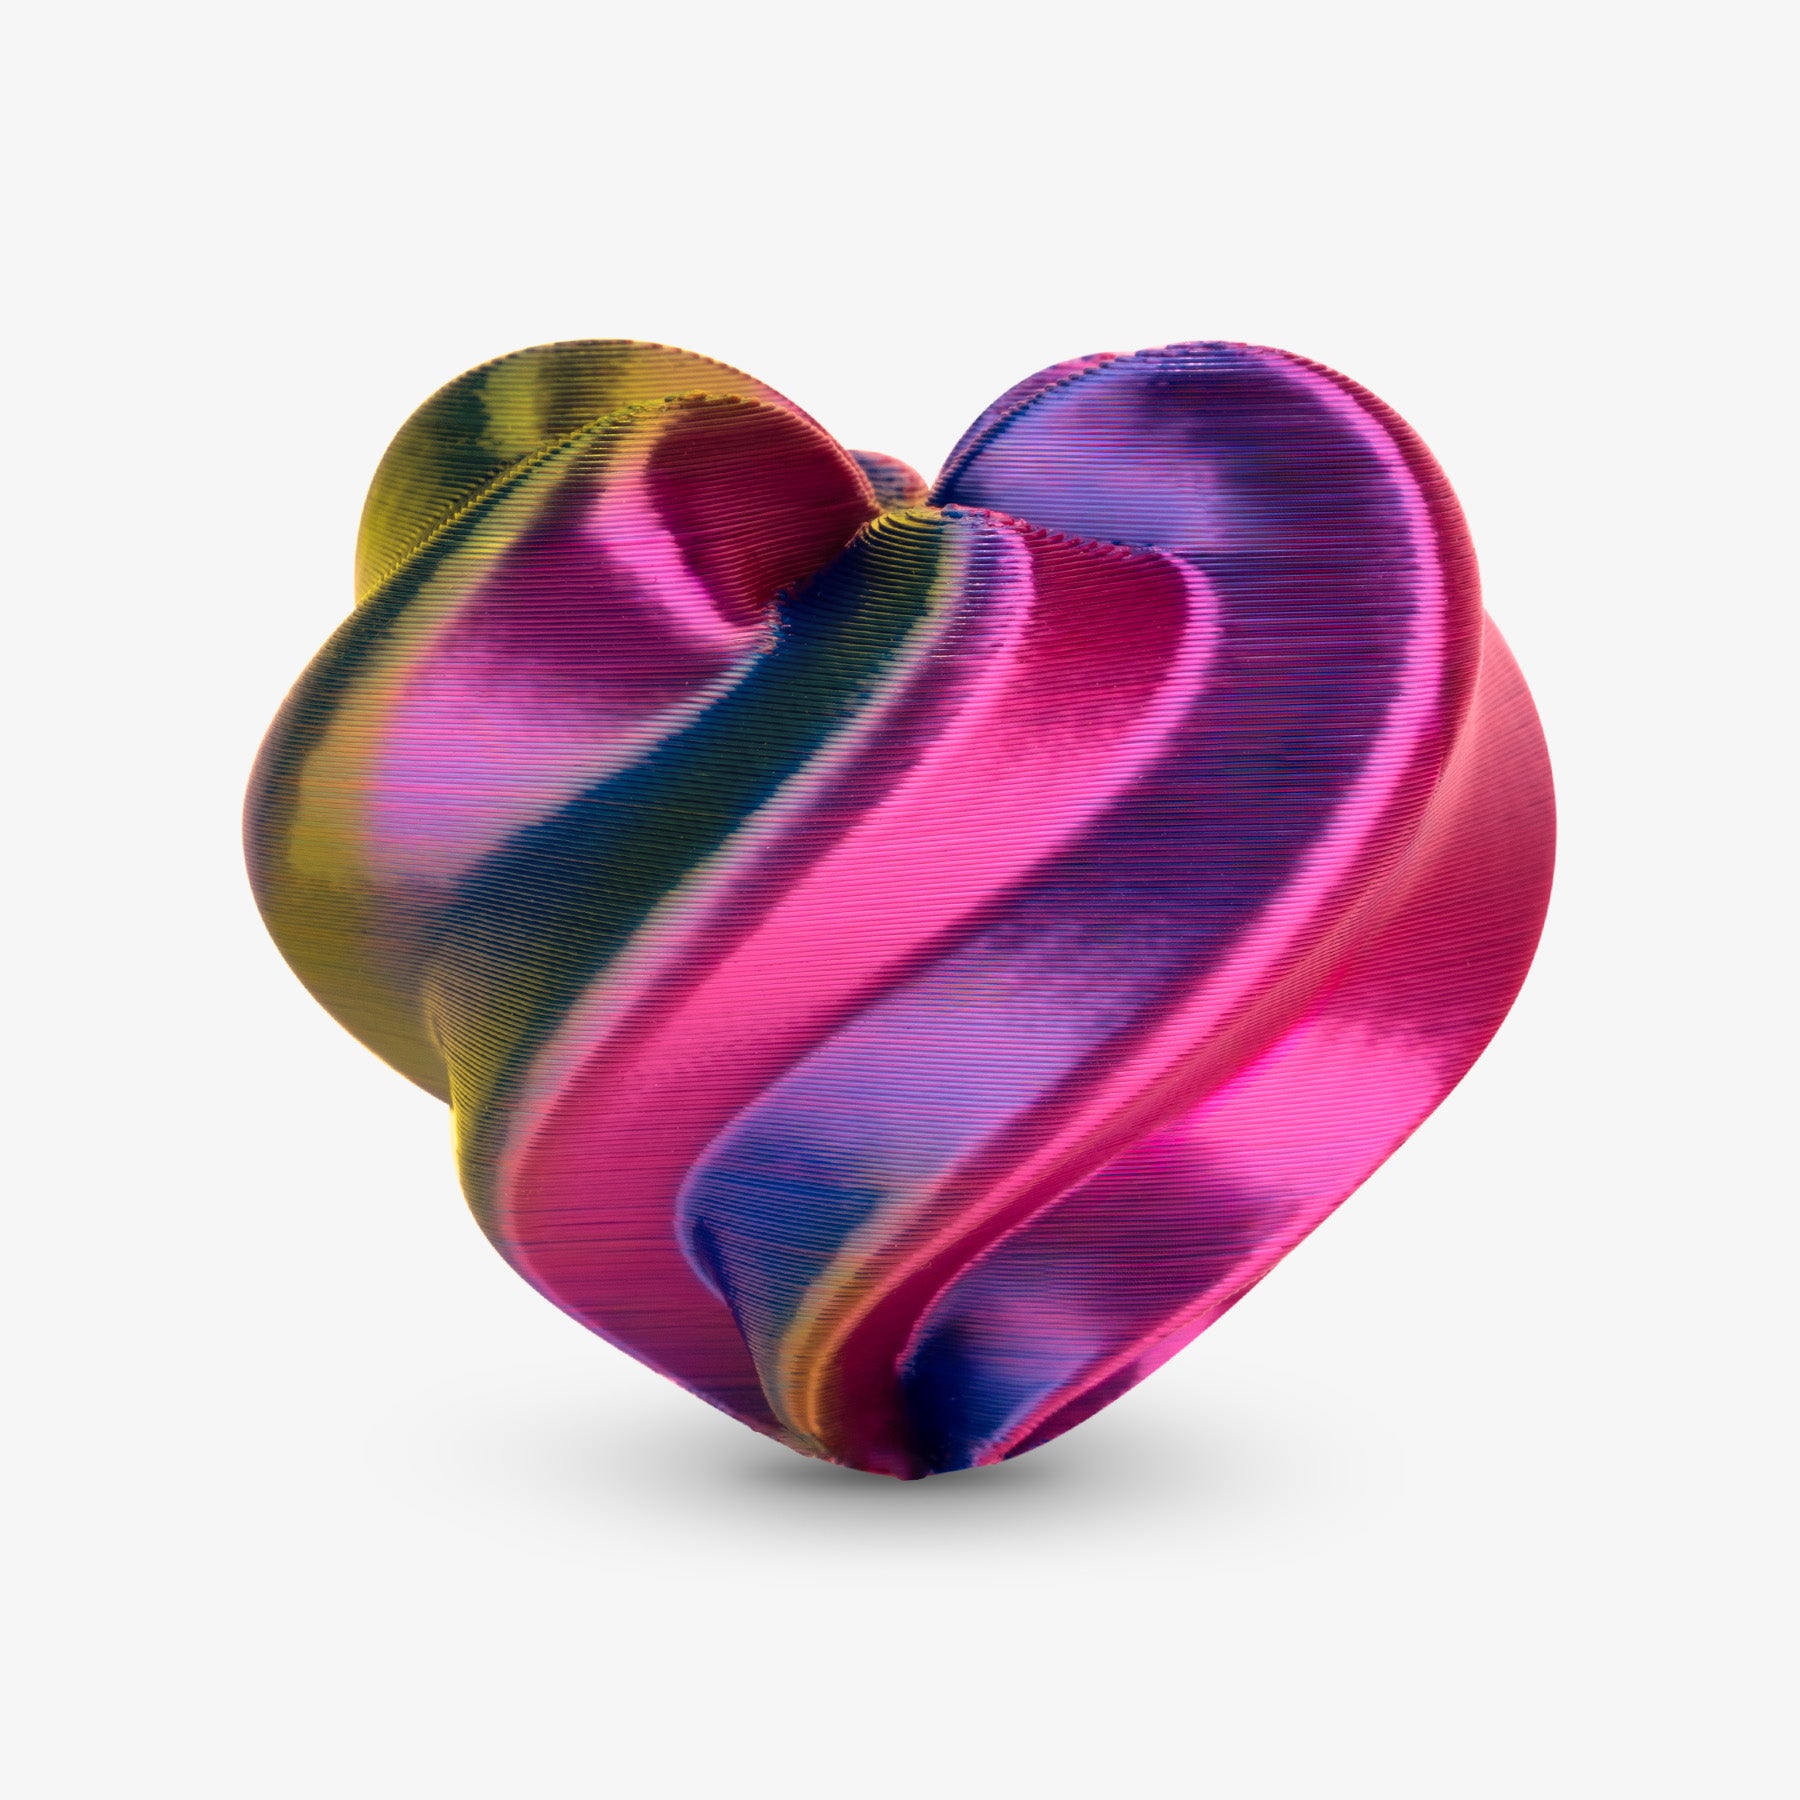
Choose Colors That Teach
When practicing, light gray or white PLA makes small flaws easy to see. Shiny silk or transparent PLA looks attractive but can hide problems, making it harder to learn. Stick with simple matte colors until you feel confident.
Budget and Storage Still Matter
A steady PLA that prints well is worth a few extra dollars compared to chasing the cheapest spool. Store all PLA spools in a sealed container with a little desiccant inside—dry filament flows more smoothly and gives cleaner results.
Start with one trusted PLA brand in a simple, light color. Match it to your printer's capabilities and keep it dry. With a stable setup, you'll learn faster and enjoy printing more.
Simple Projects to Build Confidence
The best way to learn is by printing small, useful items. Pick projects that take less than three hours and focus on one new skill each.
| Project Example | What It Teaches | Difficulty |
| Cable clips or drawer dividers | Bed adhesion and dimensional accuracy | Easy |
| Name tags or keychains | How text and small details print | Easy |
| Calibration cube | Checks wall thickness and filament flow | Medium |
| Tool holders | Infill and perimeter settings for strength | Medium |
| Hinged containers | Moving parts in PLA before trying flexible TPU | Hard |
These prints give you wins you can hold in your hand. Each one adds confidence and prepares you for more advanced projects.
Common Beginner Problems and Quick Fixes
When something goes wrong, don't worry—it happens to everyone at the start. Most problems have an easy fix you can try right away.
- Corners lifting off the bed: Wipe the build plate clean with isopropyl alcohol and try adding a "brim" in your slicer for better grip. If corners still lift, raise the bed temperature a little and check that the first layer is slightly squished for good adhesion.
- Thin strings between parts: Looks like spiderwebs connecting the print. Lower the nozzle temperature slightly, make sure retraction is turned on in your slicer, and keep the filament dry to reduce stringing.
- Small bumps on the surface: Slow the print down a little or reduce the extrusion flow just a touch. If your slicer has coasting or wipe options, enabling them can also help smooth the walls.
- Wide bottom layer (elephant's foot): The first layer bulges out more than the rest, caused by too much heat or too little nozzle gap. Start with the bed a little cooler after the first few layers, or raise the nozzle gap slightly. (Elephant's foot is the nickname for this bulging effect—it looks like an elephant's foot spreading on the ground.)
- Weak, thin walls: The sides look patchy or have gaps. Check that the filament size in the slicer matches your spool (usually 1.75 mm), slow down perimeter speed, and ensure extrusion is consistent.
- Nozzle clogs: Filament stops coming out mid-print. Gently unload the filament, cut off the end, reload, and purge some fresh PLA. If needed, use a cold-pull with cleaning filament to clear residue.
Tip: Fix one thing at a time. Keep a small notebook of what you changed—this helps you learn faster and avoids confusion.
Advanced Filaments After PLA
Once you've had a few good PLA prints, it's natural to get curious about other materials. Just remember: most of them are harder to use and can frustrate beginners. Treat them as "next steps" for later.
- PETG: Stronger and more heat-resistant than PLA, good for functional parts. But it often leaves stringy threads and can stick too firmly to the bed.
- ABS / ASA: Can handle heat and sunlight, making them suitable for cars or outdoor parts. But they need an enclosure and good ventilation, or else you'll get warping and cracks.
- TPU (flexible): Great for phone cases and grips, but prints very slowly and can jam easily, especially on Bowden printers.
- Nylon, PC, blends: Very tough, but soak up moisture quickly and need high temperatures plus an enclosure. Too demanding for new users.
These filaments are not beginner-friendly. Focus on PLA first, then try PETG once you're consistent. Leave ABS, TPU, and Nylon for when you're ready for a real challenge.
Start Printing Today
Your very first print is the start of something great. Get the PLA spool on, choose a small item to print, and watch the layers come alive. The printer beeping and cradling a finished piece will have ideas of what to print next running through your head. Don't overanalyze—just press start. Watching plastic take the shape of something is the best teacher. Every print moves you one step closer, and tonight may be the night you fall in love with 3D printing.


