
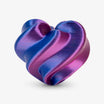

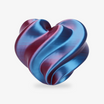
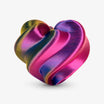
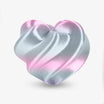
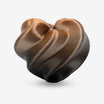
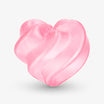
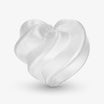
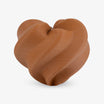


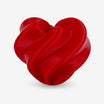
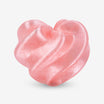
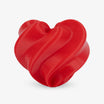
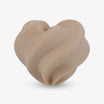

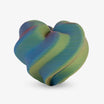


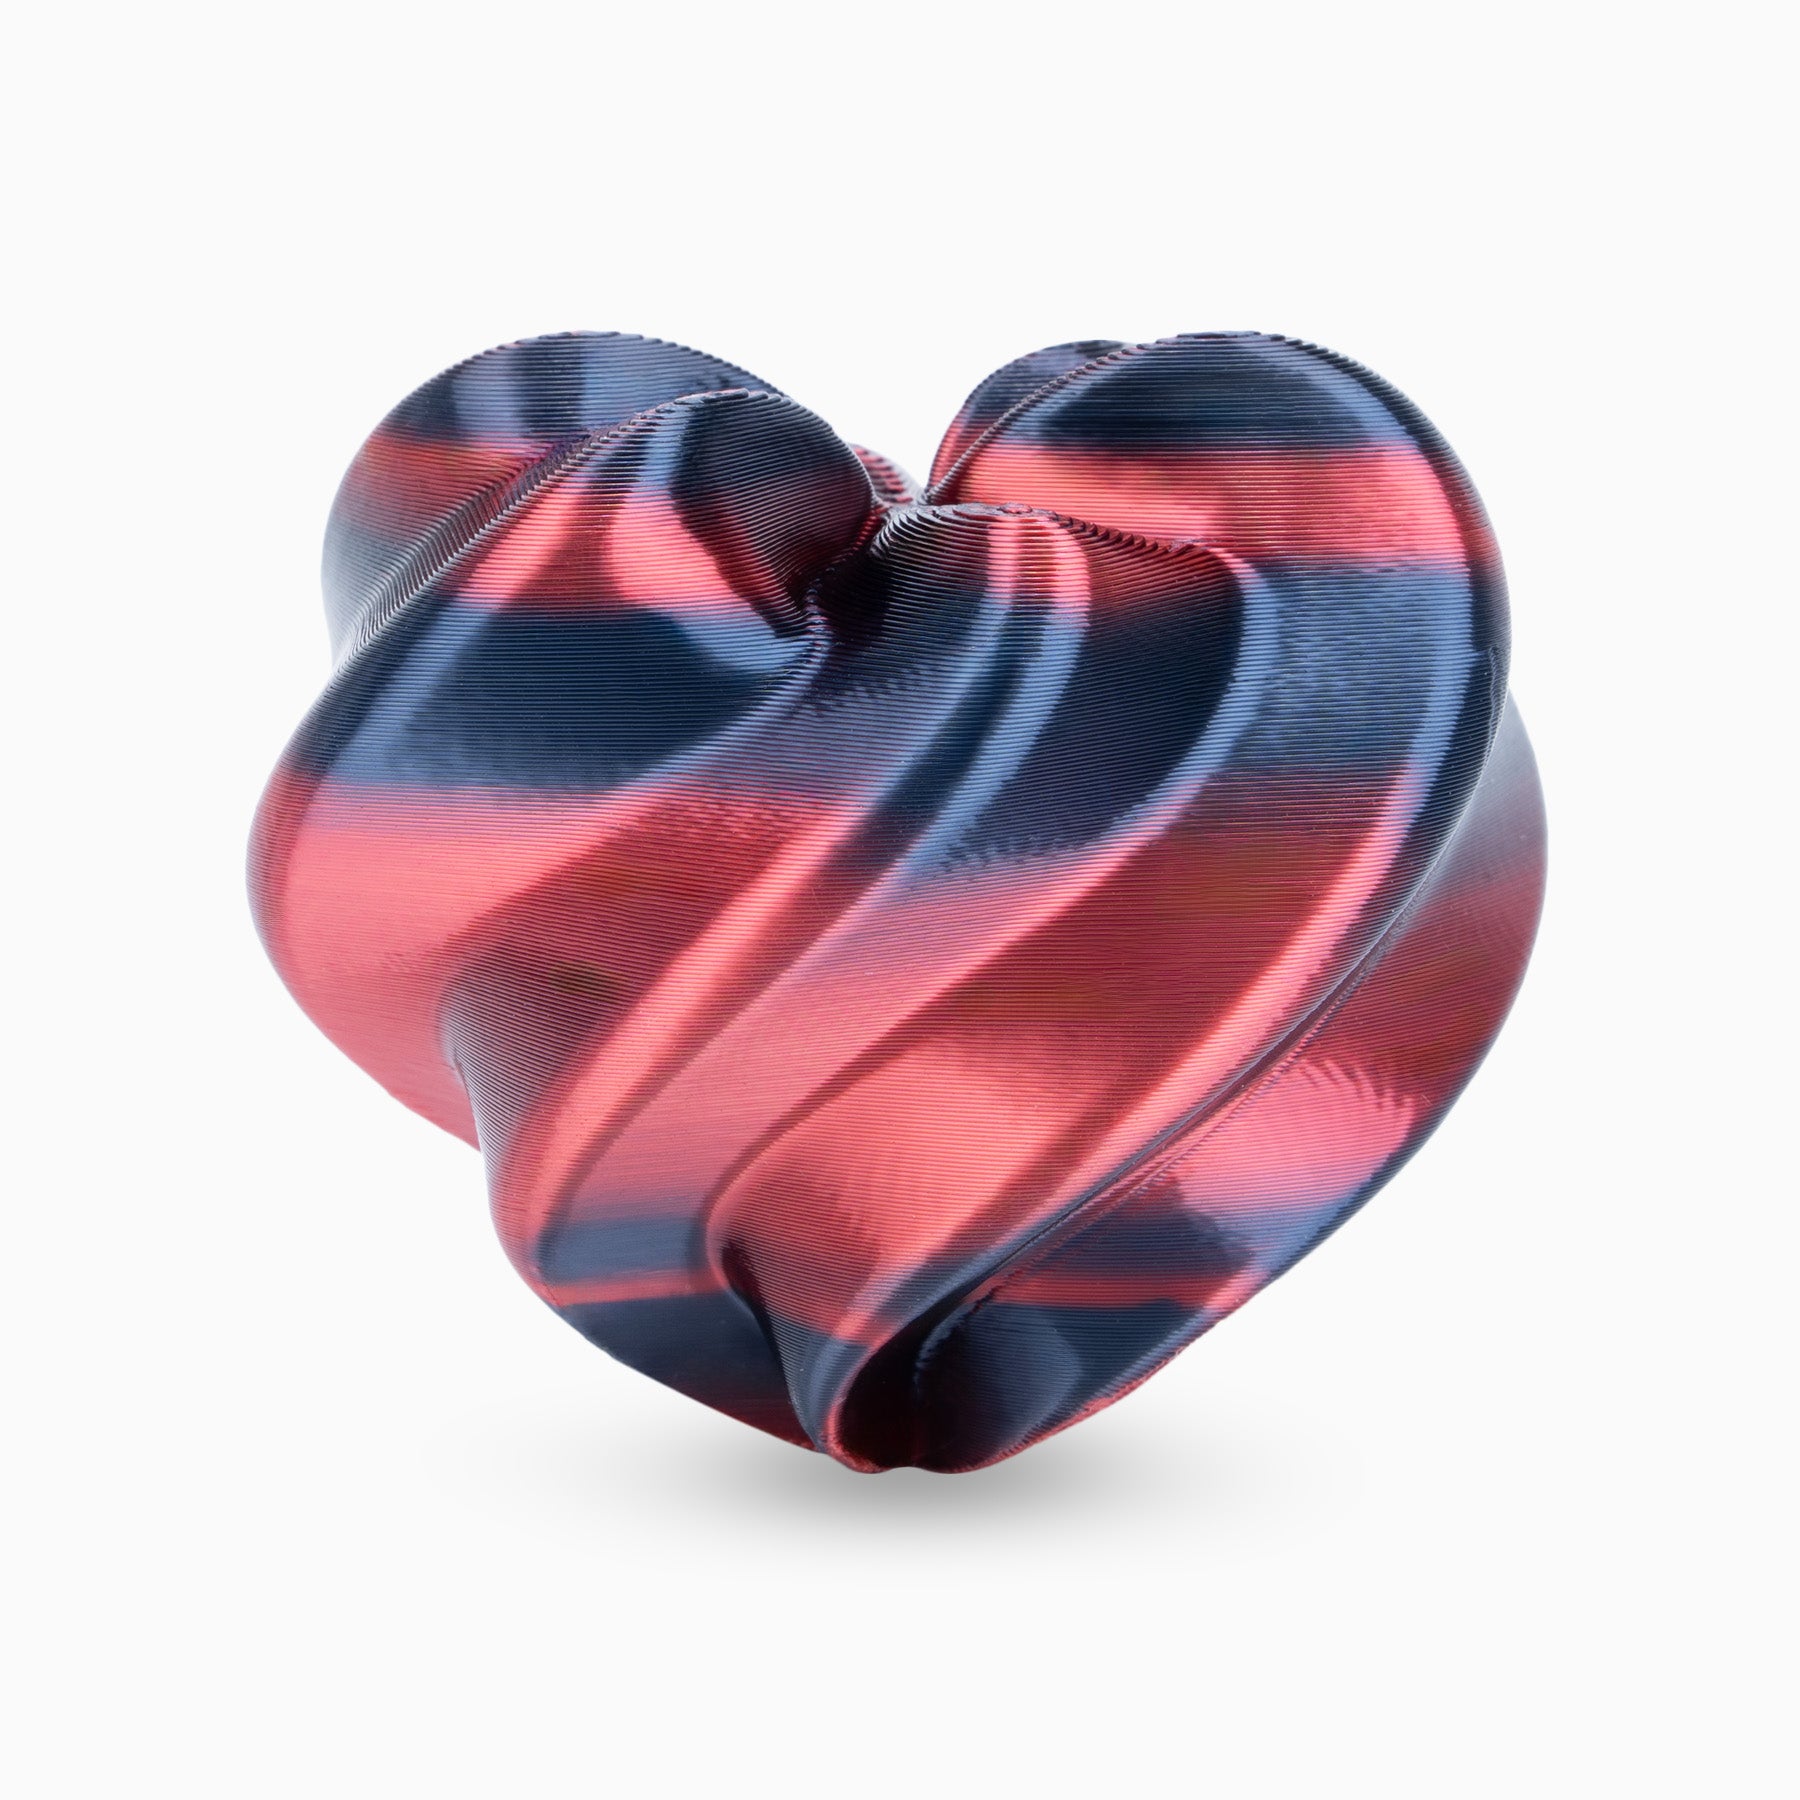
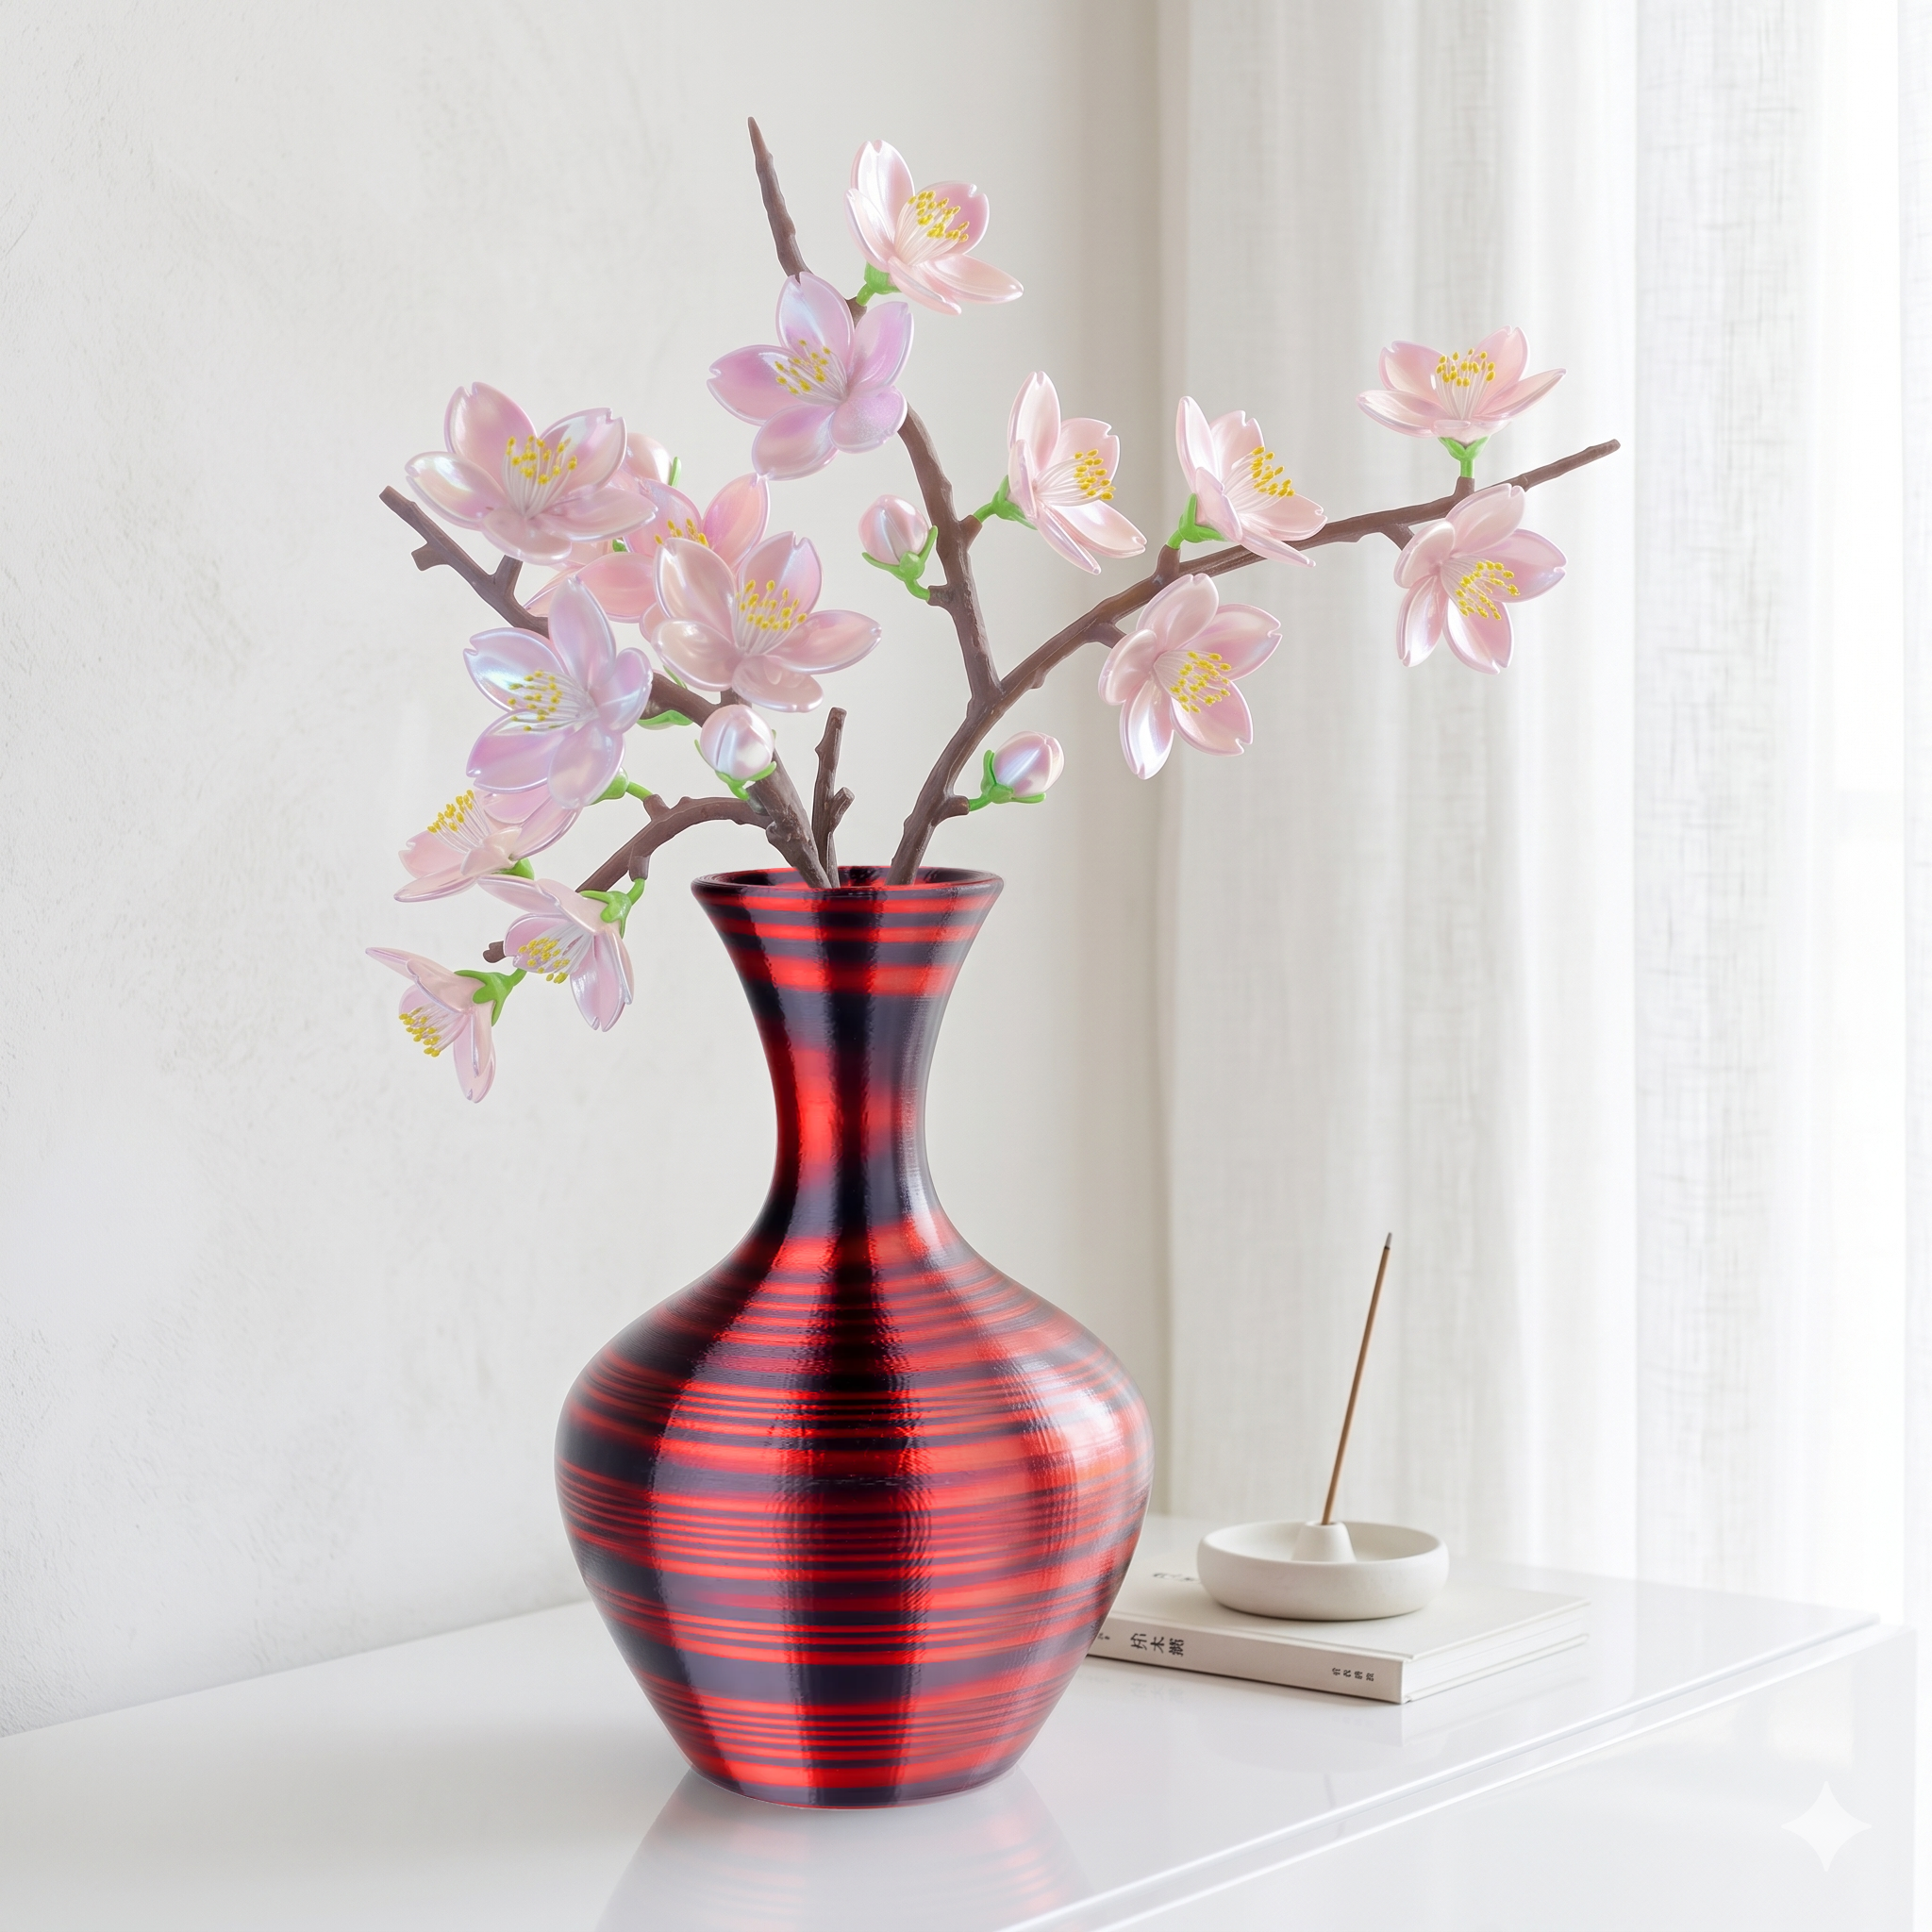
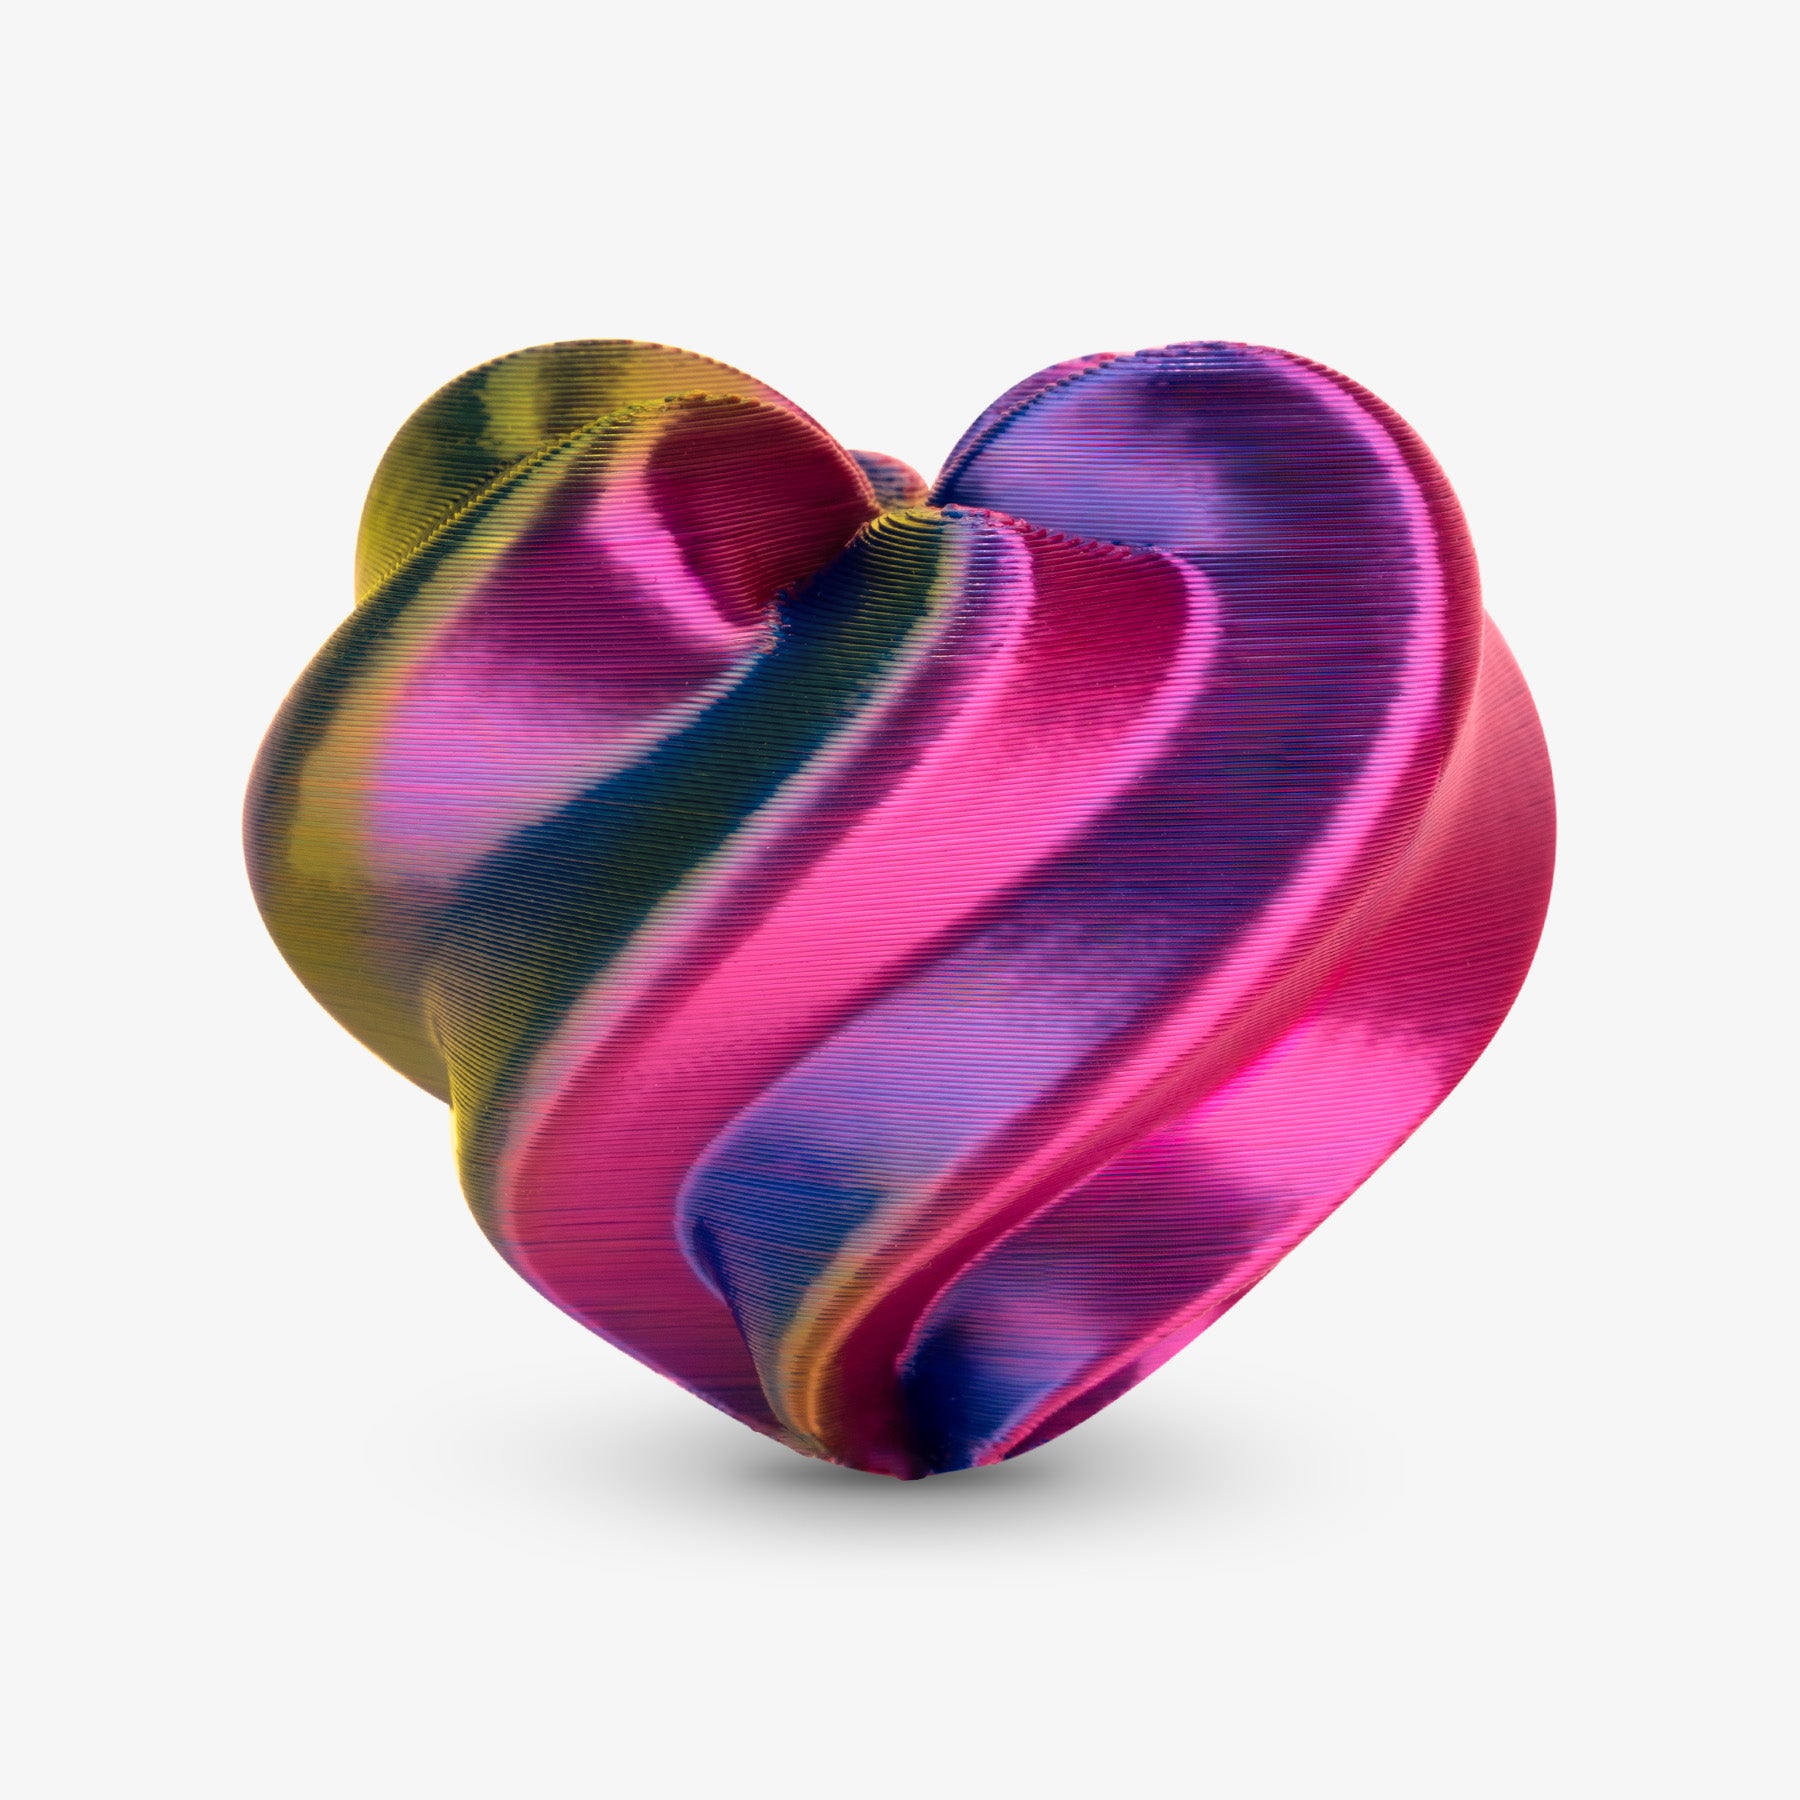
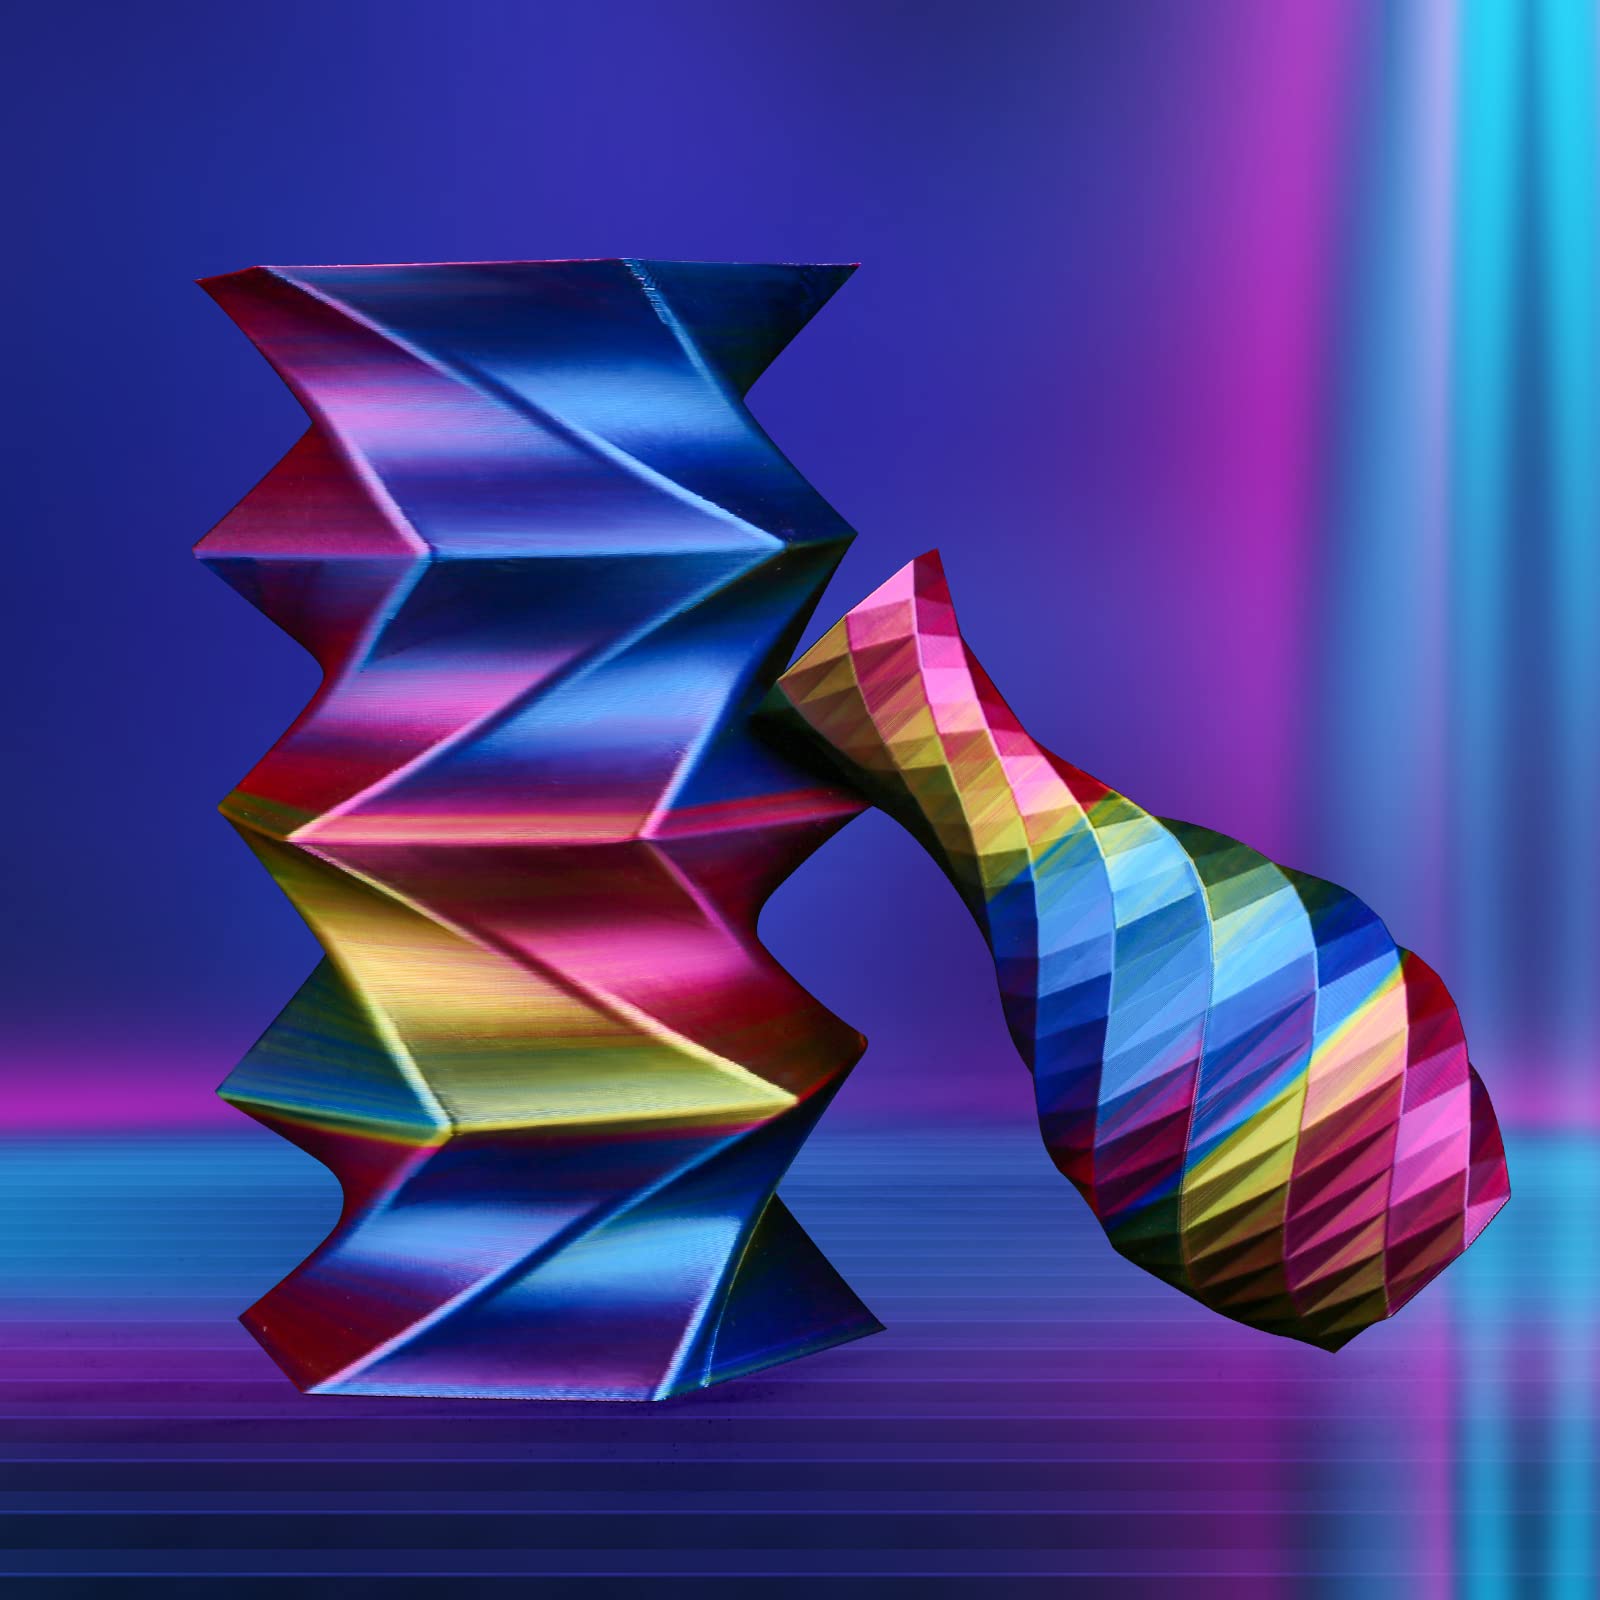
Silk PLA is popular for its glossy finish and vibrant look, but many makers are surprised when their prints turn out dull. The good news is that the problem usually lies not in the filament but in the way it is printed and finished. By carefully tuning your temperature settings, adjusting how light interacts with the surface, and applying simple finishing methods, you can bring out the true shine of silk PLA.
Temperature Settings and Color Depth
The temperature of your hotend plays the biggest role in how your silk PLA looks. The way the plastic melts and bonds directly affects the smoothness and reflectivity of the surface.
How Temperature Affects the Finish
- Below roughly 195°C, many silk PLAs under‑melt and show gaps and a chalky matte look, especially at moderate speeds.
- For many brands, use a speed-linked range: about 205–215°C at low speeds and roughly 215–230°C when printing faster, and always validate with a temperature tower at the actual speed.
- Above roughly 215°C, gloss can drop and tones may look washed out, mainly due to surface morphology changes and thermal history effects (flow marks, slight oxidation, uneven cooling), not just pigment issues.
This means staying in the middle of the range usually gives the best balance between flow and sheen.
Finding the Sweet Spot
Instead of guessing, print a temperature tower: a simple model segmented into 5°C steps. For example, start at 195°C at the base and finish at 225°C at the top. You will instantly see where the gloss is strongest and where the filament begins to look faded or brittle.
For many users, the sweet spot for silk PLA is around 205 to 210°C, but every printer is different. A printer with strong part cooling may allow for slightly higher temperatures, while one with weak cooling often needs to stay lower.
Tips for Consistent Results
- Bed temperature: keep it between 45 and 60°C. An overheated bed above 65°C can flatten the first layer too much, which reduces surface gloss.
- First layer: print slightly hotter (about 5°C more) to improve adhesion, then return to the gloss-optimized range for the rest of the print.
- Avoid fluctuations: sudden changes in heat can make upper layers look different from lower layers.
Silk PLA shines brightest when printed in the 200 to 215°C range, with careful testing through a temperature tower to confirm the best look for your specific setup.
Light and Reflection Tricks with PLA Printing
Even a perfect temperature will not help if the print surface scatters light instead of reflecting it. The way your model is oriented, layered, and finished in the slicer has a big impact on shine.
Orientation Matters
Layer direction changes how light bounces across the surface. Printing a vase vertically shows smooth reflective bands, while printing it sideways often produces duller lines. Position objects so the main visible surfaces run parallel to smooth outer walls.
Outer Wall Settings
- Speed: keep outer walls slow and stable, typically 30–60 mm/s; for maximum shine, approach ~30 mm/s with slightly higher nozzle temperature and lower accelerations. Faster passes leave ripples that scatter light.
- Wall count: use two to three perimeters for solid reflection, preventing the infill pattern from shining through.
- Flow rate: set extrusion flow carefully; over-extrusion makes the surface uneven, and under-extrusion causes gaps.
Infill and Layer Height
- Layer height: silk PLA looks best at 0.12 to 0.16 mm. Smaller heights give smoother reflections, though they increase print time.
- Infill density: at least 20% infill can help stabilize large flat walls, though the effect on shine is minor compared to wall speed and layer height.
Orientation, wall speed, and fine layer heights all help the surface catch and reflect light, making colors look deeper and more vivid.
Finishing Touches That Enhance Shine
Even with excellent slicer settings, finishing steps can push silk PLA from good to stunning.The most common step is polishing silk PLA.
Clear Coating for Extra Gloss
A thin coat of clear spray adds both shine and protection. The most commonly used are acrylic sprays available in gloss or semi-gloss.
Application tips:
- Spray from 20 to 30 cm away to avoid pooling.
- Apply two to three light coats, waiting at least 10 minutes between layers.
- Always test on a scrap piece first, since some sprays can slightly change color tones (especially metallic shades).
- Choose water-based or PLA-safe sprays, because solvent-heavy varnishes may haze or soften the surface.
Sanding and Polishing
For very smooth objects, sanding followed by polishing can improve reflectivity.
- Start with 600 grit sandpaper, moving up to 1000 to 2000 grit.
- Sand under running water to avoid heat marks.
- Finish with a plastic polish compound applied with a microfiber cloth.
Keep in mind that sanding alone removes the natural silk effect, leaving a matte surface. Only use this method if you plan to re-polish or apply a clear coat afterward.
Choosing When to Skip Coatings
If the part is decorative, coatings and polishing are worth it. But for parts that will face wear, heat, or contact with skin or food, it is better to rely on printing settings rather than chemical coatings.
Finishing with clear coats or polish can significantly increase gloss, but it should be used carefully. Sanding by itself dulls the natural sheen, so only combine it with re-polishing or coatings.
Practical Table for Silk PLA Adjustments
Here is a quick chart showing common adjustments and their visual effects.
| Adjustment | Effect on Color and Shine | Notes |
| Nozzle temp 195°C or lower | Matte surface, poor adhesion | Too cool for silk PLA, avoid |
| Nozzle temp 200 to 215°C | Best shine and color depth | Test with a temperature tower |
| Nozzle temp above 215°C | Faded tones, surface disturbances | Caused by overheating effects, reduce temperature slightly |
| Outer wall speed 25 to 35 mm/s | Smooth walls with high reflectivity | Slower print, but stronger shine |
| Layer height 0.12 to 0.16 mm | Consistent reflection, sharper details | Good balance of time and finish |
| Clear coat spray | Strong gloss, deeper tones | Apply in thin layers, PLA-safe only |
| Wet sanding with 1000+ grit | Highly reflective finish after polish or coating | Sanding alone removes silk sheen |
Keeping temperatures in range, slowing outer walls, and adding careful finishing can make silk PLA truly shine.
Small Tweaks Big Payoff
Silk PLA has a natural luster, though it requires certain conditions to truly shine. With careful adjustment of heat, print settings, and the application of finishing techniques, you can enhance the bright color and glossy surface that characterize this filament. Even small changes, such as adjusting the temperature by just a few degrees or slightly lowering the print speed, can turn a flat-looking print into one that stands out.
FAQs about Silk PLA Prints
Q1: Why does silk PLA sometimes lose its shine after a few weeks?
Silk PLA prints can lose their luster over time due to dust buildup, fine scratches from handling, or prolonged exposure to sunlight. PLA is sensitive to UV light and humidity, which accelerates its degradation. To keep prints glossy, avoid placing them near windows, clean gently with a microfiber cloth, and consider applying a protective clear spray.
Q2: Why does silk PLA sometimes string more than regular PLA?
Silk PLA filament contains pigments and additives that create its shiny appearance, but these can make the filament slightly more fluid at printing temperatures. This extra flow can lead to stringing as the nozzle moves between parts. To reduce stringing, try lowering the print temperature by a few degrees, fine-tuning retraction speed and distance, and keeping the filament dry.
Q3: Why do large silk PLA prints sometimes show uneven gloss across surfaces?
Large models may show inconsistent gloss due to uneven cooling, especially if the fan doesn't reach all surfaces equally. Areas closest to the fan cool faster and appear shinier, while sheltered areas cool slowly and look duller. More uniform gloss can be achieved by improving fan ducting, adjusting the model's orientation, or using an enclosure to provide balanced airflow. When basic adjustments like these aren't enough, the problem might be more complex. For those particularly tricky situations, a deeper dive into troubleshooting the full range of silk PLA printing issues can offer more specific guidance.


